

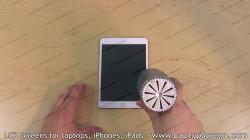
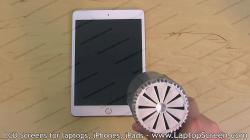
Proceed on warming up the perimeter of the glass digitizer with a heat gun or a hair dryer.
Keep the heat stream at least 2 inches away and do not focus in one spot for too long.
The surface should get fairly hot but not burning to the touch. Do not apply heat for longer than 3 minutes.
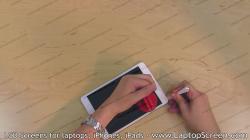
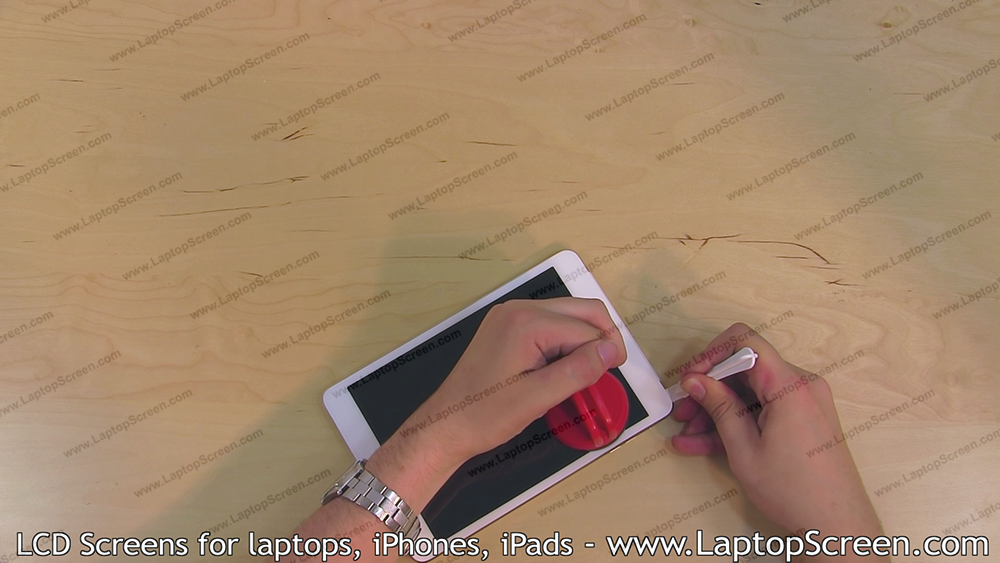
Place a suction cup in the top right corner and use a plastic pick to begin separating the glass digitizer.


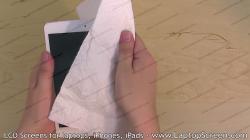
Continue onto the top edge and the left top corner, place a piece of plastic underneath to prevent it from sticking back.
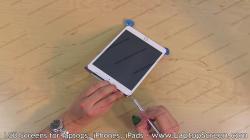
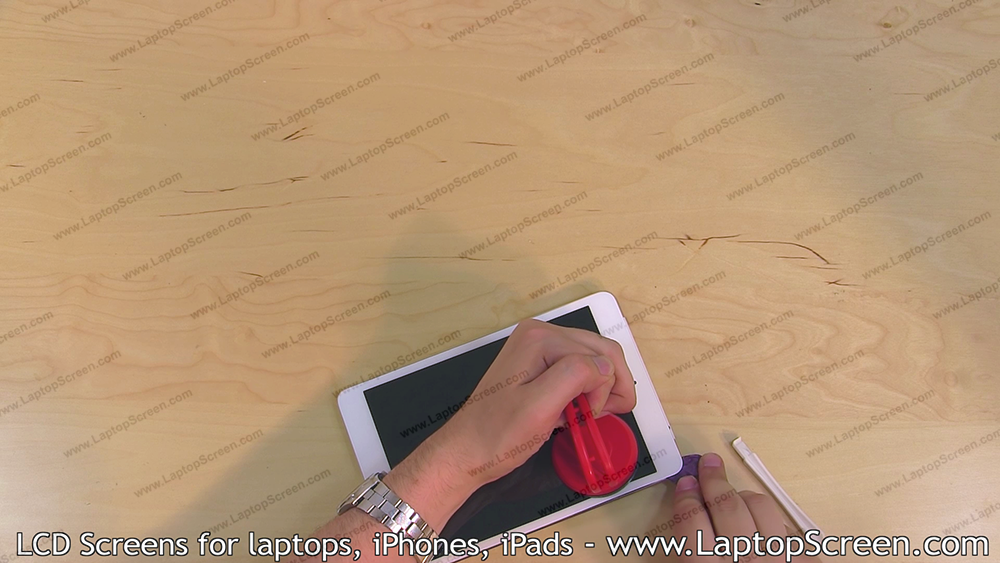
Proceed in the same manner along the left edge and onto the bottom corners.
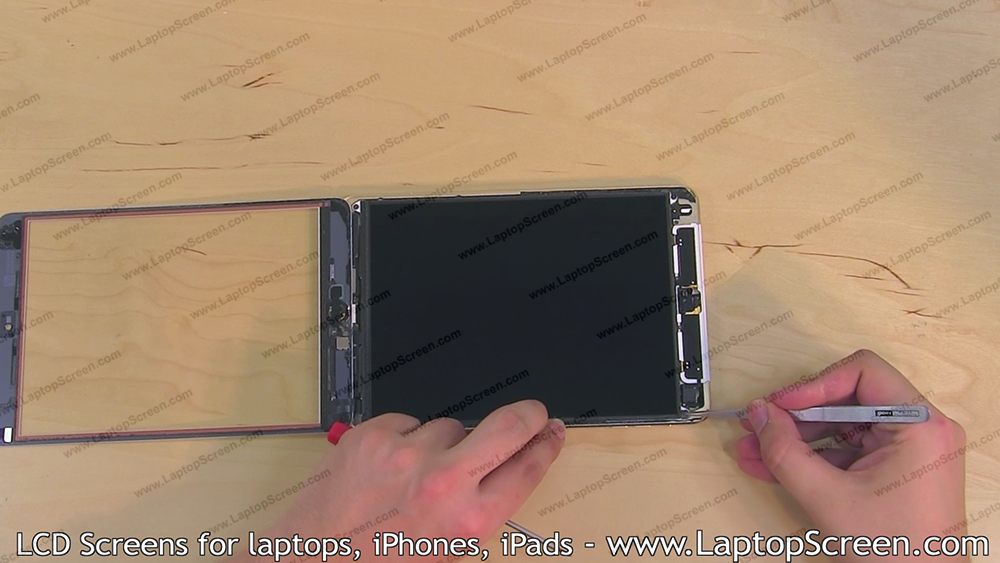
Once all the corners have been separated open the device from the top edge, you may need to use a scalpel to cut some of the strands of glue to separate the digitizer from the main body.

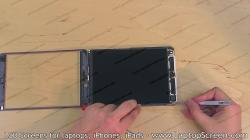


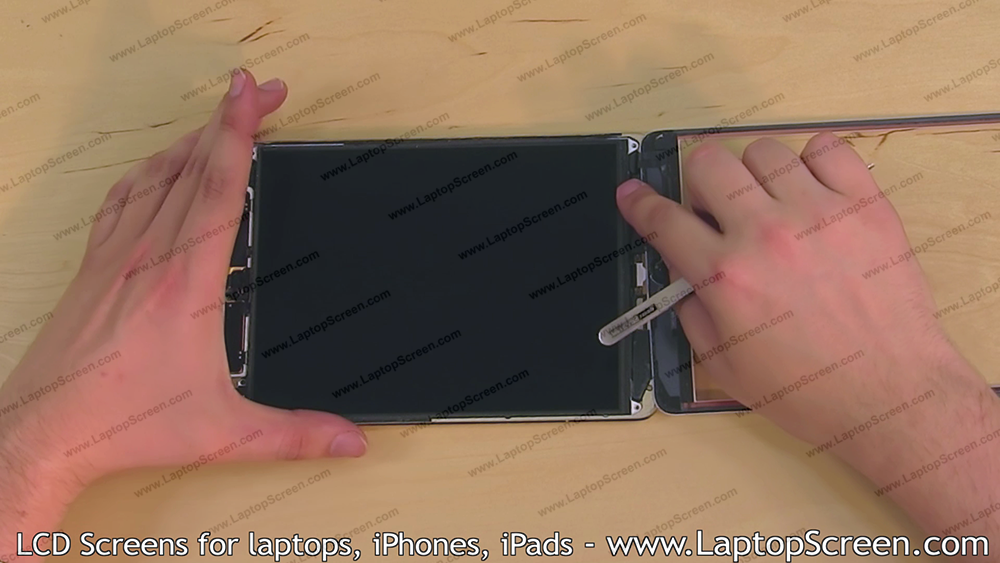
Be careful when removing the LCD if it is not damaged - it sits fairly tight in-place and you cannot exert too much force on it with-out damaging it.
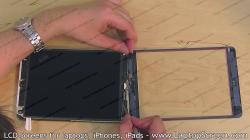
The LCD is also held in-place by the top edge with some adhesive insulating material. Use tweezers to gently peel the insulator away from the LCD.


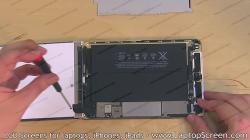
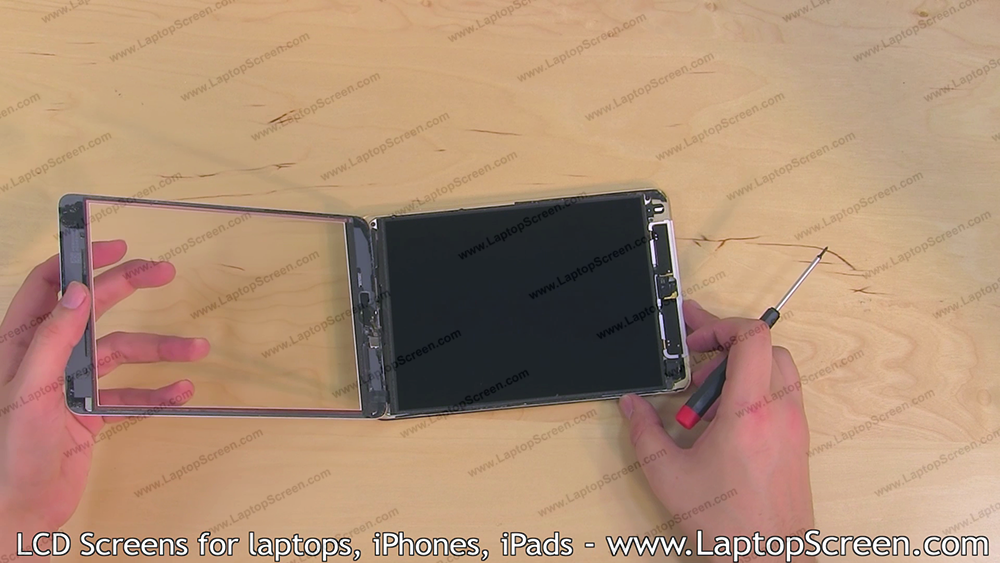
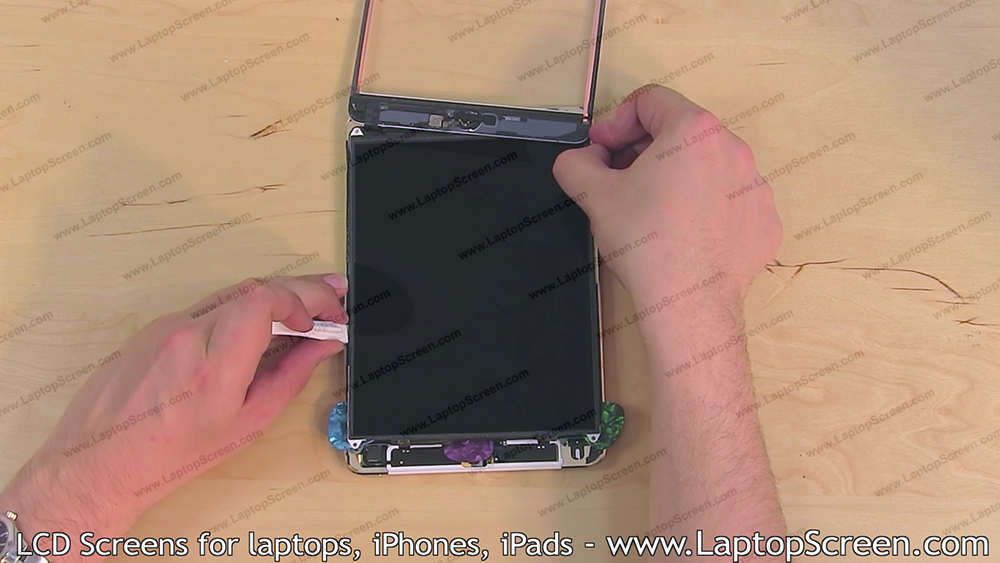
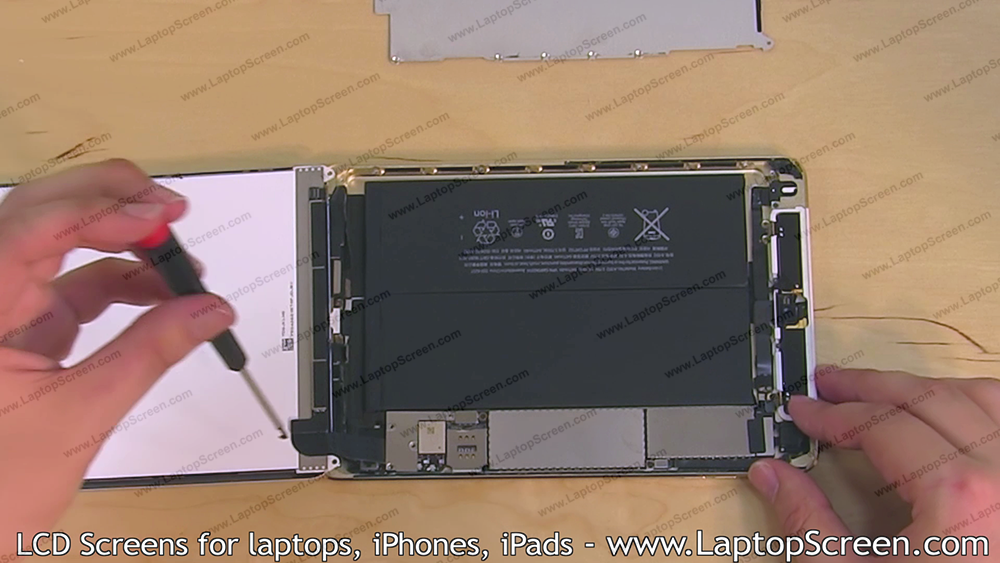
In order to disconnect the LCD and the digitizer the mid-plane metal shield has to be removed.
It is secured with three phillips screws along the right edge of the device and four screws on the left edge.
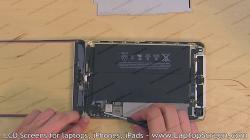
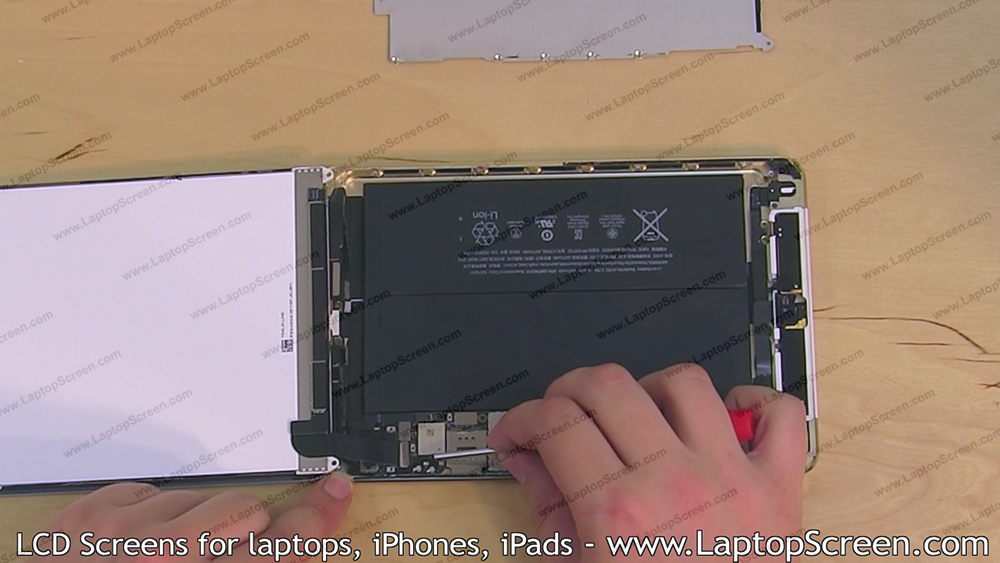
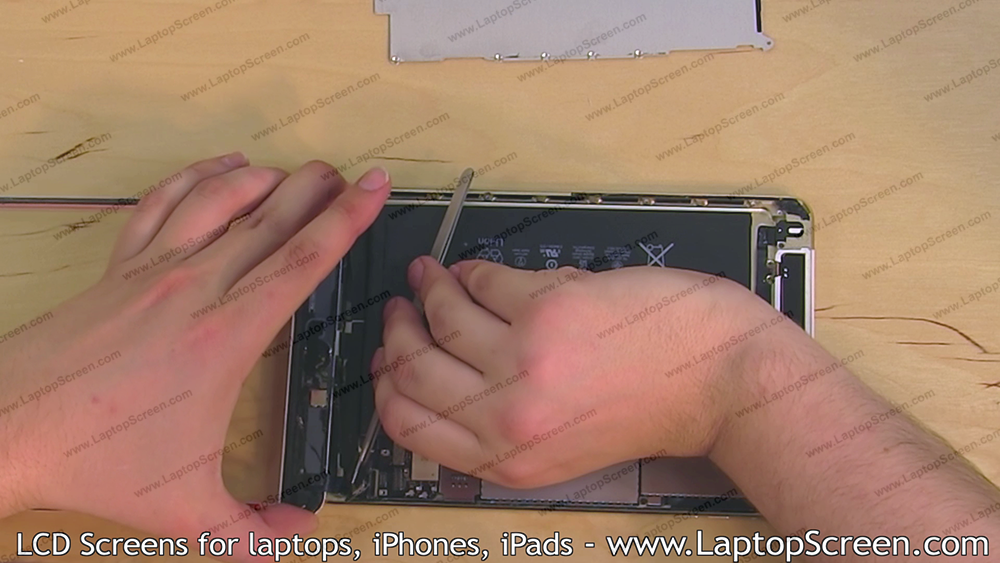
Once all the screws have been removed carefully pry out the metal shield from the device and set it aside.
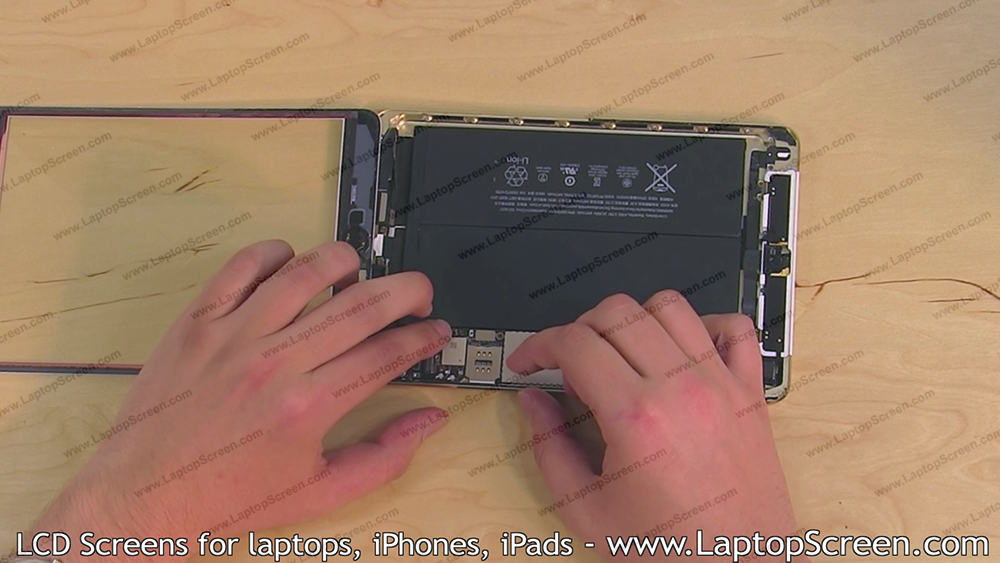
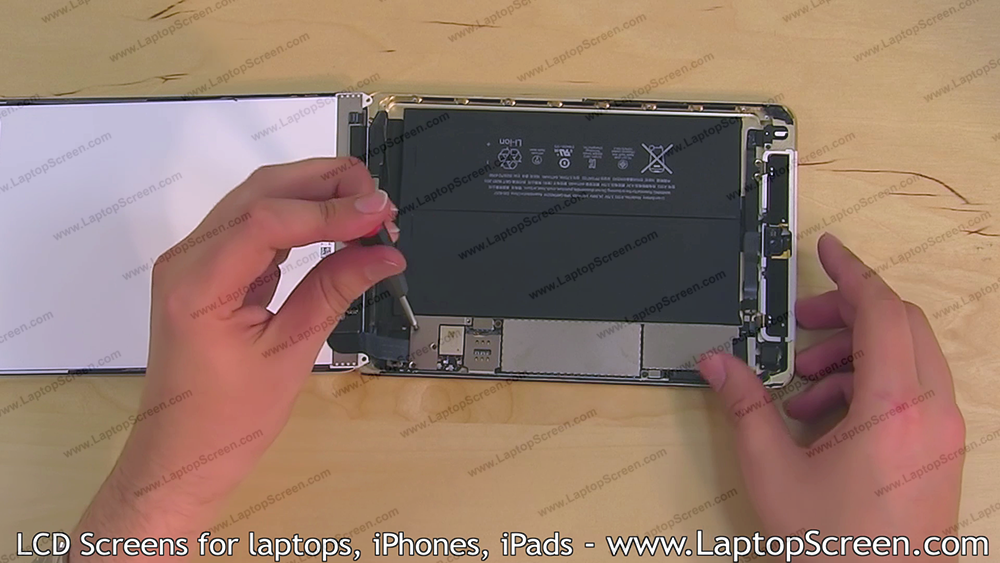
Remove four phillips screws from the LCD connector shield on the logic board, remove the connector shield.


The glass digitizer cable has a separate circuit board on it that is glued into the body. Use tweezers to gently pry out the digitizer’s driver circuit. Set the digitizer aside.
At this point the new replacement parts can be installed.
Align the glass digitizer with the bottom edge of the device and rout its driver circuit in-place.
Close the digitizer’s connector by gently pressing down on it. The connector makes a distinct click when plugged in properly.

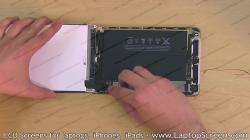
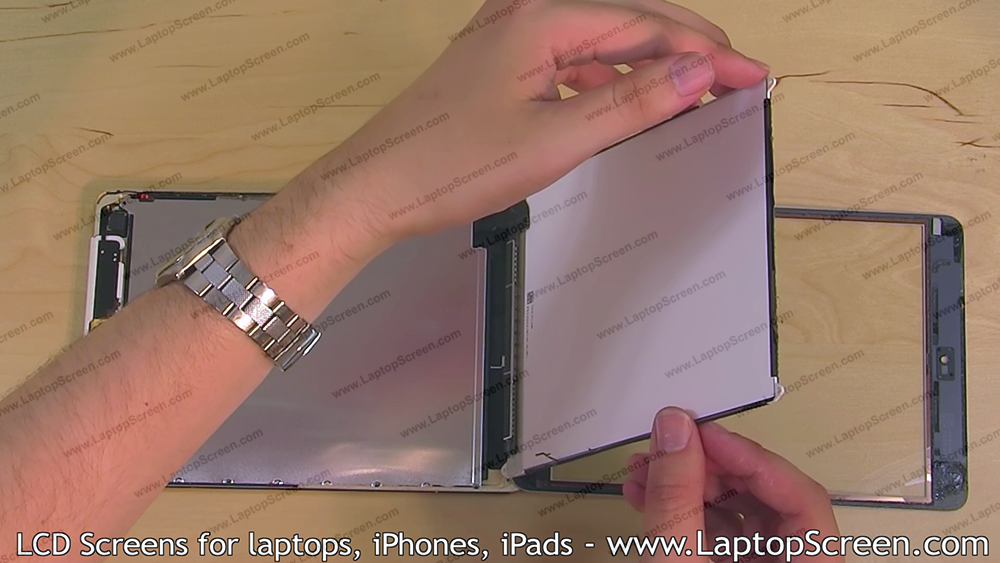
Place the new LCD on top of the digitizer and reconnect it to the logic board.
Please be very careful when reconnecting all of the connectors - they are extremely fragile - do not apply too much force.
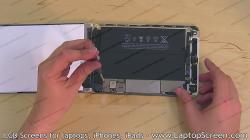

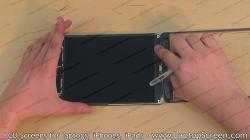


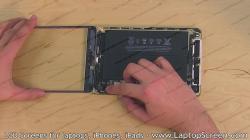
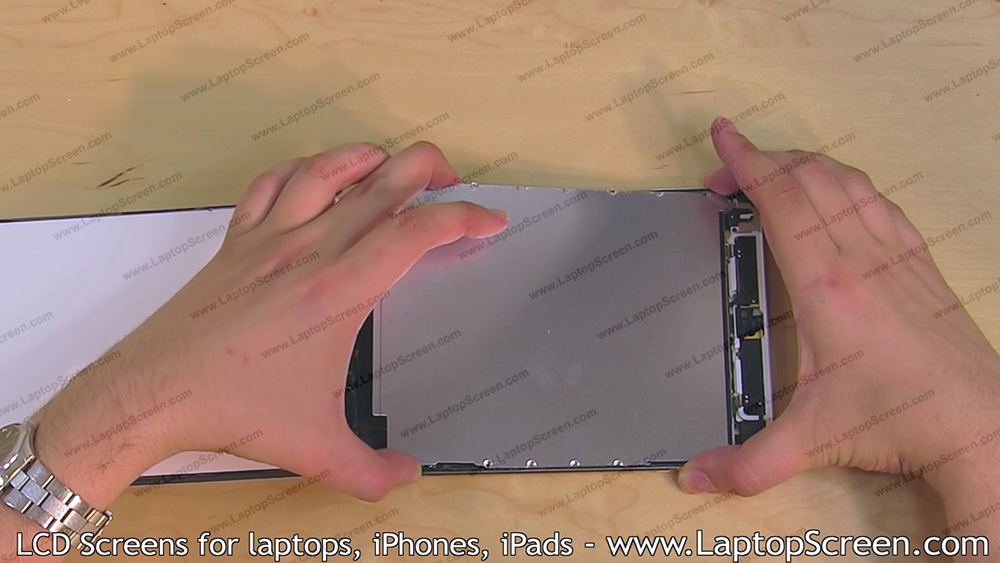
Flip the glass digitizer over, making sure it is well aligned with the bottom edge and place over the main body.
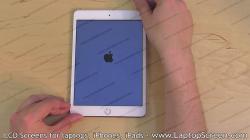
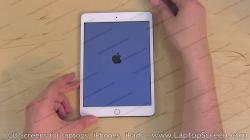
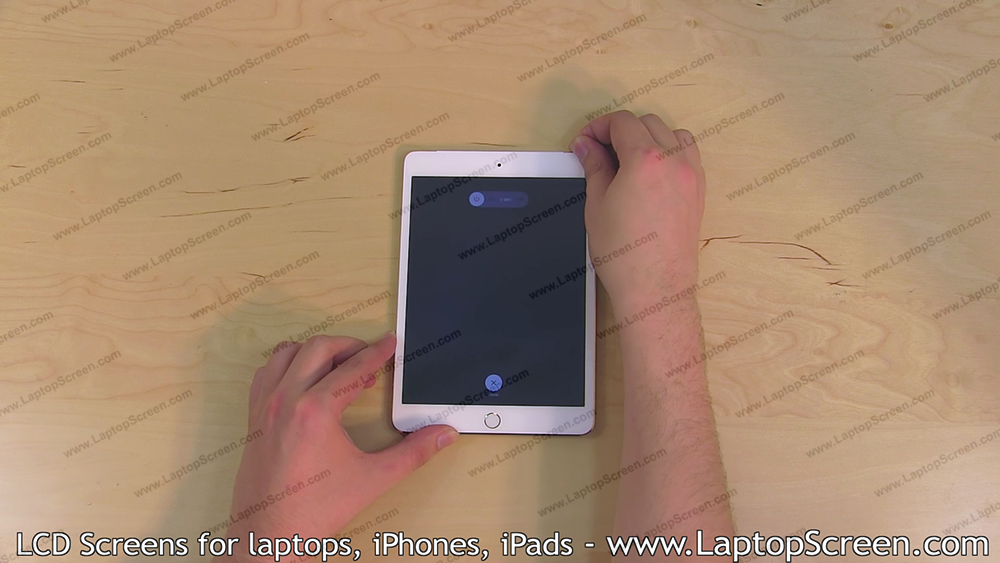
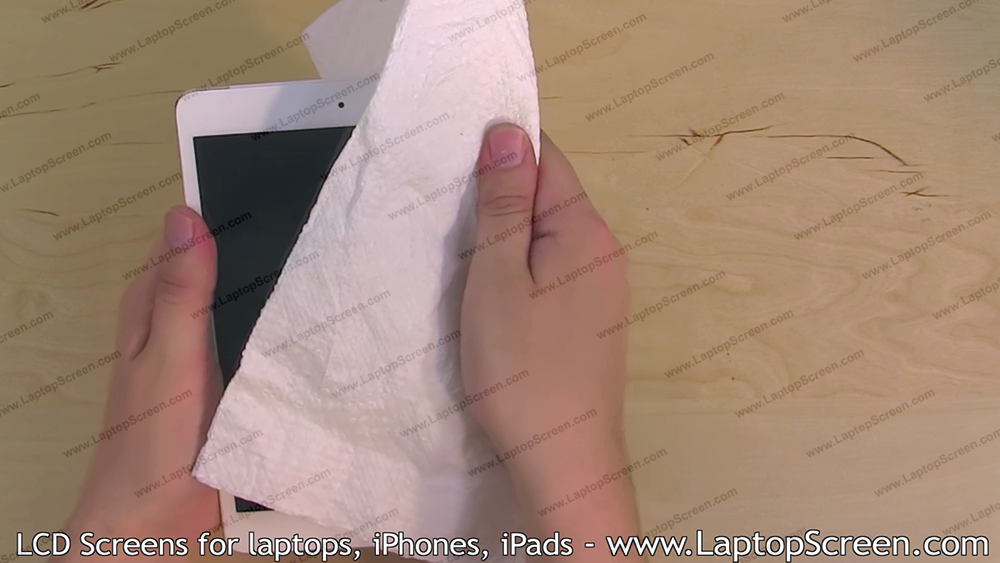
At this point the device can be tested - press the power button and if the start up graphics appear the parts are installed properly.
Press and hold the power button at the top and confirm the shut-down on-screen.