This is a guide on replacing a glass digitizer and an LCD screen on the Apple iPhone 5S. For more details please watch the video below:

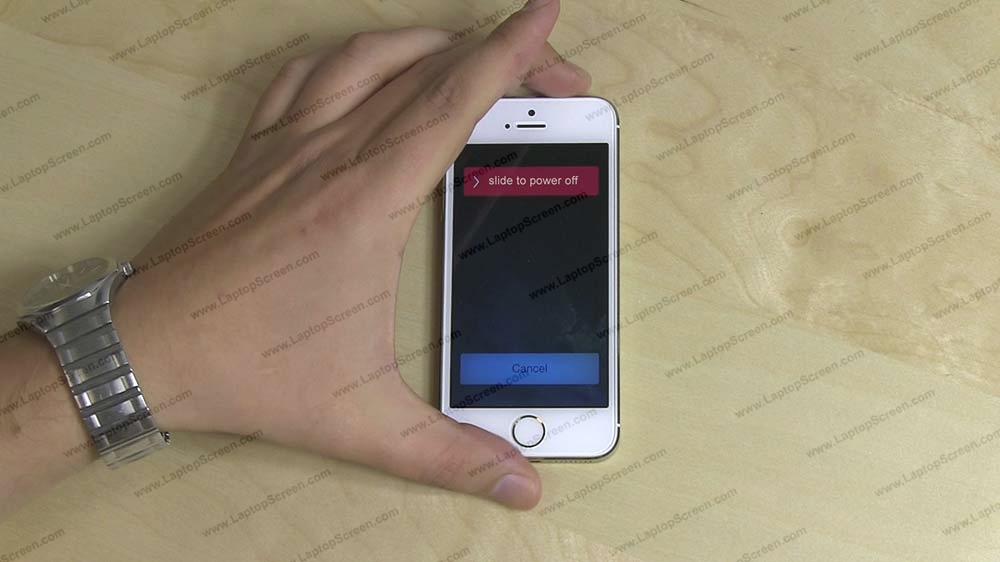
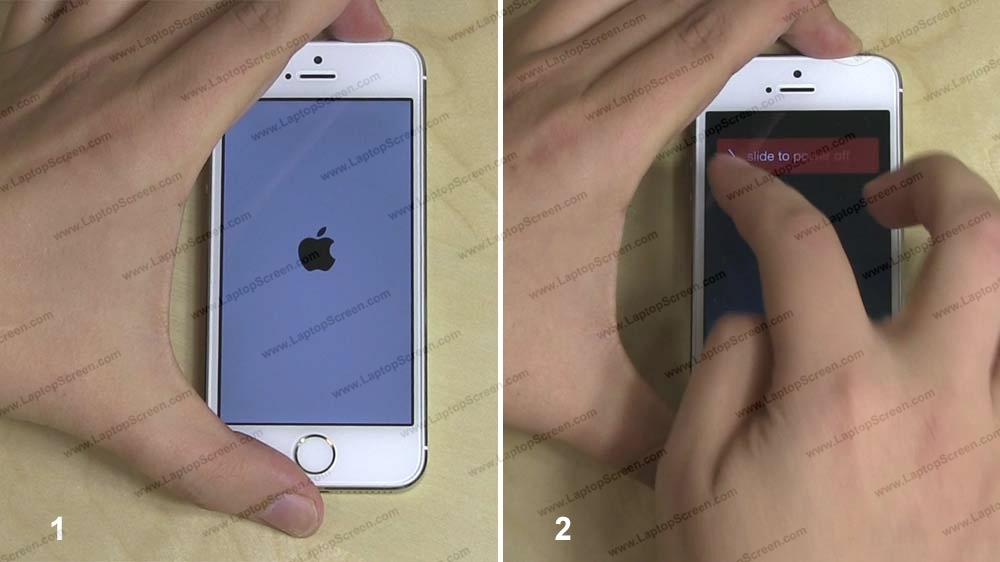
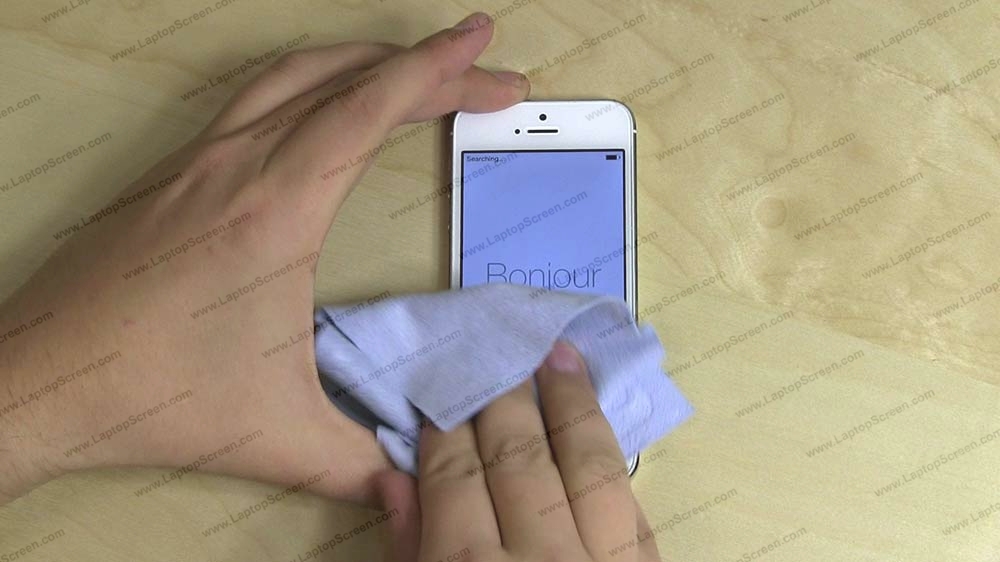
1. To begin, turn the phone off by holding the power button at the top and confirming the shutdown on-screen.


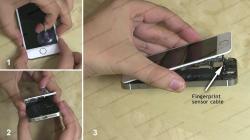
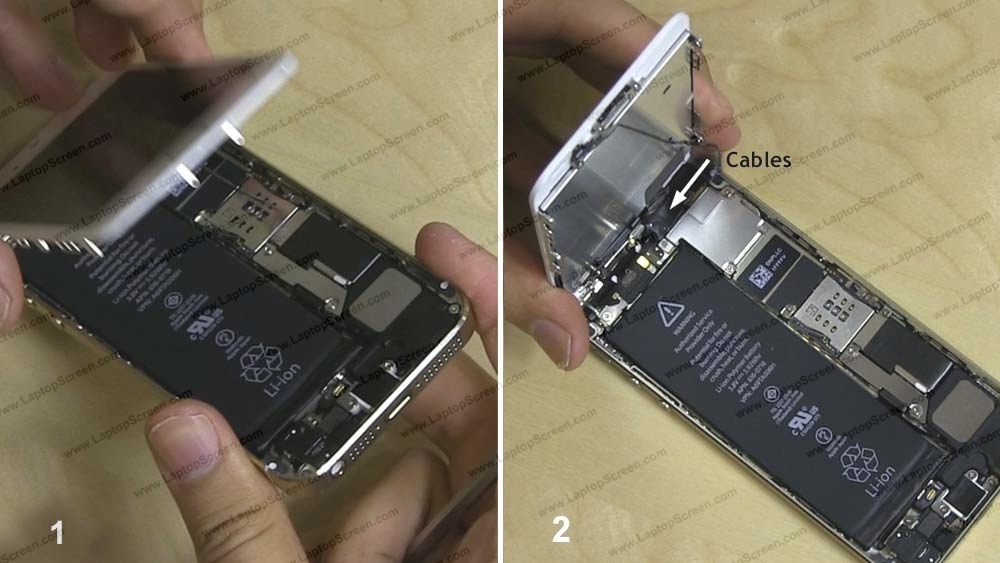
6. Using a suction cup start opening the front assembly from the bottom edge.
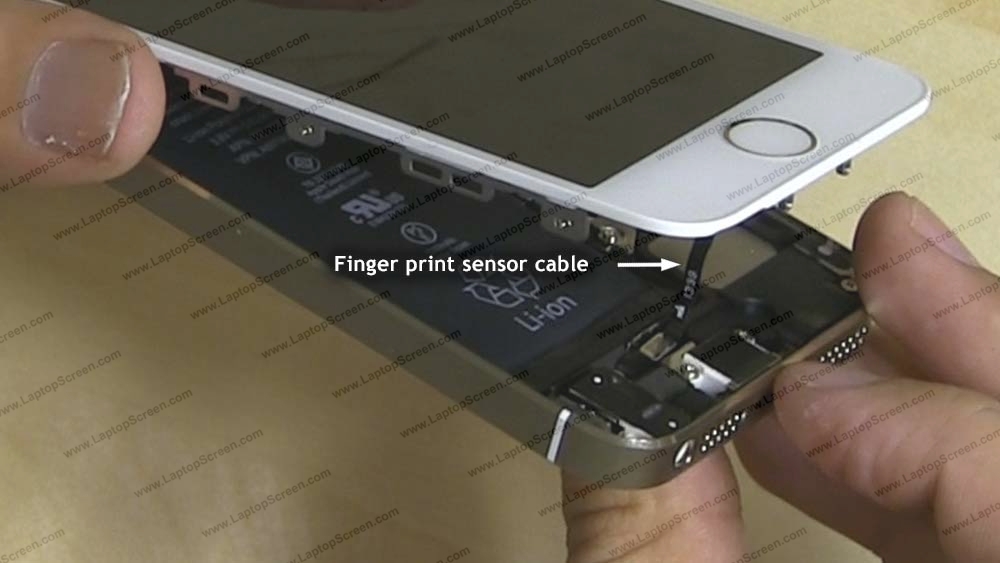
Do not open it past 2 inches, as the fingerprint sensor cable still needs to be disconnected.

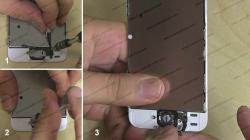
6. Using a pick or a flat screw driver open and remove the securing tab located above the fingerprint sensor connector. Gently pick open the the fingerprint sensor connector.

6. Proceed to fully open the display assembly and hold it at the right angle to the body. Make sure no excess strain is applied to the cables at the top edge, those need to be disconnected before the assembly can be fully removed.

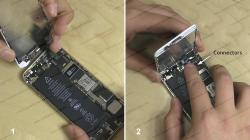
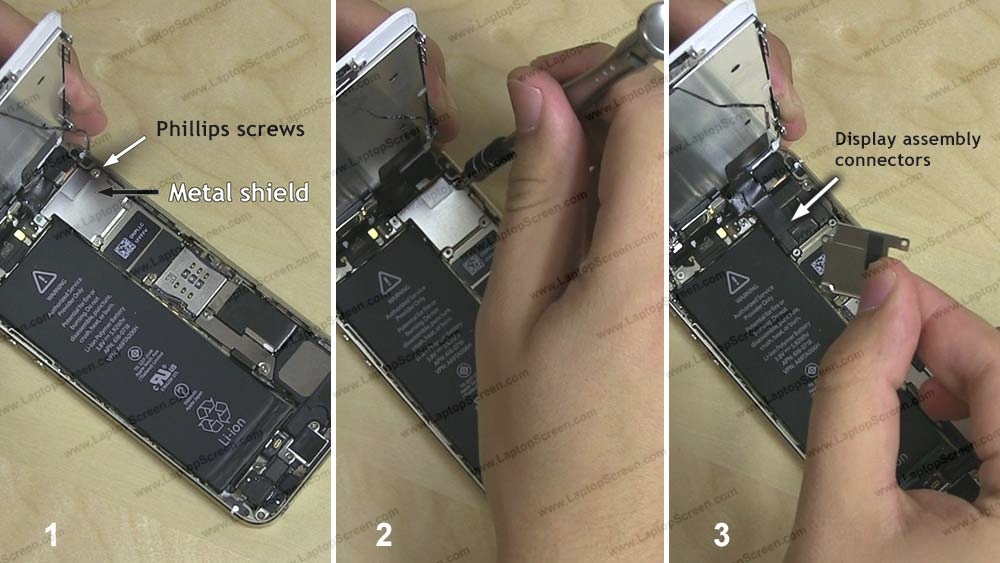
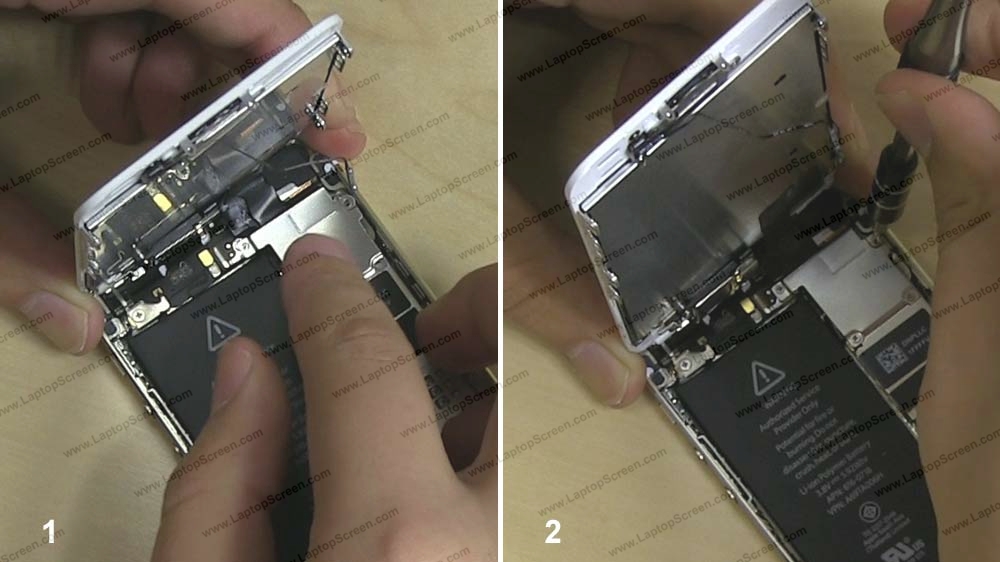
6. Display assembly connectors are located under a metal shield which is secured with four phillips screws. Remove the screws while supporting the display assembly at a right angle to the logic board. Remove the metal shield.

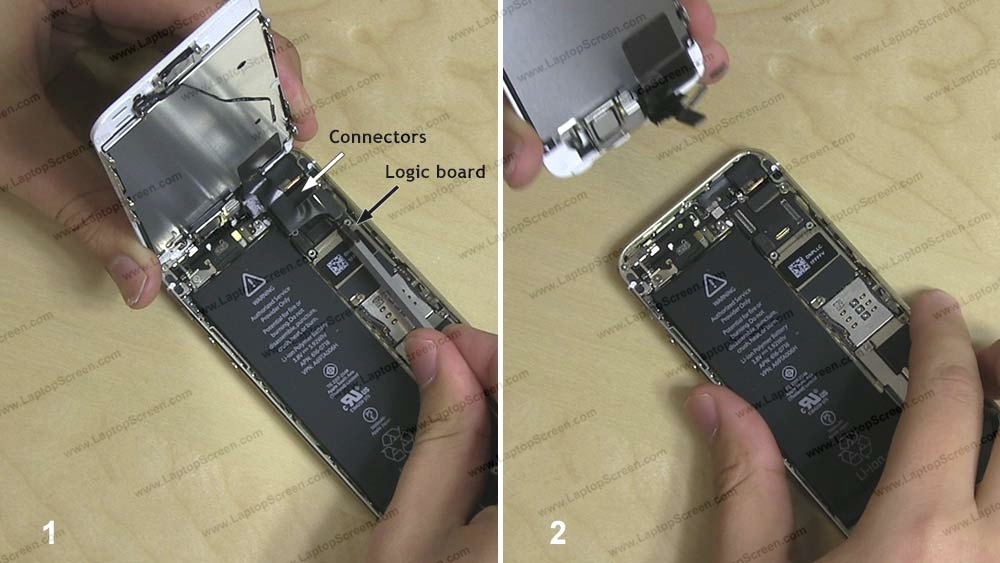
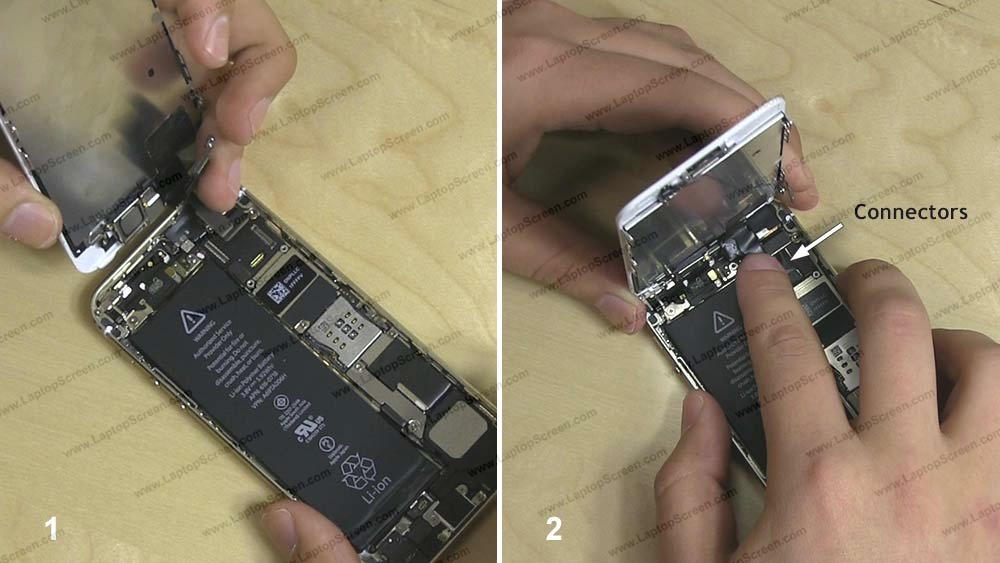
6. Using a pick or a flat screwdriver gently separate three small connectors from the logic board. Lift the display assembly away from the body and lay it down.

6. Depending on your replacement part, some extra components need to be salvaged from the original assembly.
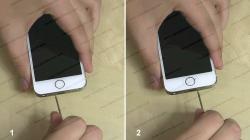
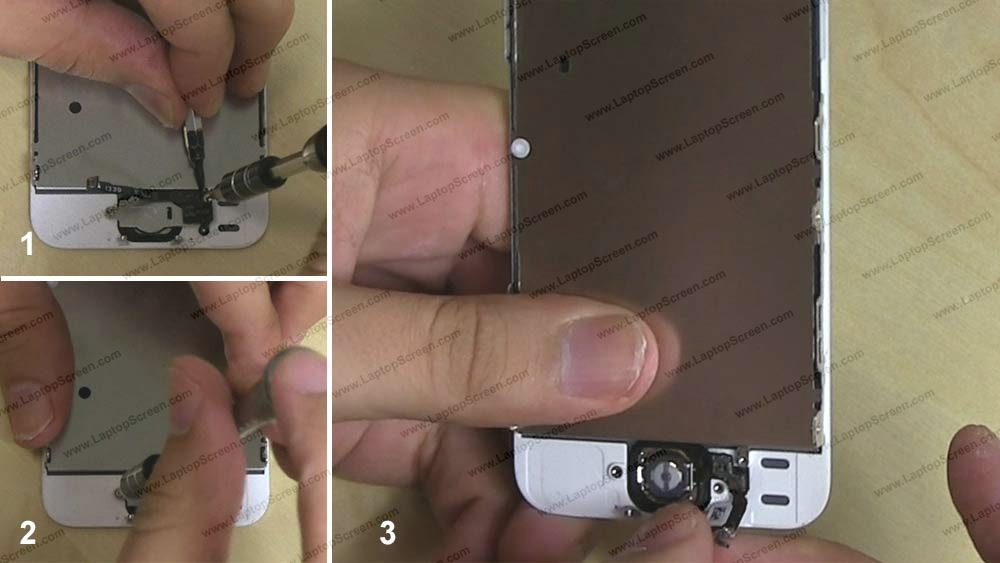
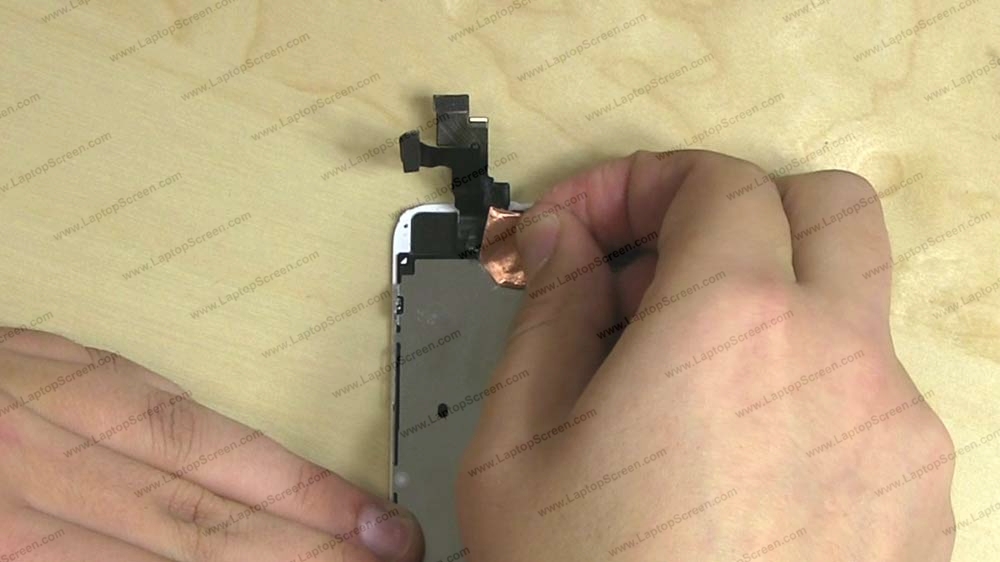
6. The home button and the built-in fingerprint sensor are mounted with three phillips screws and metal shield. Using a phillips screw driver remove a small screw securing the fingerprint sensor cable. You may need to use a pick or a flat screw driver to hold a fragile contact pin in-place while removing the screw. Remove two more phillips screws and a metal shield. At this point the home button and the fingerprint sensor can be unglued and transferred on to the new part.

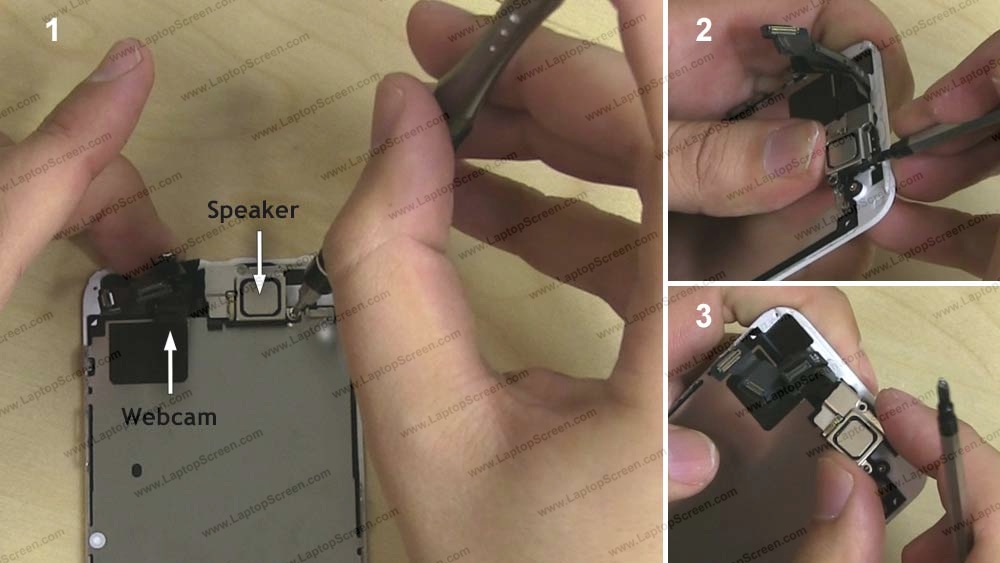
6. The webcam and the speaker at the top of the display assembly may also need to be transferred.They are secured with two phillips screws and a metal bracket which can be popped open with a screw driver.

6. The speaker comes out easily, while the iSight camera is glued in and will require some patience to separate.

6. Once the camera has been transferred onto the new part, secure the grounding pad and replace the speaker. Snap in the mounting bracket and replace two phillips screws.
6. Position the display assembly at a right angle to the body and align at the top edge. Gently snap in three small connectors to the logic board, they will make a distinct click when aligned and plugged in properly. Connectors are extremely fragile, make sure to align them well and do not apply too much force.


6. Snap the display assembly into the case by gently squeezing around the perimeter until it clicks in-place.
