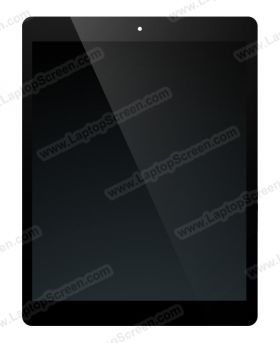
Apple iPad MINI 4 WI-FI CELLULAR Replacement LCD screen from $74.99

item ID: 7698213
Share this item via e-mail
Note:
Compatibility:
Apple iPad Mini 4 Wi-Fi Cellular
Note:
iPad Pro 10.9" A1709 Glass & Screen Replacement (digitizer and LCD removal and installation)
Video of our customer replacing the screen on Apple IPAD iPad 1
En français: Apple IPAD MINI 4 WI-FI CELLULAR Portable LCD ÉcranAuf Deutsch: Apple IPAD MINI 4 WI-FI CELLULAR Notebook LCD BildschirmEn español: Apple IPAD MINI 4 WI-FI CELLULAR Portatil LCD PantallaIn italiano: Apple IPAD MINI 4 WI-FI CELLULAR Notebook LCD Schermo
Apple IPAD MINI 4 WI-FI CELLULAR LCD Screens Quality
- New Grade A+
brand new part made by one of the above mentioned major manufacturer.
- Used, Like New Grade A+
the part was pulled from a (or other device), no signs of tear or wear and is fully functional and covered by our warranty just like new items. No scratches, no signs of use, looks and works same way as new.
- Used, Like New Grade A
the part was pulled from a (or other device), has some signs of wear and tear and is fully functional and covered by our warranty just like new items. No scratches / no signs of use on the LCD itself, works same way as new.
Also, we sell some generic parts like flex video cables, extension cables, connectors, screen digitizers (but not LCD screens). If they were made by no-name third party manufacturers we list them as
- New Aftermarket Replacement
They are brand new high quality generic replacement and covered by our warranty.
Our huge stock of LCD screens have been manufactured by companies like LG Phillips, Samsung, AUO, Chi-Mei, Toshiba, Hannstar, Chunghwa, Sharp, etc. They are globally recognized suppliers of electronic components and manufacture products, ranging from internal cables, keyboards, optical drives to motherboards, hard drives and LCD screens. These manufacturers strive hard to maintain the highest quality of the LCD screens and these particular brands are used in laptops, tablets and smartphones by all manufacturers: Dell, Apple, HP to name a few.
To learn more about these manufacturers, please check their official websites:
AUO
Chi Mei Optoelectronics
Samsung
Hannstar
Toshiba
LG Display
Sharp
Hydis Hundai
Please see our Video Tutorials for installation guides and Support Articles and FAQ for any other questions.