Please watch the following video (highly recommended), or follow the step by step instructions below:
The following is a guide for installing a glass digitizer and LCD screen on an iPhone 4.
It is recommended that you replace the entire front assembly - which contains the frame, the glass digitizer (touchscreen) and the LCD screen - if any of the components need replacing.

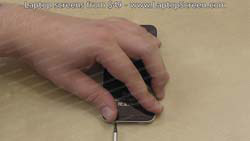
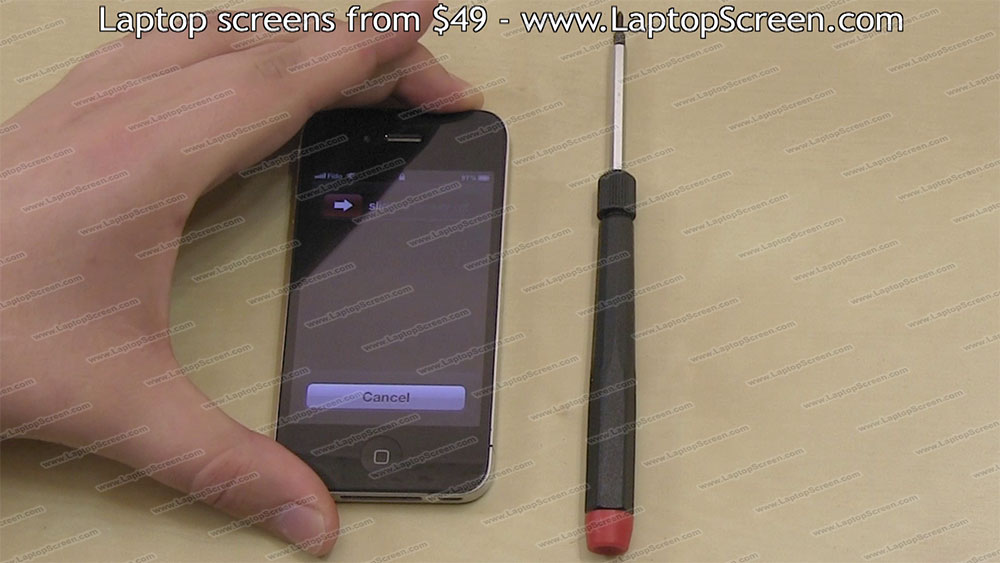
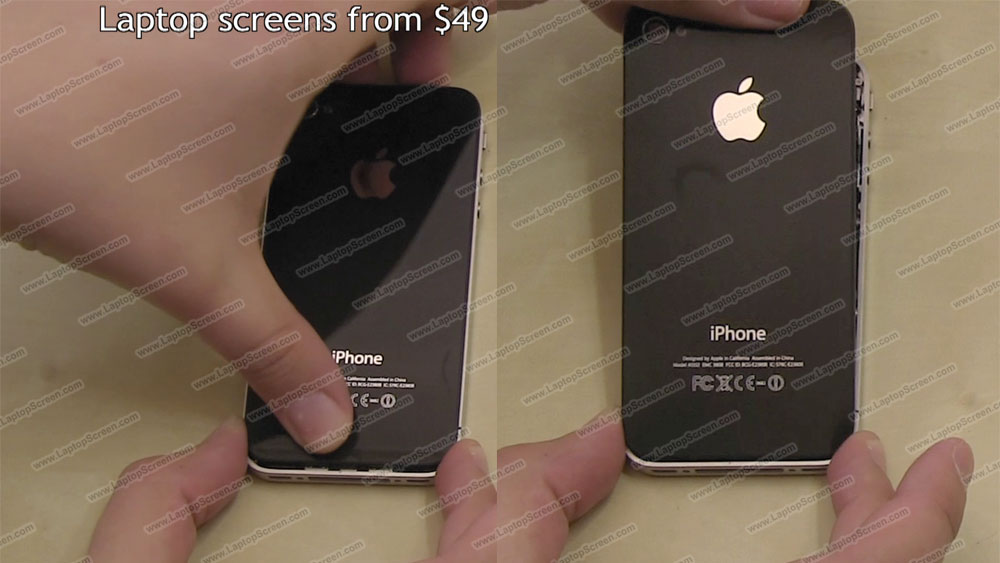
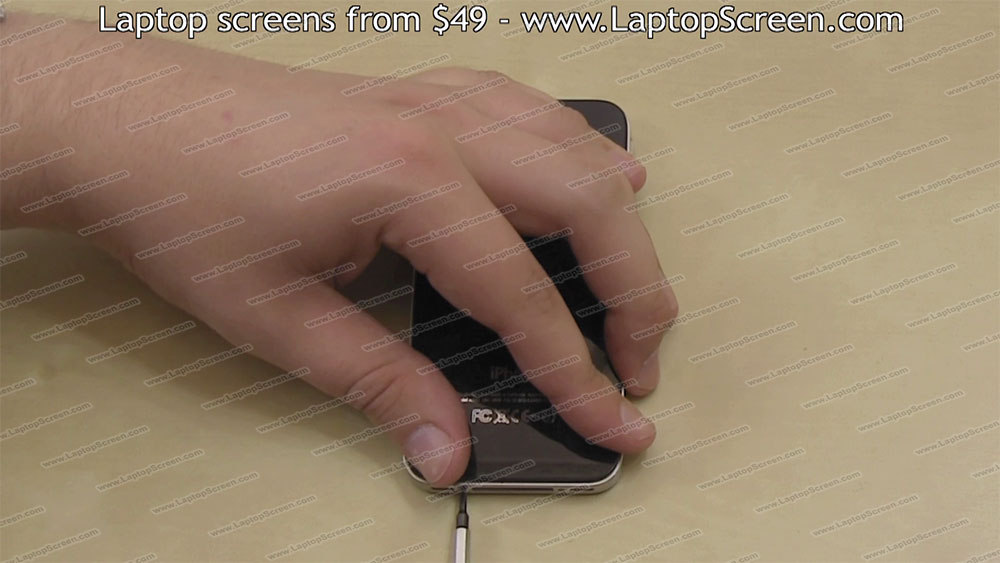
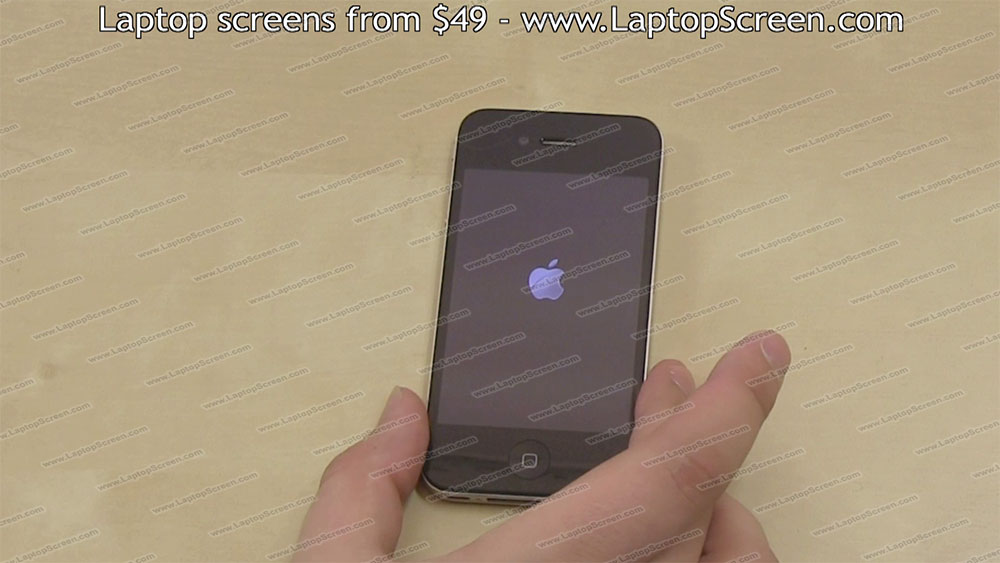
1. Before you begin the installation process, start by turning off the phone. This is done by holding down the power button on the top of the phone, then confirming the shut down.


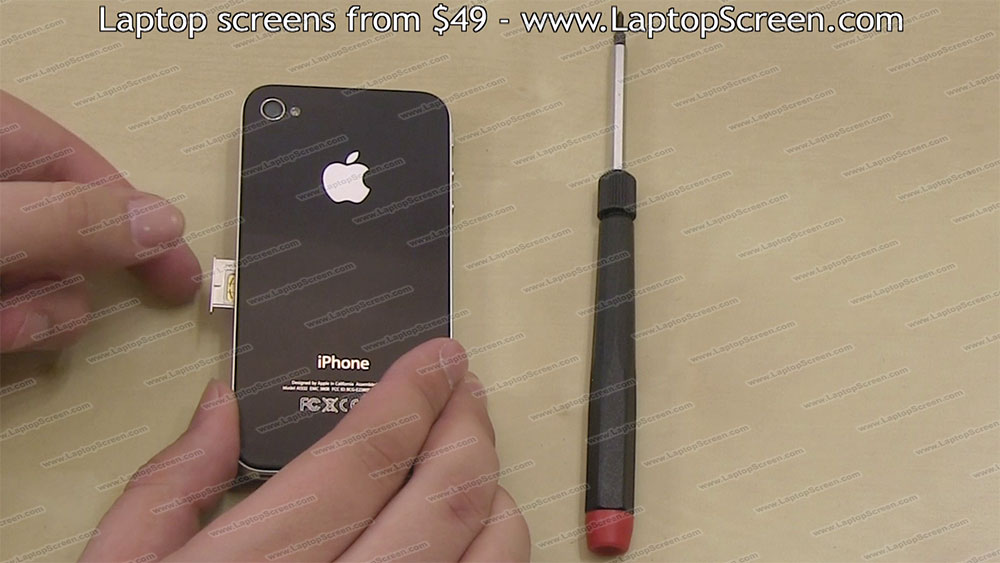
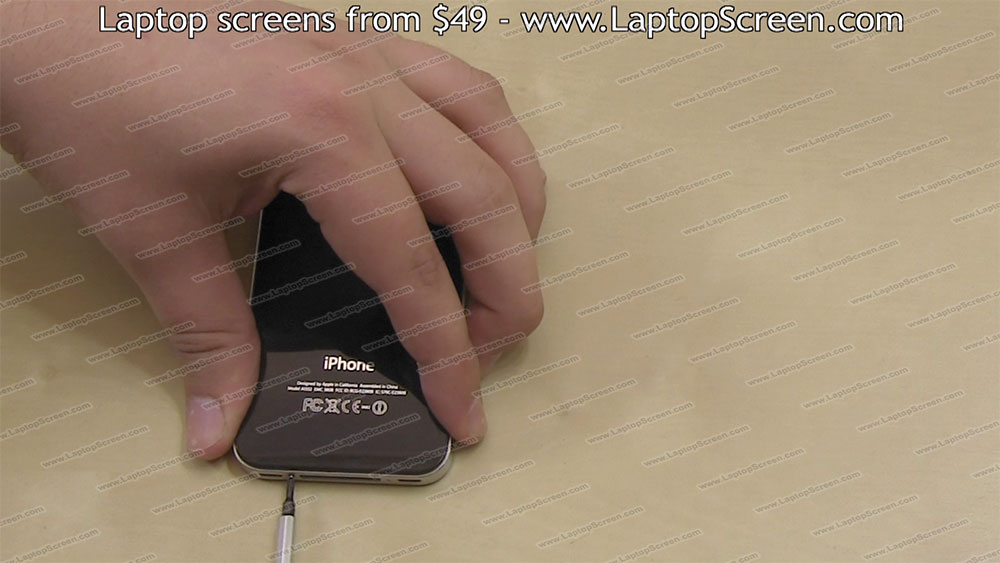
3. We recommend using a magnetized screwdriver, as you will need to remove quite a few screws in order to replace the LCD screen and digitizer on your iPhone 4.


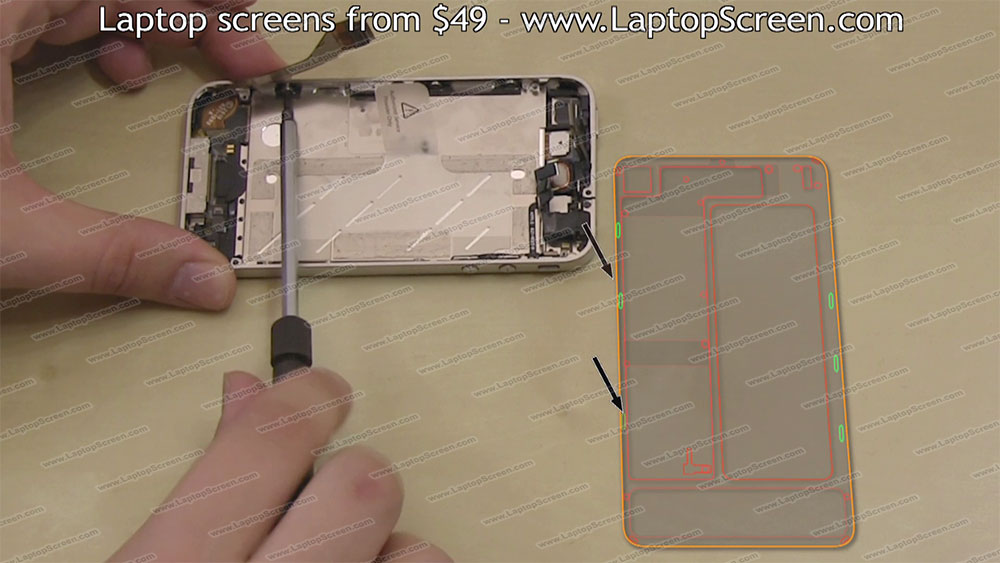
6. Since there are a lot of different screws and components to be removed and replaced in exact locations, we recommend creating a drawing outlining where each component goes. You can place the removed components and screws on the drawing to make it easier to re-install them later.
(Or you can download and print our map here)

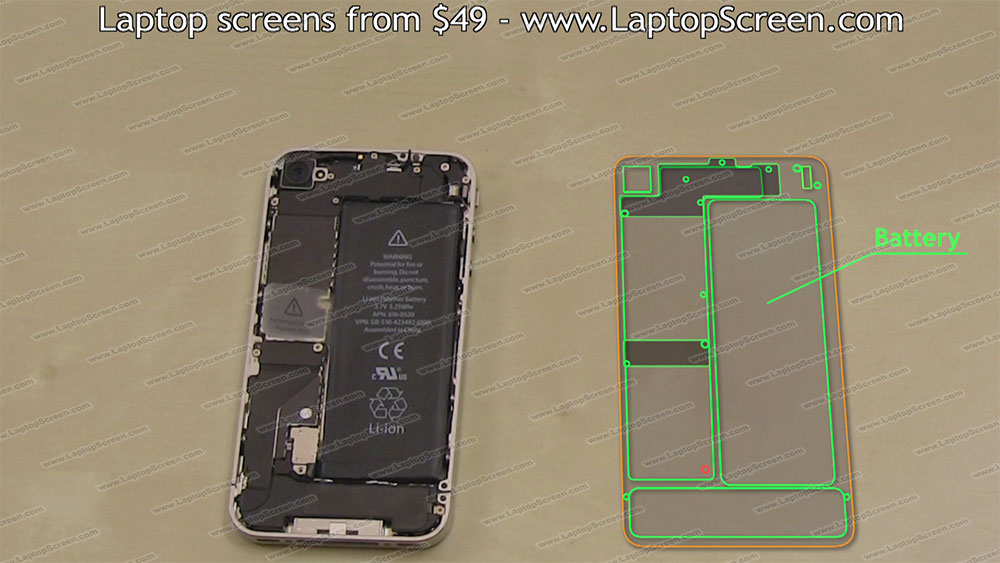
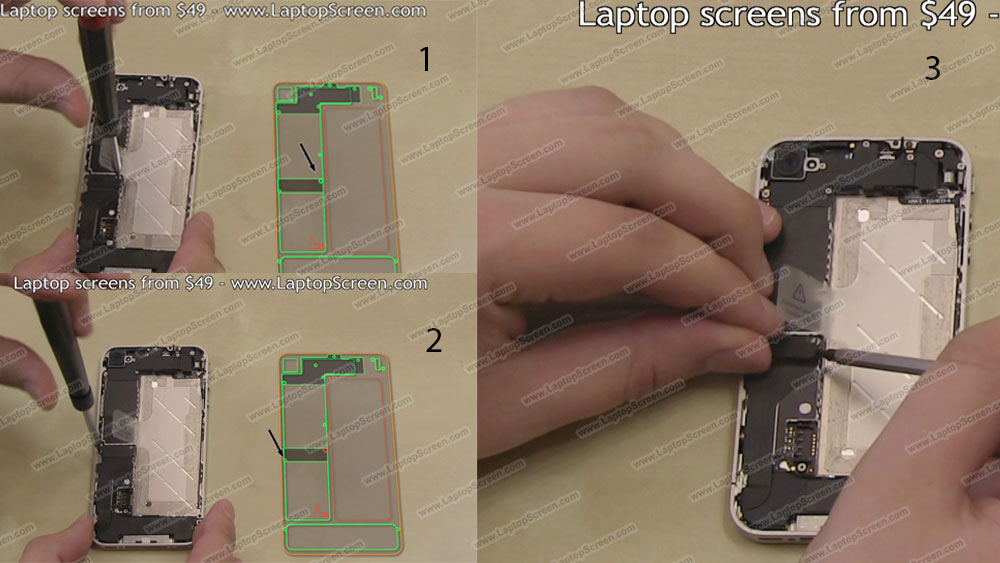
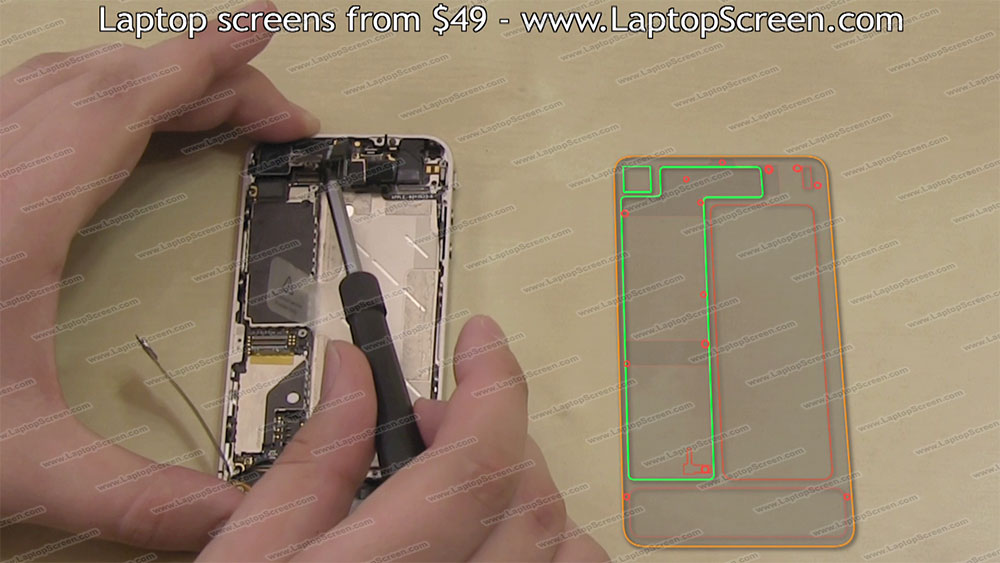
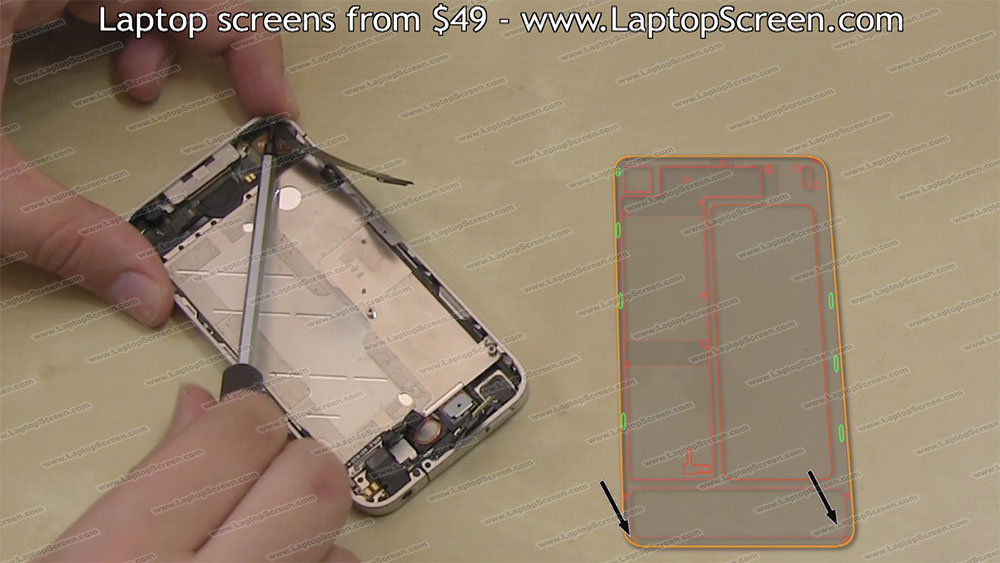
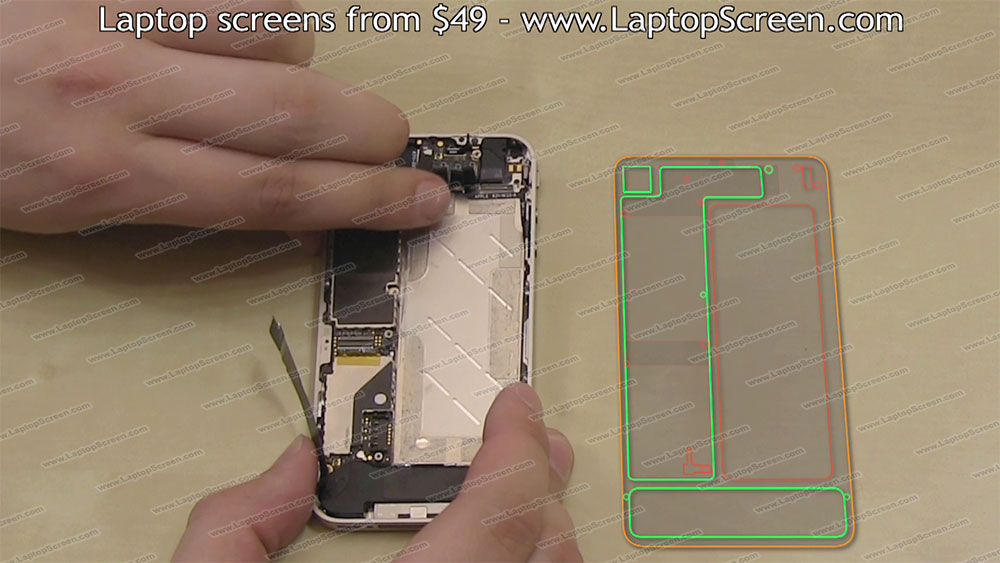
7. A virtual map will be displayed with the positions of screws and components, throughout the disassembly and reassembly process. The screws which are still present will be highlighted in green, while the absent screws and components will be shown in red. In the image you can see that the battery screw has already been removed, and the battery has been labeled.

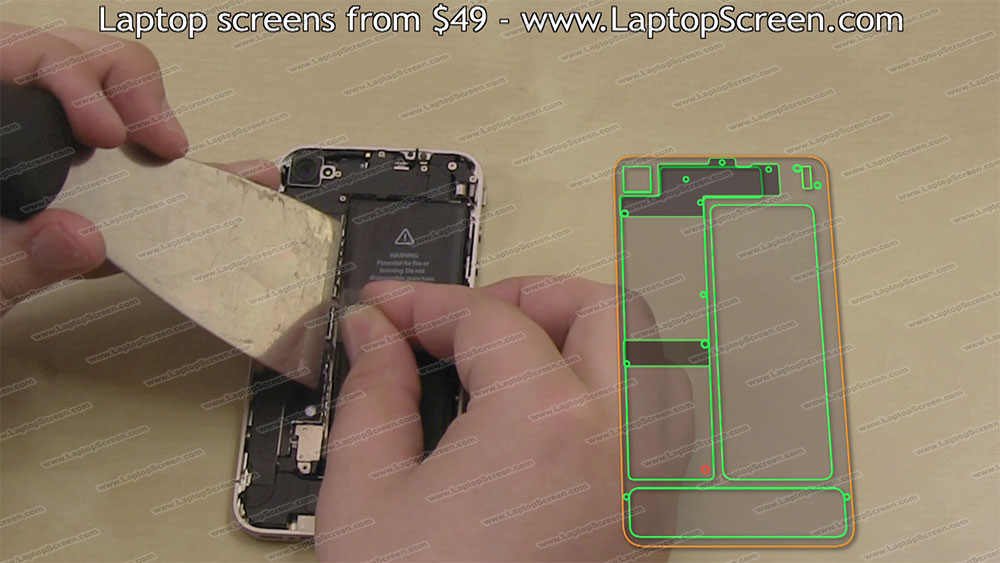
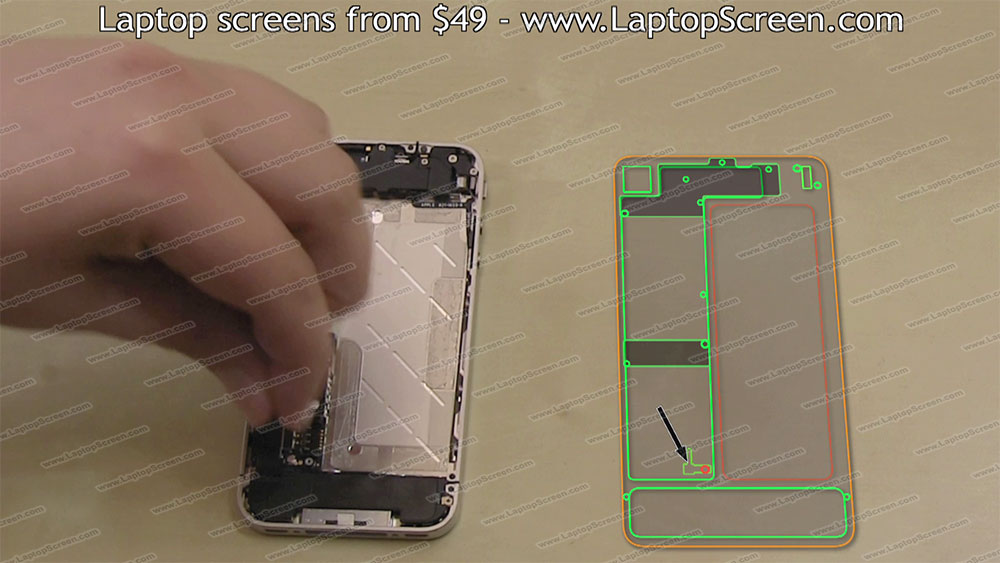
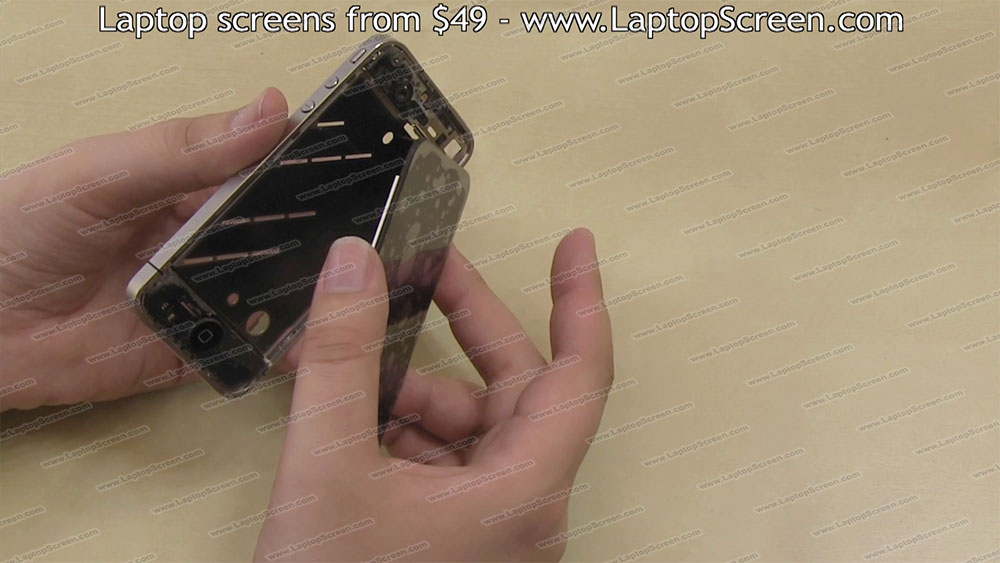
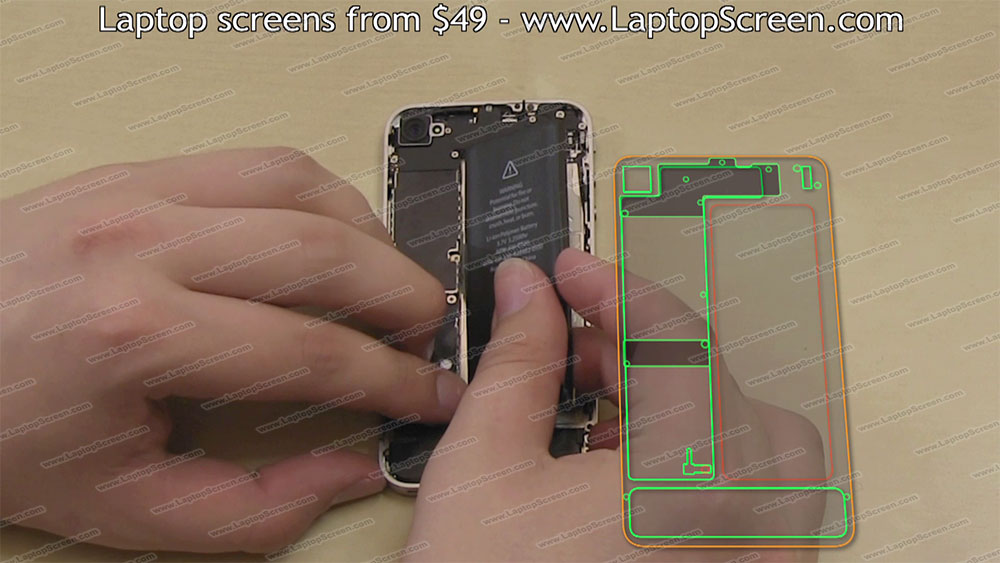
8. The first component to remove is the battery. Use the provided tab and a putty knife, or another wide tool, to remove the battery.


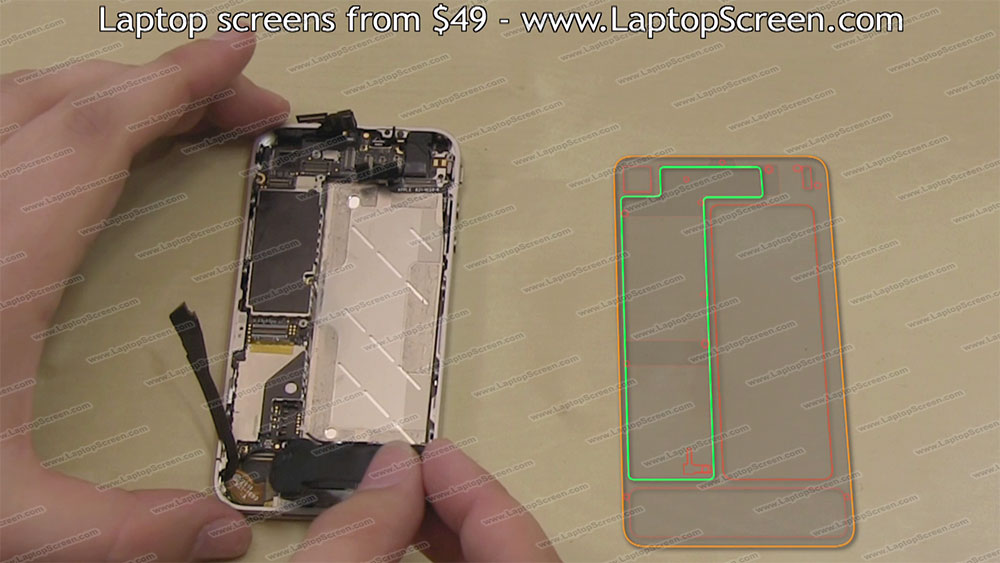
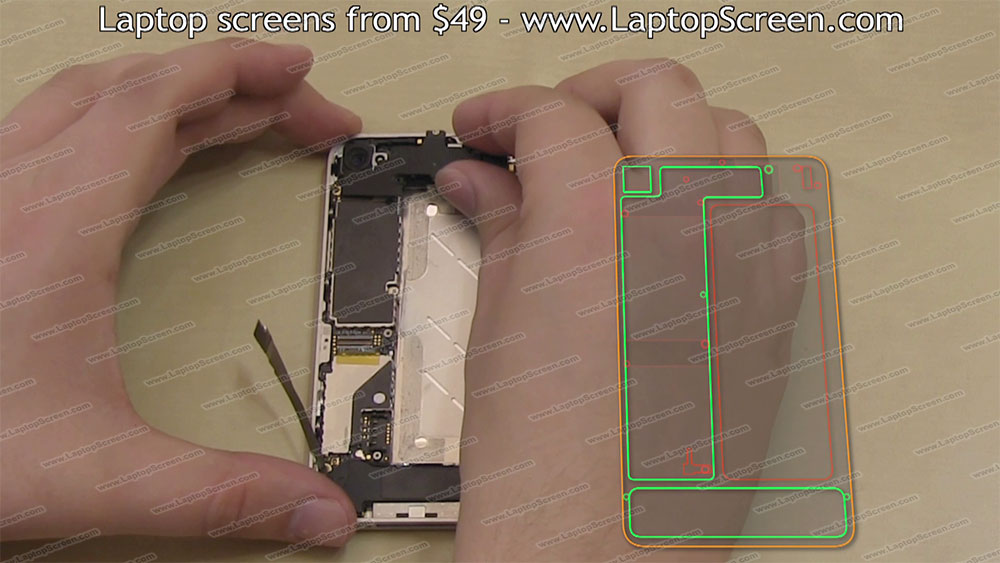
10. You can now take the two screws off from the first fastening shield, as well as remove the fastening shield itself.

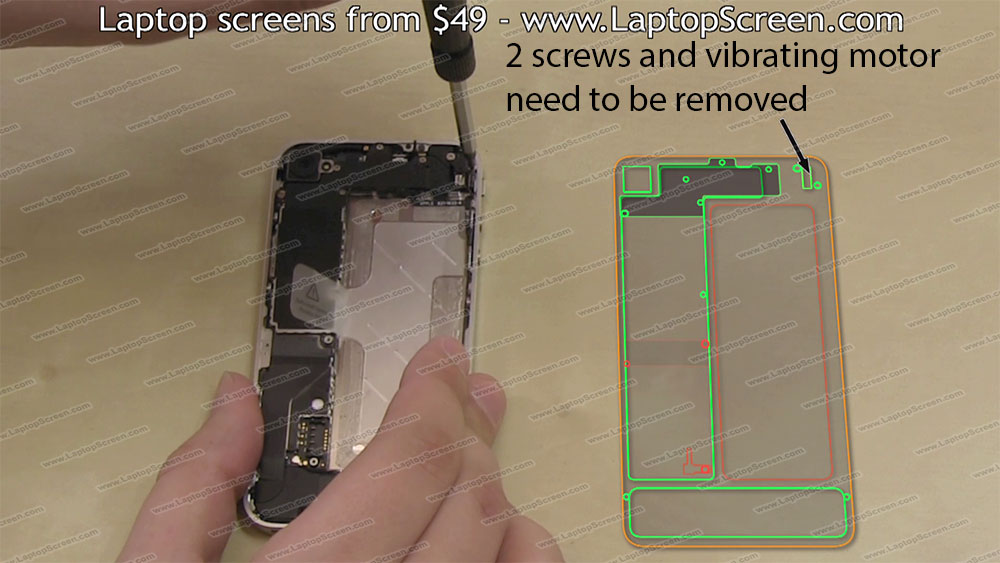
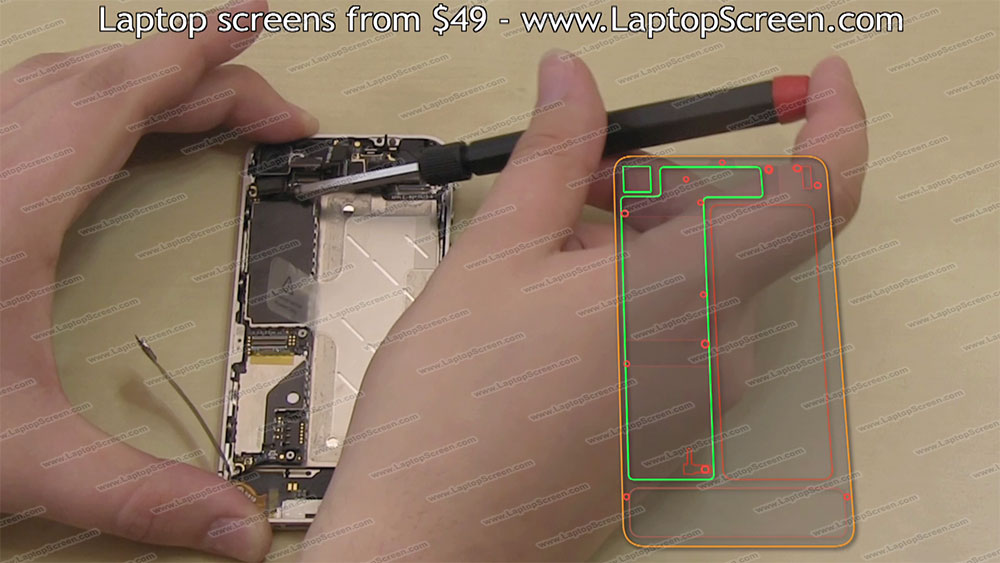
11. Following that, remove the vibrating motor after you remove the two screws holding it in place. There will be no connectors or cables to remove, as the vibrating motor connects via contact pins.

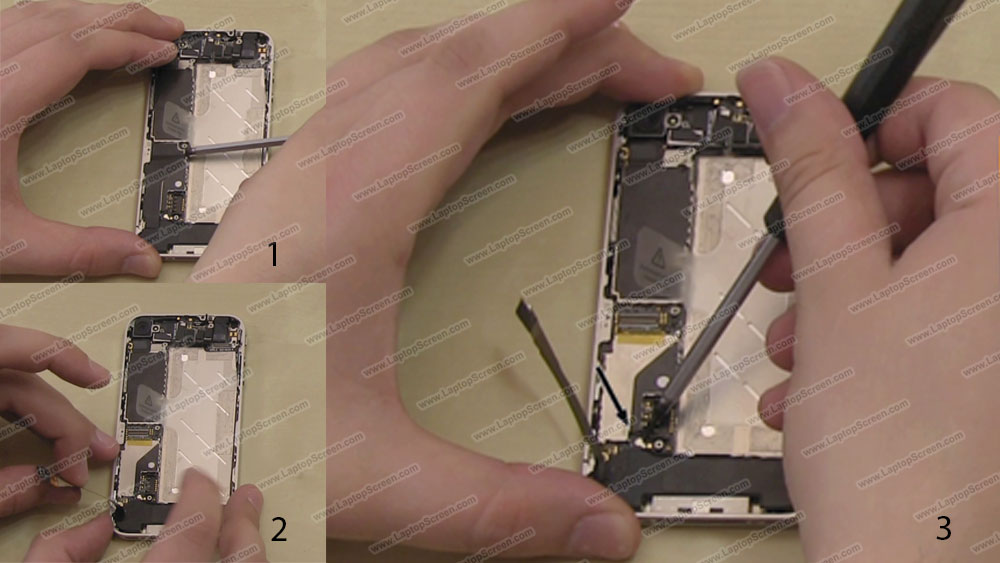
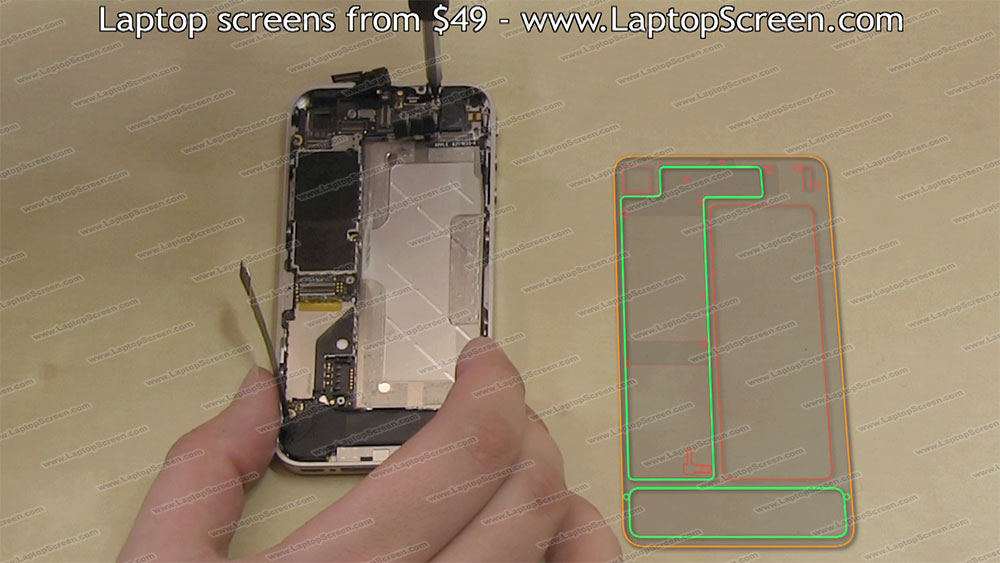
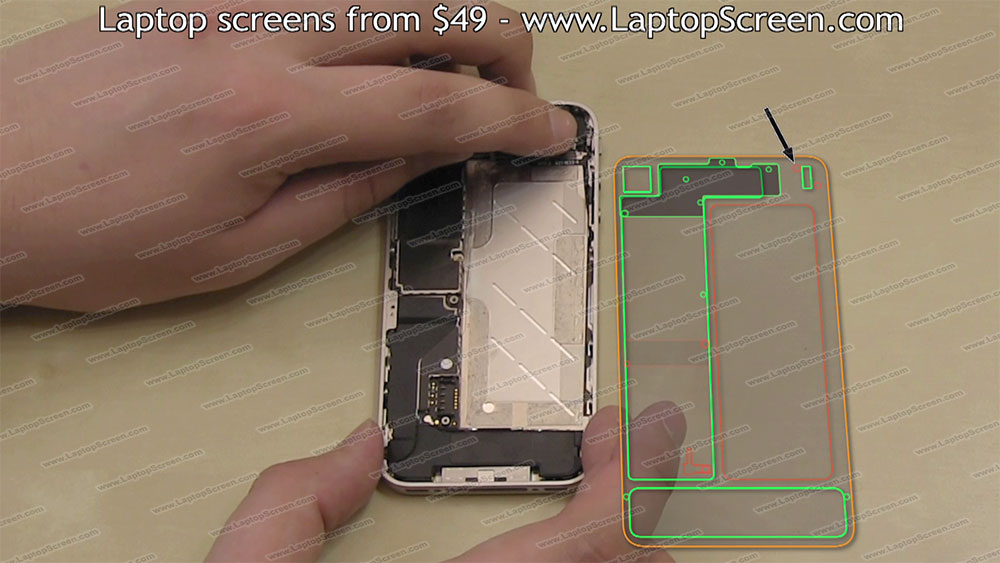
12. After that, remove the 5 screws that hold the upper fastening shield down. It is important to put the removed screws in the correct place on the map (drawing), as they are differently sized and unique to their place. It may be necessary to slide the fastening shield down a mm to pop it off its brackets.

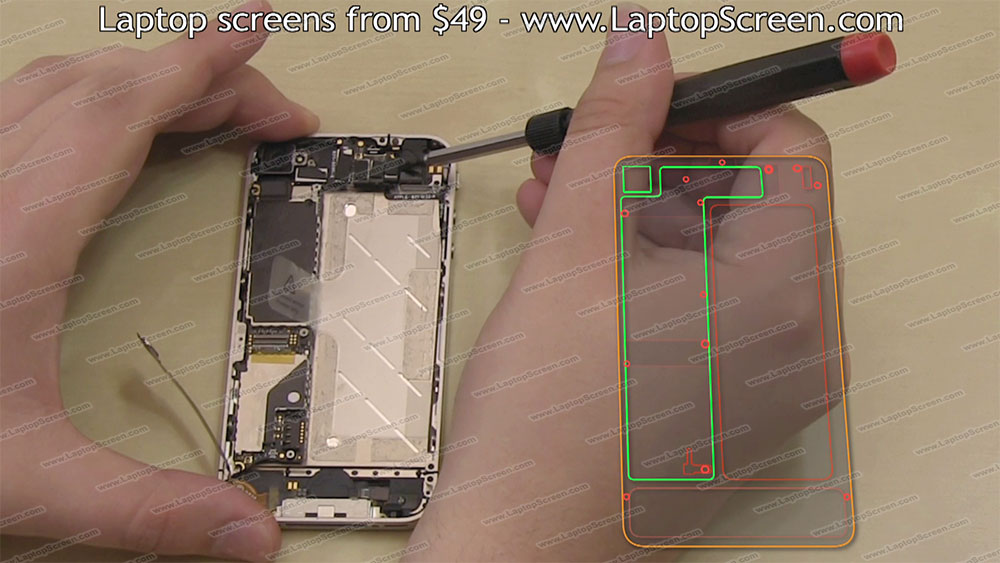
13. A white circle will be covering the logic board screw. The white circle is used to indicate if there has been any water exposure to the iPhone 4. Remove the screw under the white circle.

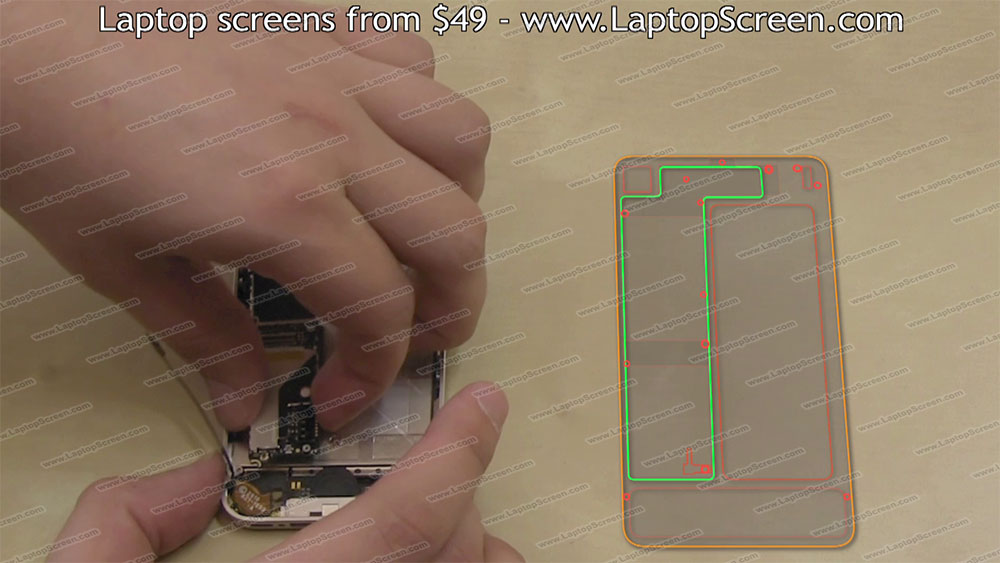
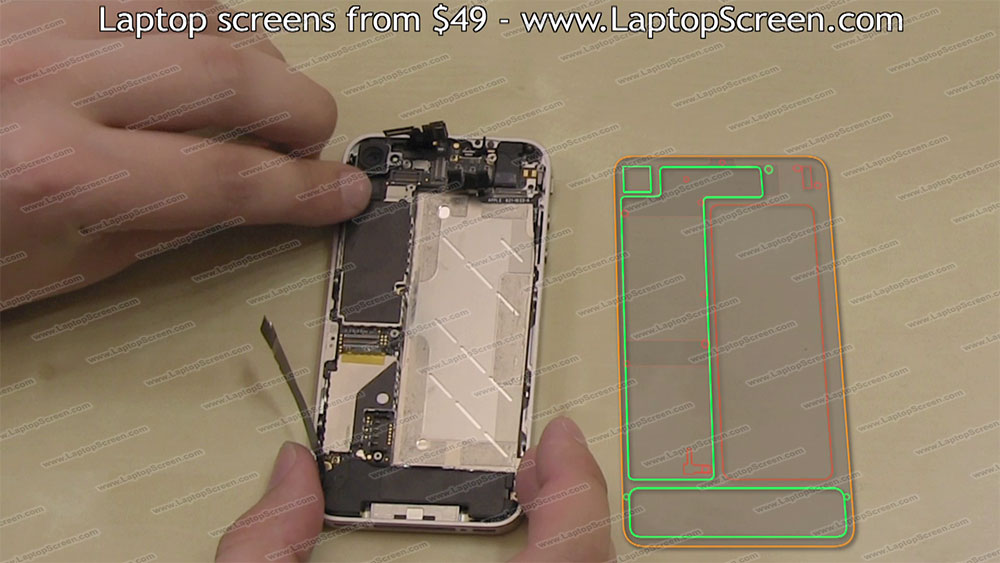
14. Using a flat-head screwdriver, open the middle connector and peel the flex cable up. After that, disconnect the Wi-Fi antenna cable from the logic board.

15. The next thing that you'll need to do is to remove the 2 speaker box screws as well as the speaker box.


17. Use a flat-head screwdriver to gently pick open the 3 connectors. This is best done from the right-hand side of the connectors.

18. The next connectors are for the LCD screen and the digitizer. It is best to pick those open from the bottom edge, again using a flat-head screwdriver.

19. The last connector to pick open, using the flathead screwdriver, is the camera connector, which is best done from the right side. After that has been done, you can now remove the camera.

20. The next component to be removed is the logic board. Make sure that the connectors are not in the way. It is recommended that you pick up the logic board by the bottom edge for removal.


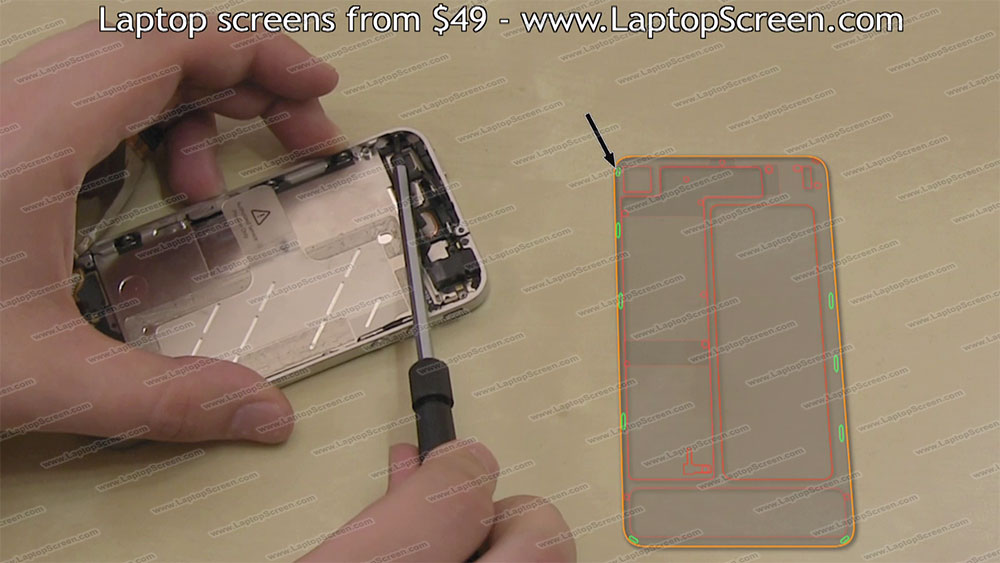
22. There are also 6 tiny screws with washers that need to be removed from the frame —3 screws from each side.

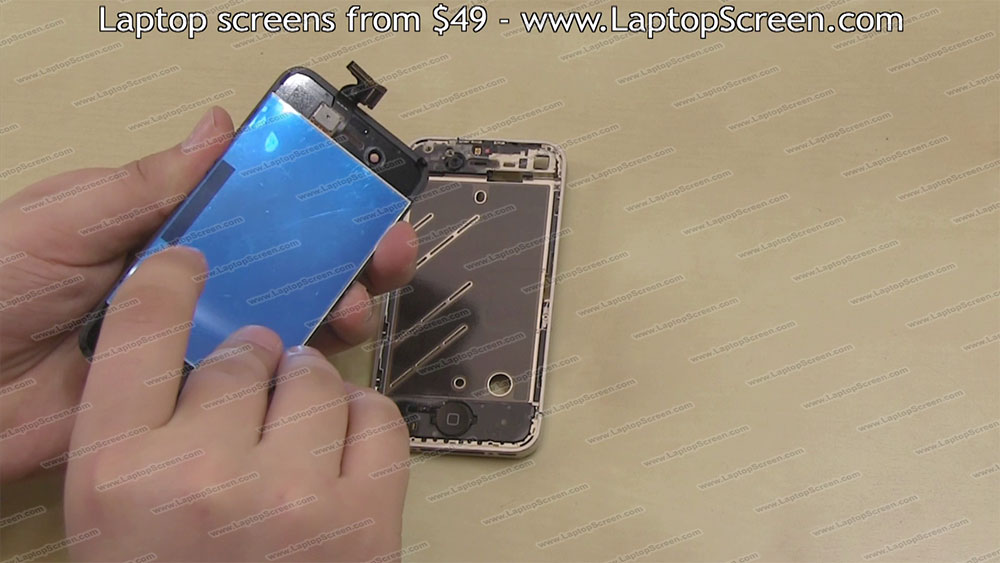
23. All of the screws and components have now been removed, and you can use a putty knife to remove the glass digitizer. The glass digitizer is glued in place, so we recommend starting at the bottom edge and working your way around the left side and around the perimeter to lift it from the mid frame.

24. You're now ready to remove the glass digitizer from the mid frame. Make sure that the LCD and digitizer connectors are not being caught, prior to separating the glass digitizer.

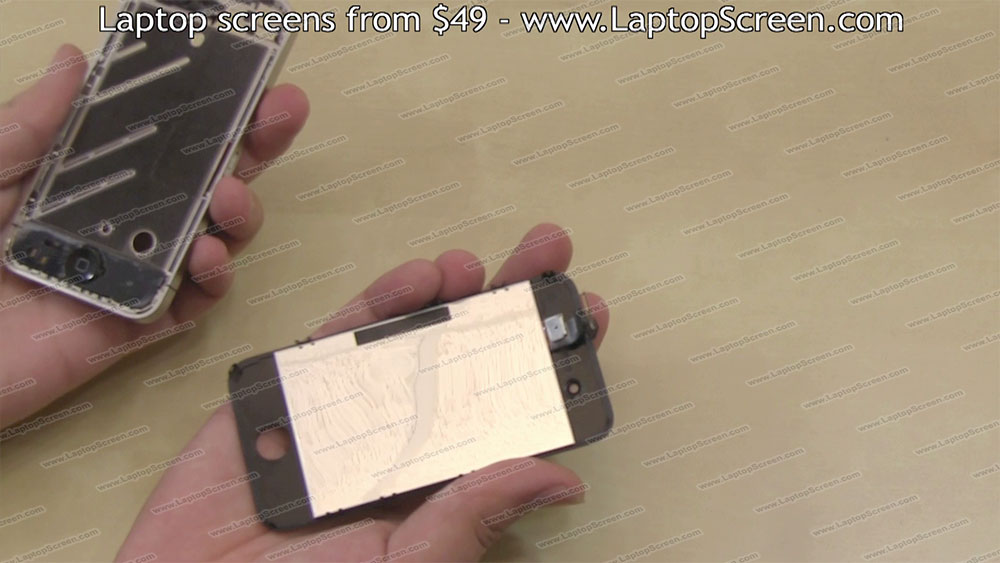
25. At this point, you can start to install your new glass digitizer. The protective plastic will need to be removed from the LCD screen prior to installation.

26. Make sure you feed the connectors through the mid frame. If they are not pulled through all the way, you will not be able to re-connect them on the logic board properly. Then, squeeze the top and the bottom edges of the front assembly on to the mid frame to catch the adhesive.

27. Your drawing will come in handy now that you are ready to replace the screws and components that you removed earlier. First, replace the side screws, making sure that the washers are present for each one.


29. Next, replace the speaker box. Make sure that the left mount slides under the logic board, also make sure the Wi-Fi antenna is flush with the frame. Replace the 2 screws and re-connect the Wi-Fi cable.

30. The next thing you'll need to replace is the logic board. Make any adjustments necessary to the connectors in order to replace the logic board.


32. Then, replace the screw that was under the water damage indicator (the white circle). You may also replace the water damage indicator if needed.

33. Secure the 5 connectors to the logic board. You'll notice a distinctive click for each one, when it is plugged in correctly.

34 The top fastening shield can be replaced next. You will need to slide it in from the bottom in order to catch its mounting bracket. After it is properly in place, replace the 5 screws.


38. Put in the odd-shaped piece next. This piece connects the battery ground to the back cover to provide better shielding and to diminish wireless signal noise. The final component that needs to be replaced, inside the iPhone 4, is the battery. Plug in the connector first, to make it easier to align. Go ahead and place the battery back in the bay and replace the screw.


