iPhone 6 screen and glass digitizer installation and replacement guide.
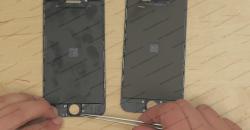
This is a guide on replacing a glass touch screen digitizer and an LCD on the Apple iPhone 6.


Using a suction cup and a plastic pick separate the screen assembly from the main body at the bottom edge.


Proceed on removing the five phillips screws securing the connector plate. In order to keep track of the different screw placements put all the screws on the desk in the same pattern as they were installed on the phone. Set the connector plate on the desk next to its screws.


Proceed on removing the home button from the screen assembly. Remove two phillips screws securing the home button plate. Remove the plate.


Making sure that the rubber membrane around the button separates evenly and remains with the home button.

Separate the home button flex cable from the display assembly using an exact-o-knife. Remove the home button with its cable attached and set it aside.

Proceed on removing the three phillips screws securing the camera bracket. Make sure to lay the screws on the table int he same pattern as they were installed on the device. Set the camera bracket aside.

Remove six tiny phillips screws securing the large metal plate, 3 on each side of the screen assembly. Remove the last phillips screw near the home button opening.

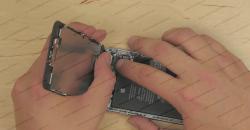
Gently separate the metal plate, taking extra caution where the home button cable is glued onto the display assembly near the home button opening.


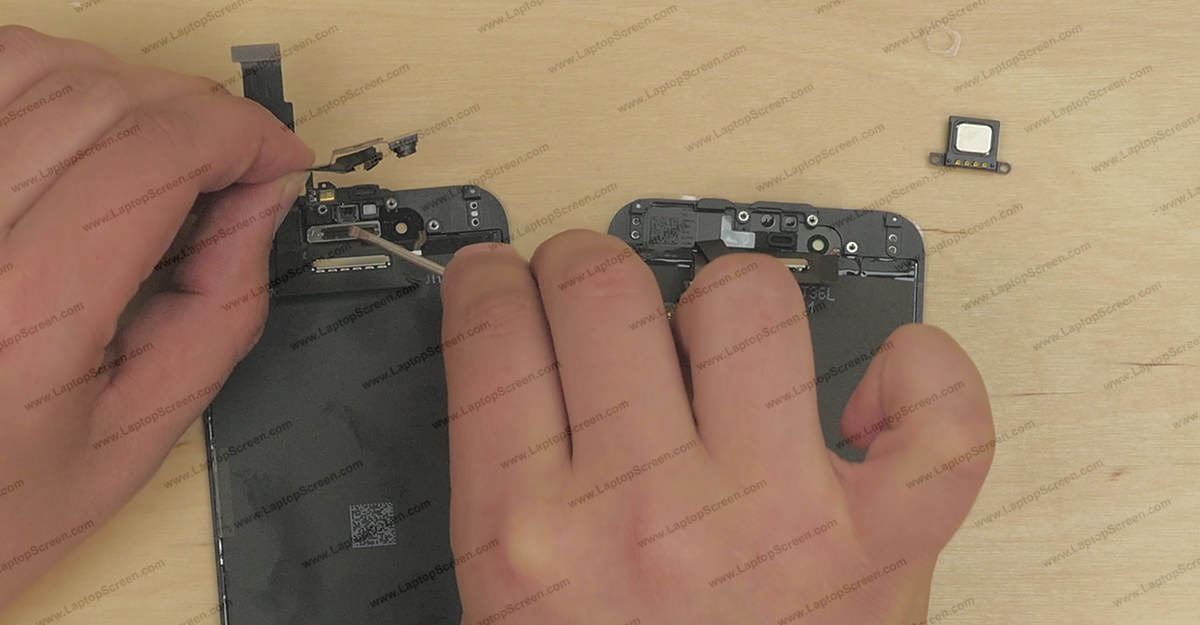
Using a flat screwdriver carefully separate the camera and sensors garland from the old screen assembly.

Using tweezers transfer the rubber screw dampeners from near the home button opening onto the new screen assembly.


Replace the camera and sensors garland onto the new assembly, making sure that all the sensors align with their respective placements.


Replace the large metal plate, making sure that the home button cable is fitted underneath the camera flex cable. Secure the six tiny phillips screws, 3 on each side of the large metal plate.


Align the home button connector with its correct placement on the display assembly. Replace the home button.


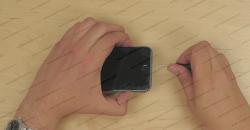
Begin reconnecting the display assembly to the main body. Align the connectors one and close them by one carefully pressing down. Make sure to properly align each connect, it makes a distinct click when connected properly.


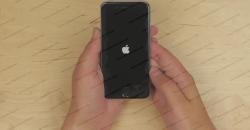
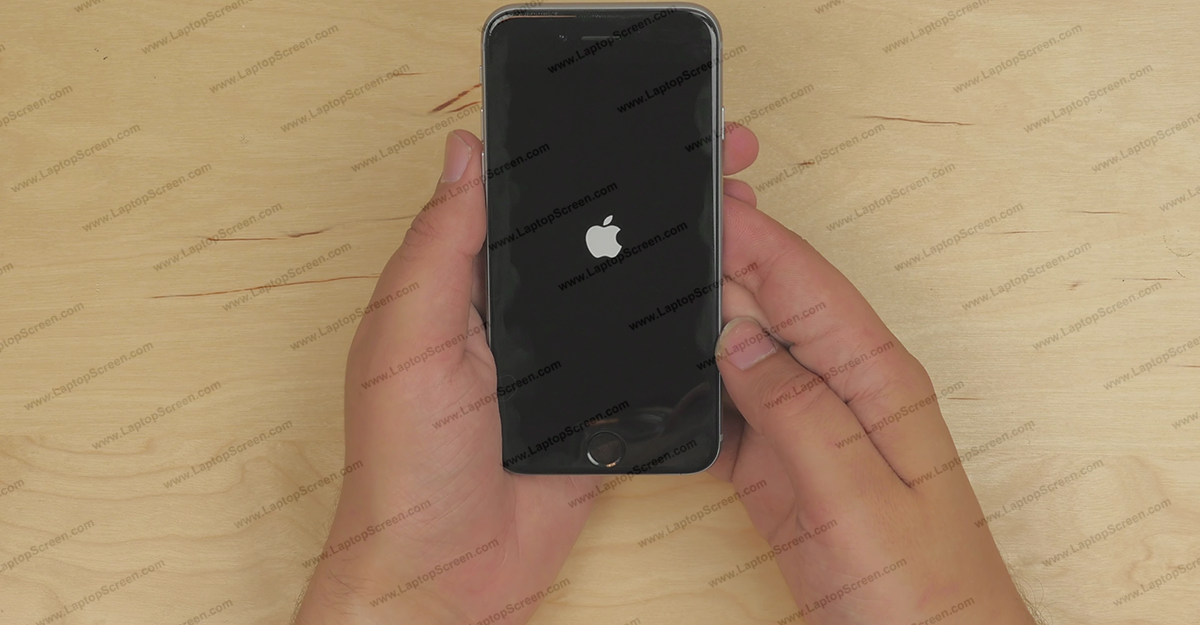
Proceed on closing the display assembly - ensure that the top edge is properly fitted into its groove.
