Please watch the following video (highly recommended), or follow the step by step instructions below:
The following is a guide for installing a glass digitizer and LCD screen on an Apple iPhone 3G. Both of these components make up the front assembly, which we recommend replacing entirely, if either of the 2 parts need replacing.
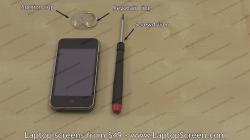
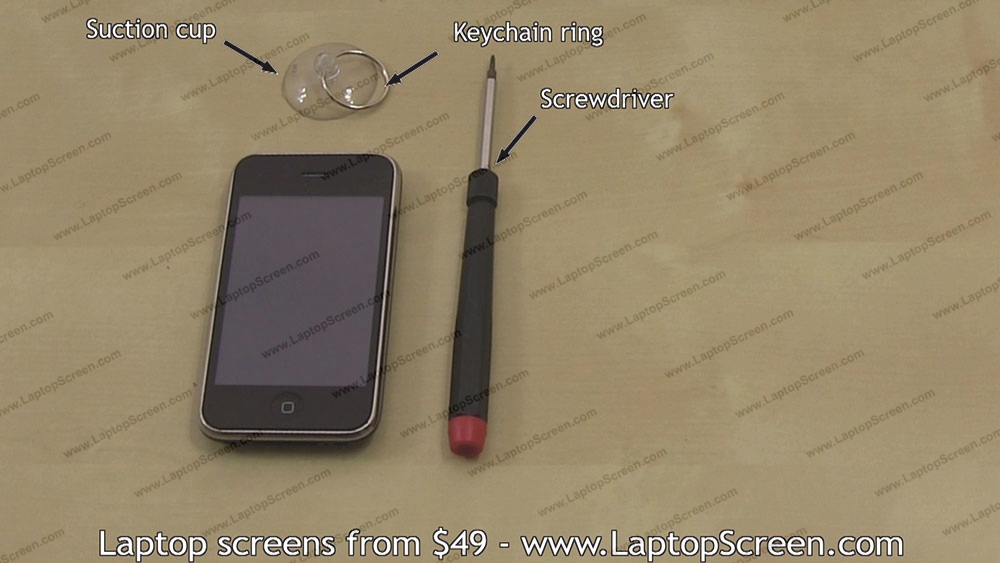
1. These are the tools you will need in order to replace the LCD screen and glass digitizer:
-flat-head screwdriver
-phillips screwdriver
-suction cup with key-chain ring attached
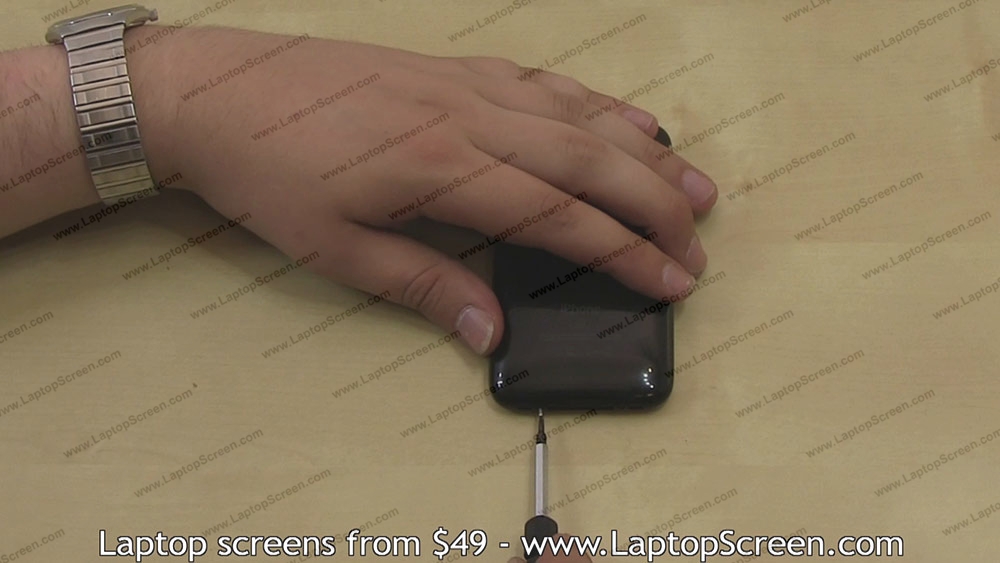
2. The first thing that needs to be done to replace the LCD screen and glass digitizer, is to remove the 2 screws on the bottom of the iPhone 3G. Use a phillips screwdriver to remove the 2 screws, 1 on each side of the docking connecter.
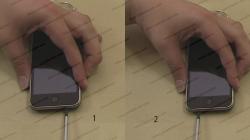
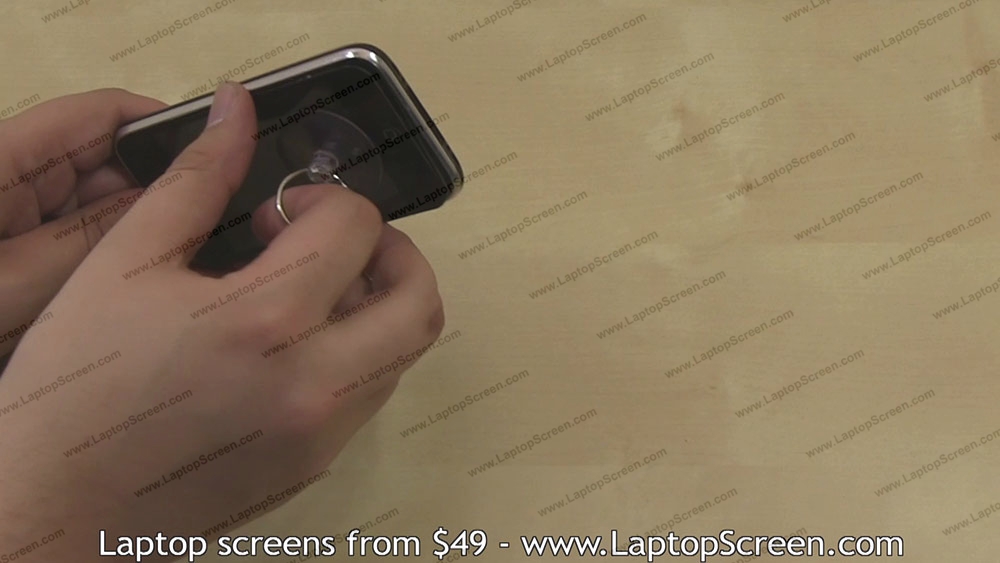
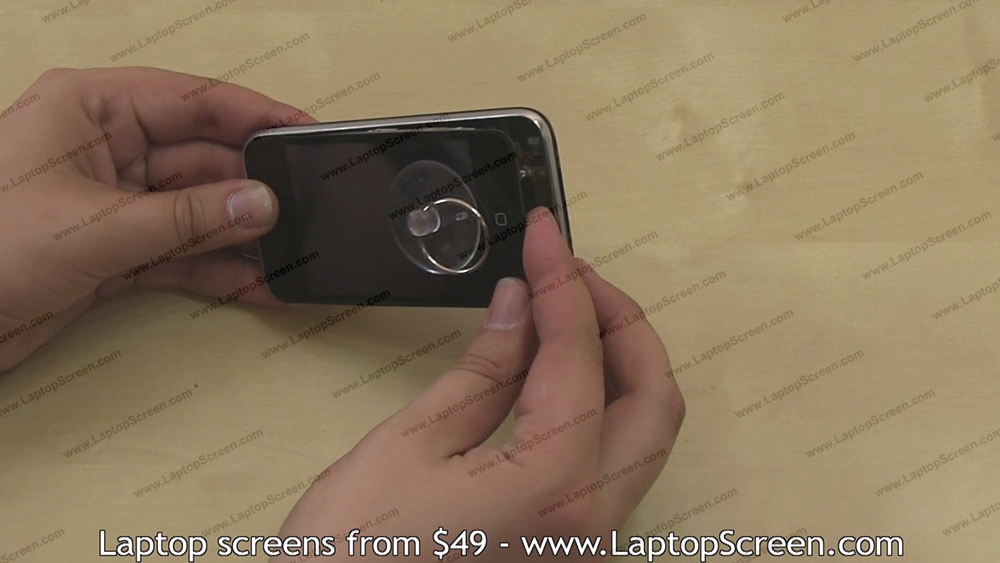
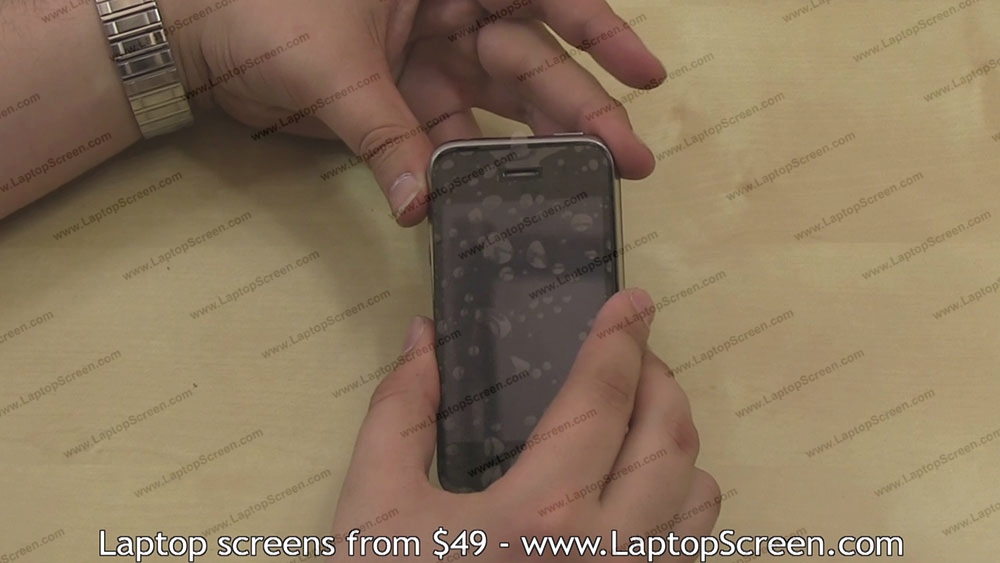
4. With the suction cup in position, place your left thumb on the speaker hole, located on the front of the screen, on the top portion of the iPhone 3G. Having your thumb in place, in that position, will prevent damage from occurring to the logic board connectors.
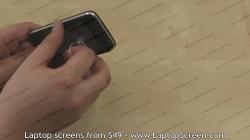
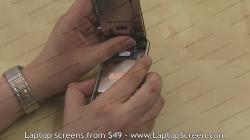
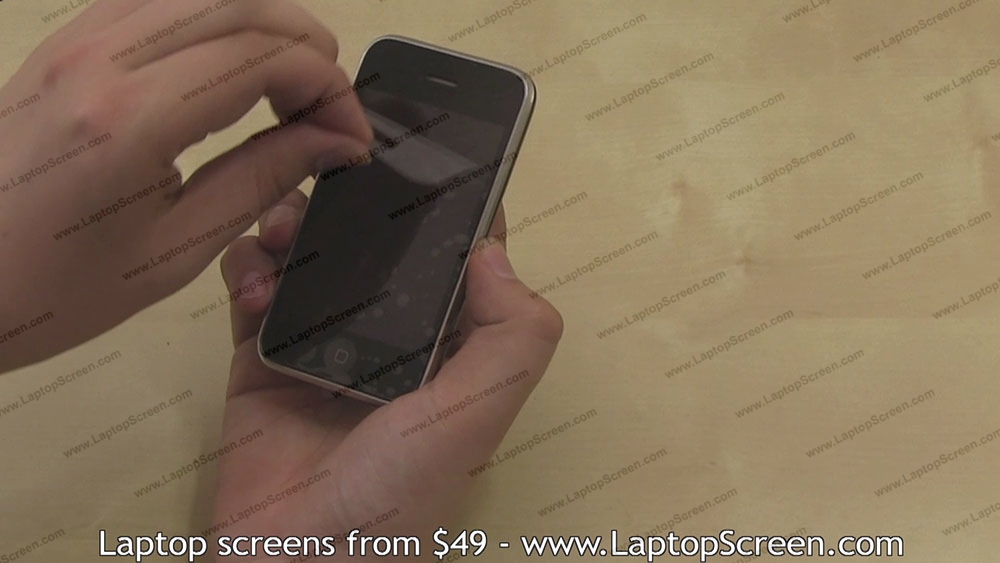
5. Gently pull up on the suction cup, by placing your index finger inside it. At the same time, create leverage by placing your right-hand thumb on the chromed frame. You will only need to pull up a little, in order to create separation between the glass digitizer and the iPhone.
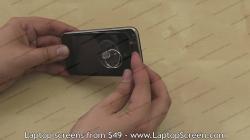
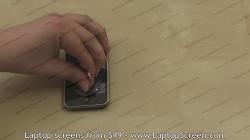
6. Use your fingers to pull up the screen, but do not attempt to remove it at this point. There will be a few cables which will need to be properly disconnected, prior to fully removing the screen.
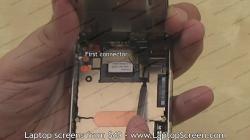
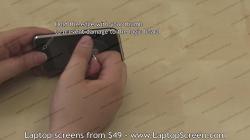
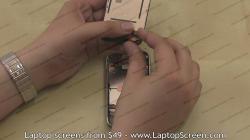
7. With the touchscreen digitizer screen propped up from the back, use a flat-head screwdriver to open the first connector.

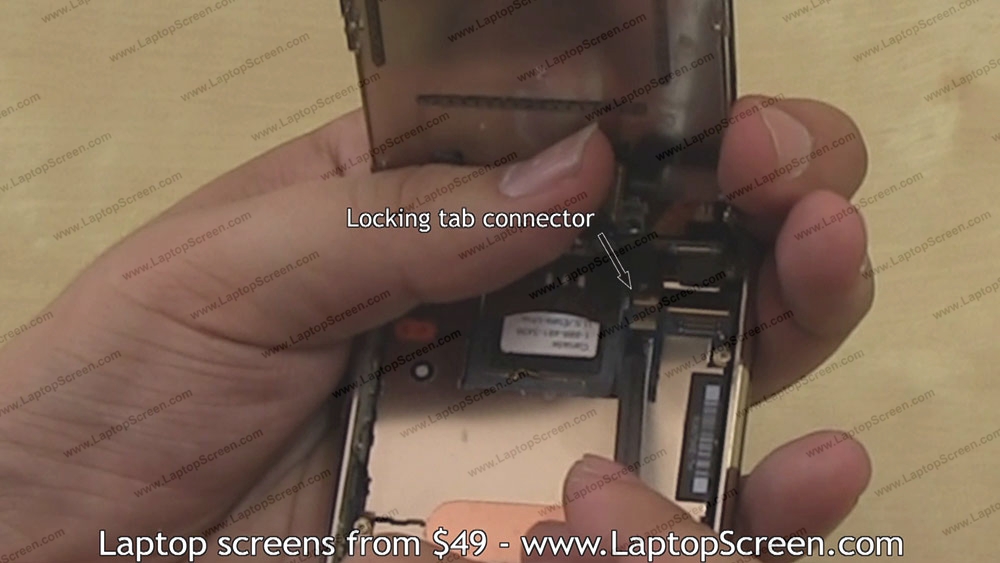
8. Under the first connector is a locking tab connector, which needs to be opened with a flat-head screwdriver.
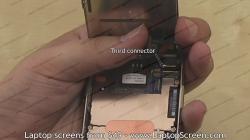
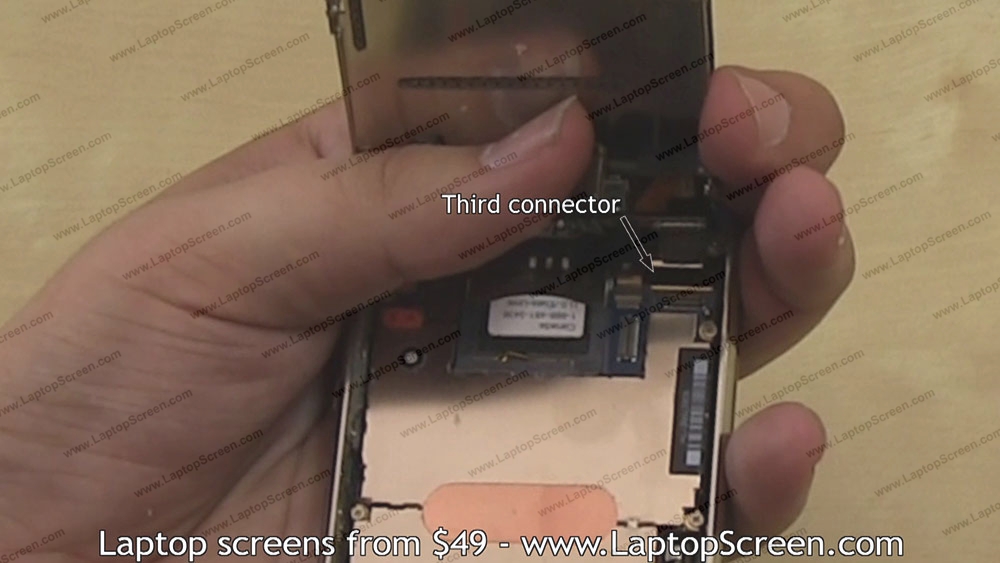
9. There is a third connector on the right. This connector typically separates on its own, but a pick or flat-head screwdriver may be necessary for separation.
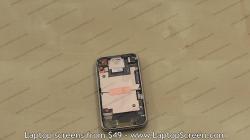
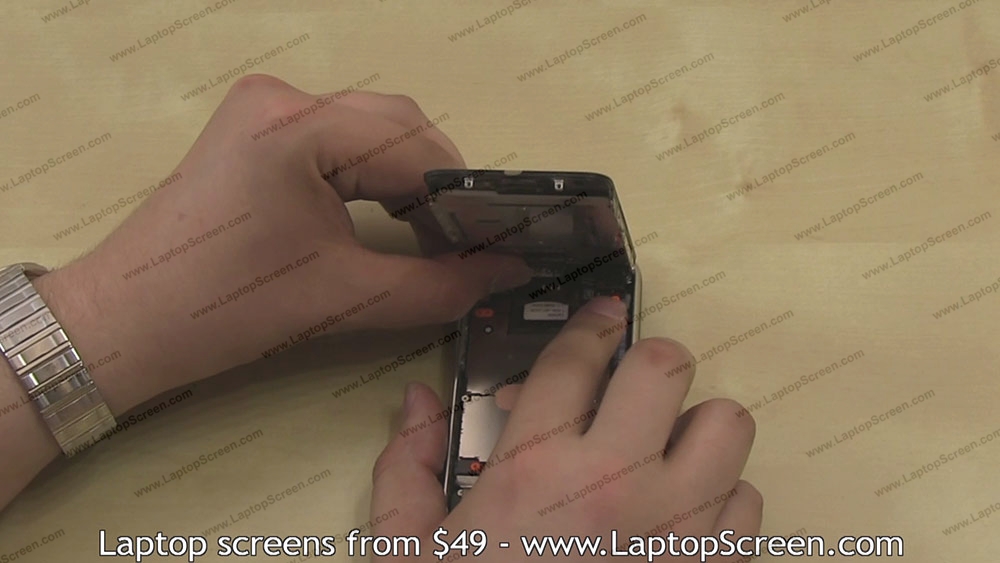
10. Now that all 3 connectors have been disconnected, the LCD screen and touchscreen glass digitizer can removed.
11. We can now proceed to install the new LCD screen and glass digitizer. We recommend separating the orange flex connector cable from the other connectors.
12. Align the orange flex connector cable with the locking tab connector, pushing the flex cable in.


14. The 2 other connectors will need to be pressed in to place. They will make a distinctive click when plugged in properly.
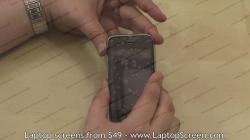
15. Now that the connectors are in place, insert the top edge of the LCD screen and glass digitizer in to the groove on the top edge.
