This is a guide on replacing a glass touchscreen and an LCD on an the Apple iPhone 6S Plus
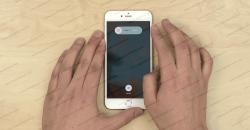
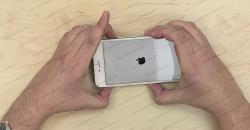
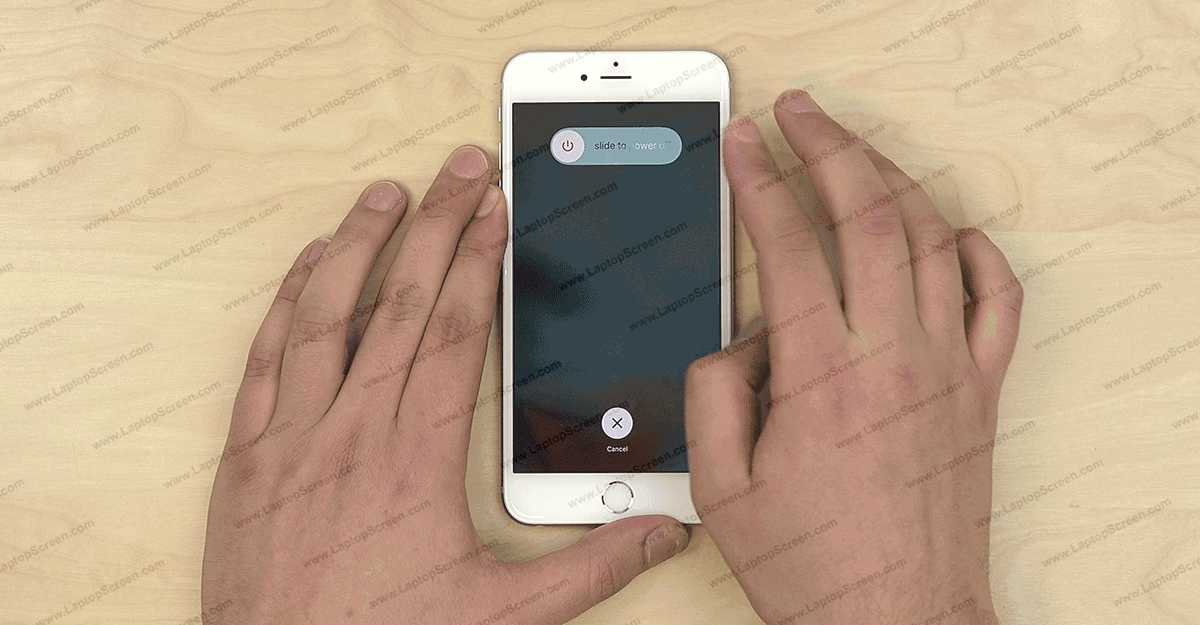
To begin turn off the phone by holding the power button on the side and confirming the shut down on-screen.
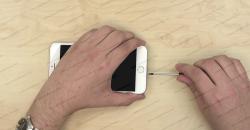
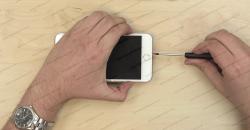
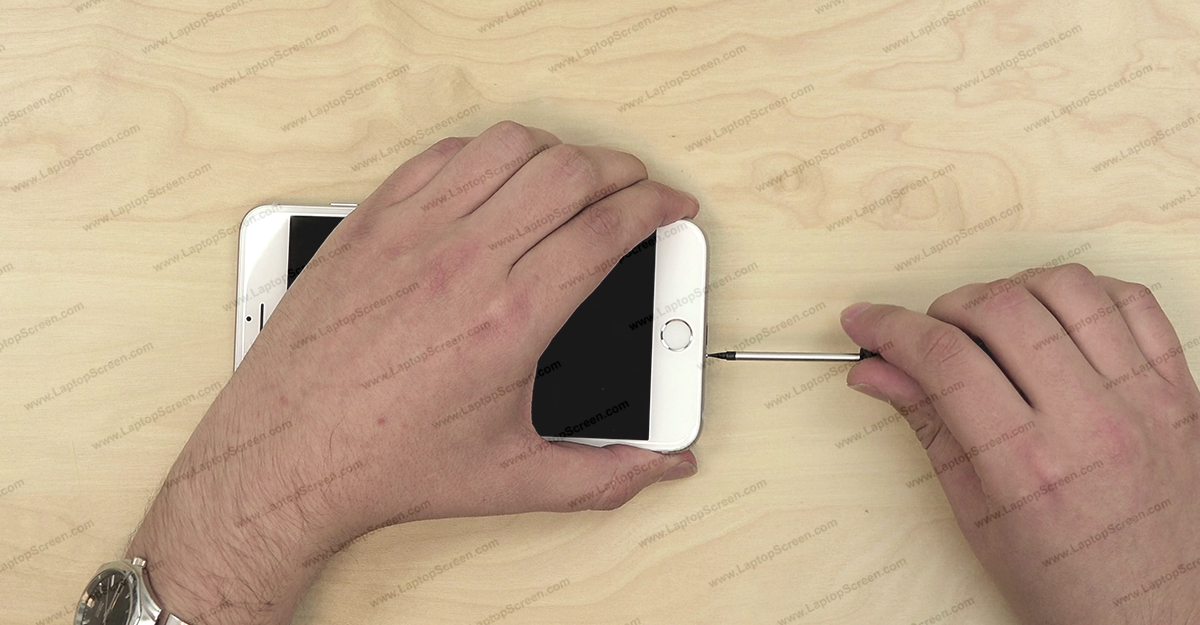
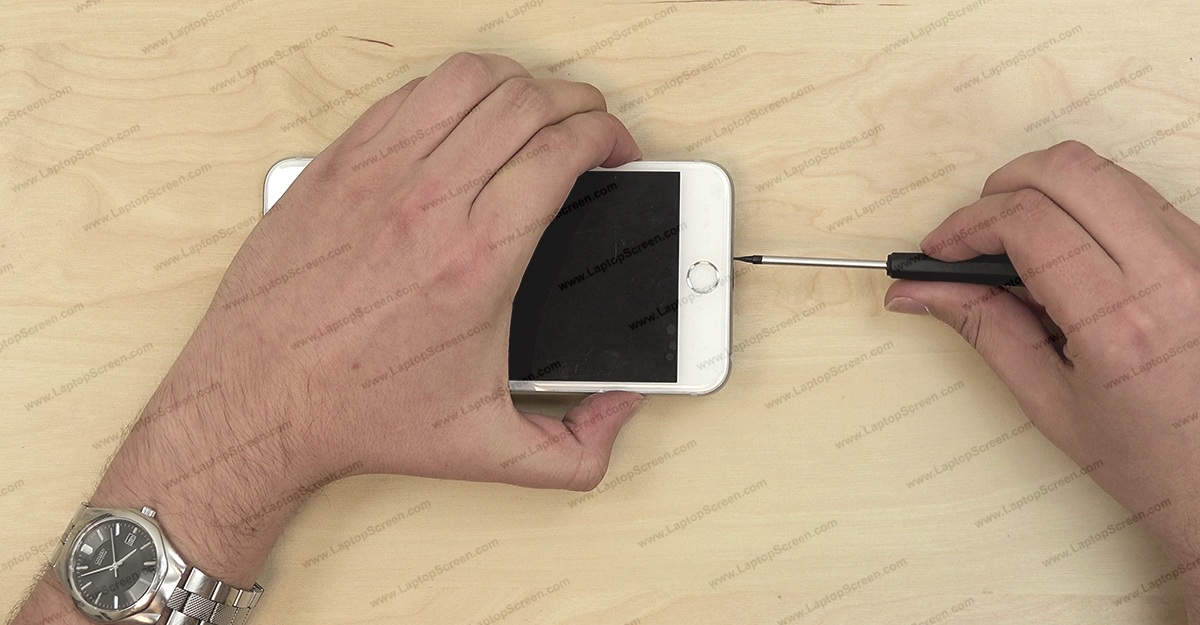
Remove two screws with a pentalobe screwdriver one on each side of the docking connector. Set the screws aside.
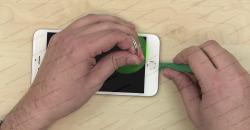
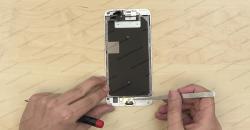
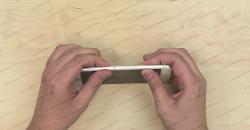
Place a suction cup as close to the home button as possible with-out overlapping it. Pull on the suction cup while opening the phone from the bottom edge.
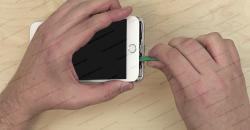
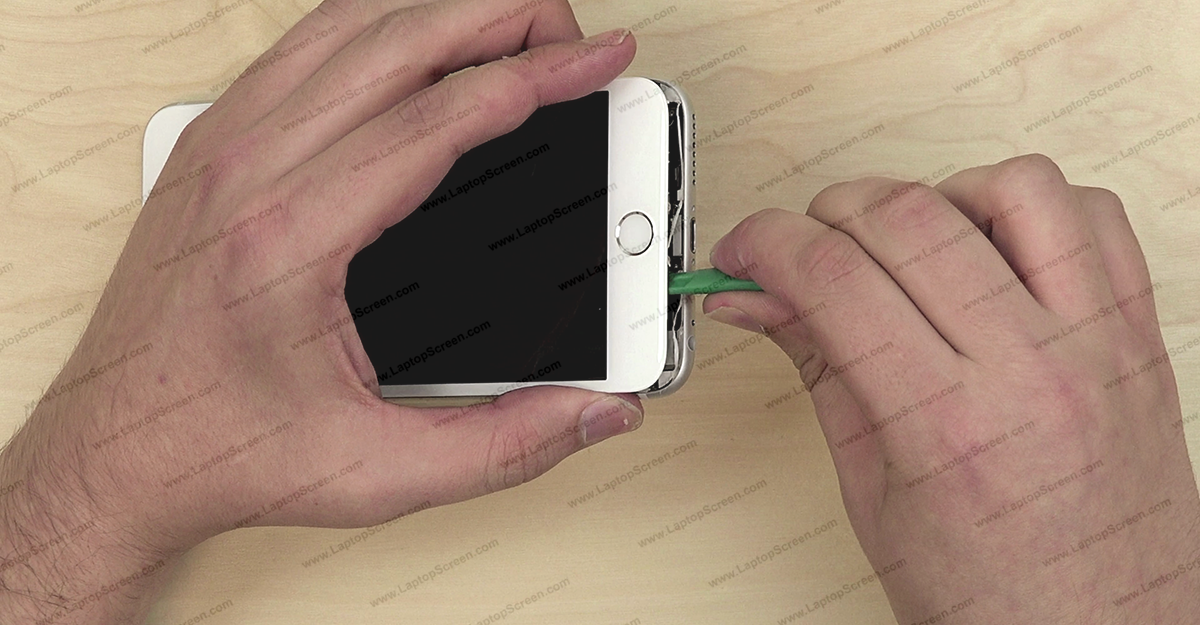
Insert a plastic pick in the gap between the front assembly and the main body. Gently move the plastic pick around the perimeter of the device. Proceed on opening the phone from the bottom edge.
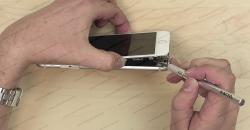
You may need to cut several strands of glue between the front assembly and the main body during separation.


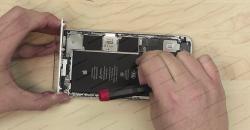
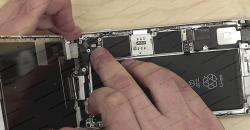
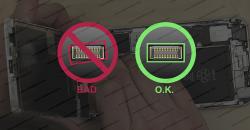
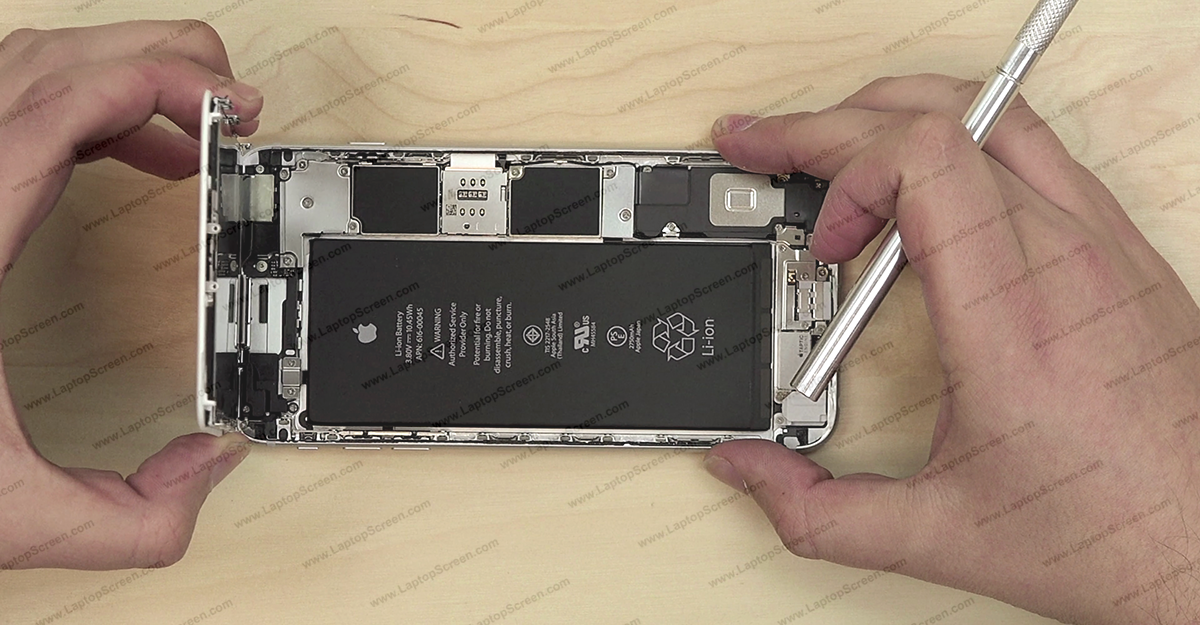
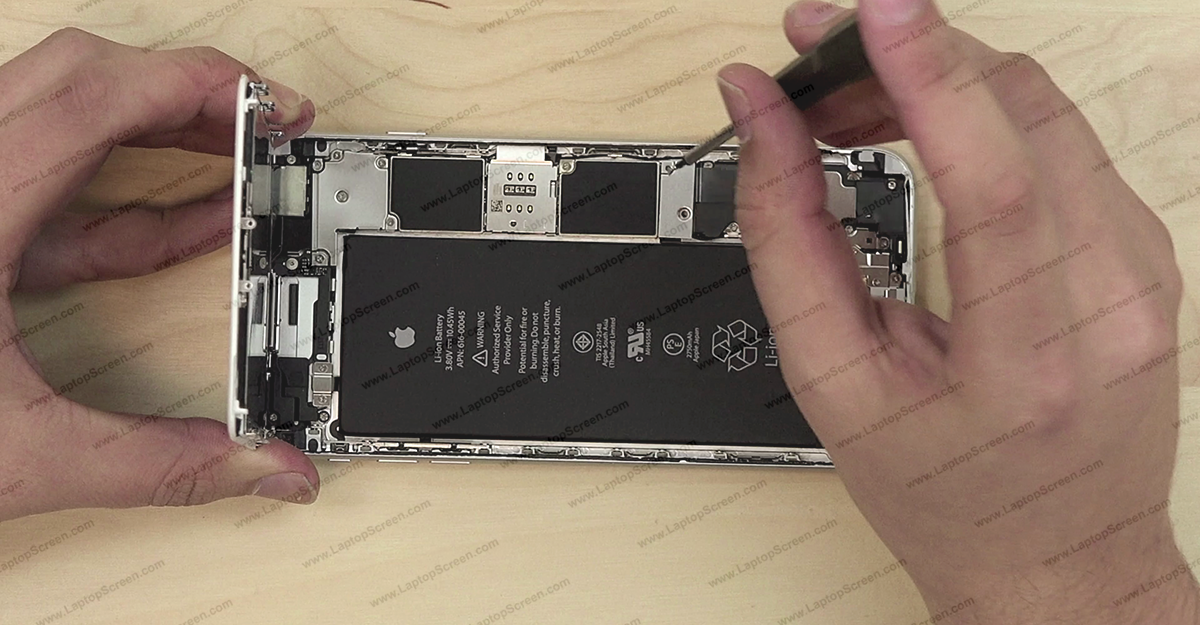
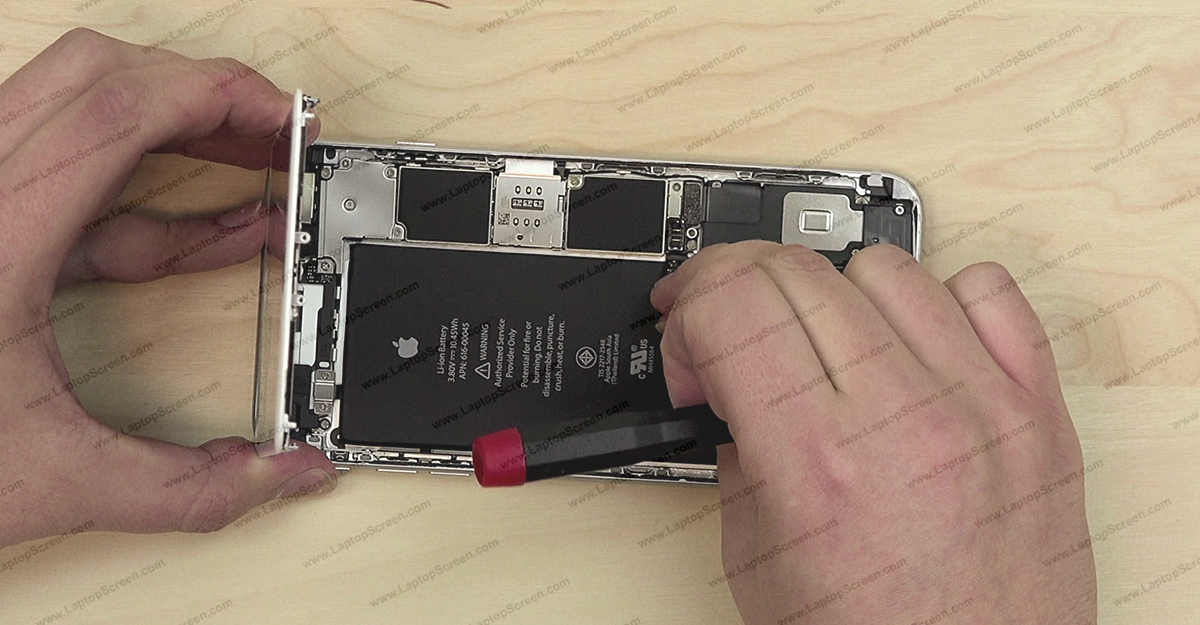
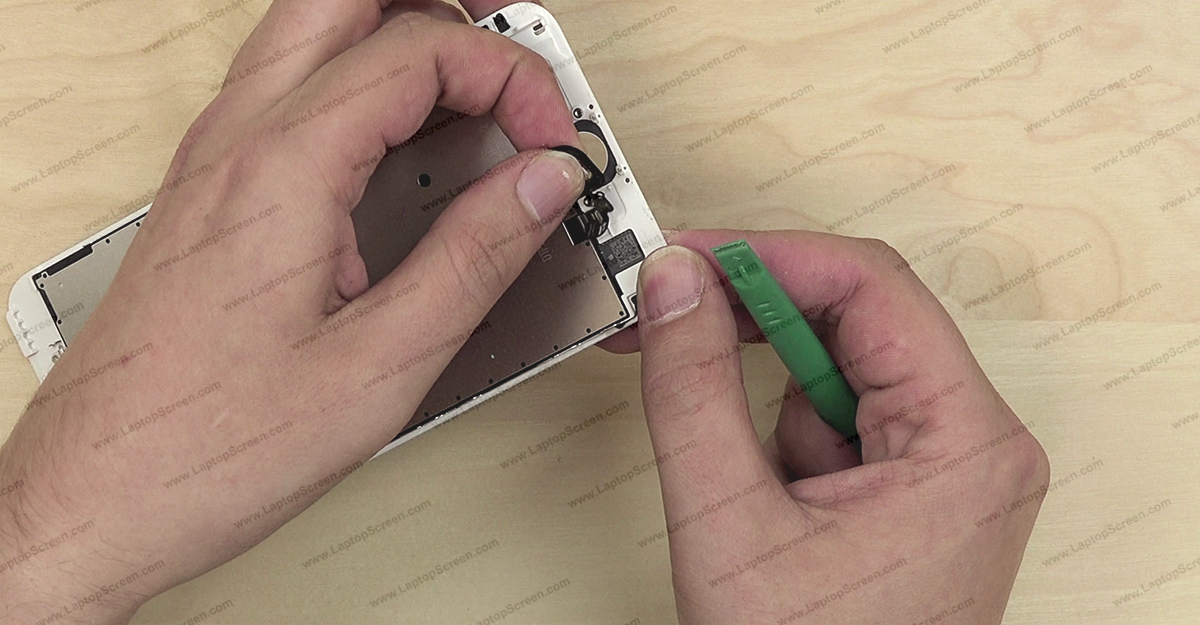
For a safe reinstallation process the battery has to be disconnected. The battery connector is located under a small metal shield. Remove two phillips screws securing the shield.
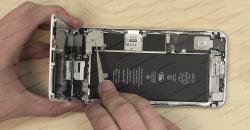
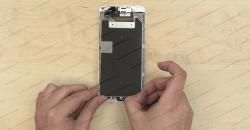
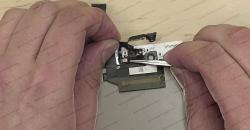
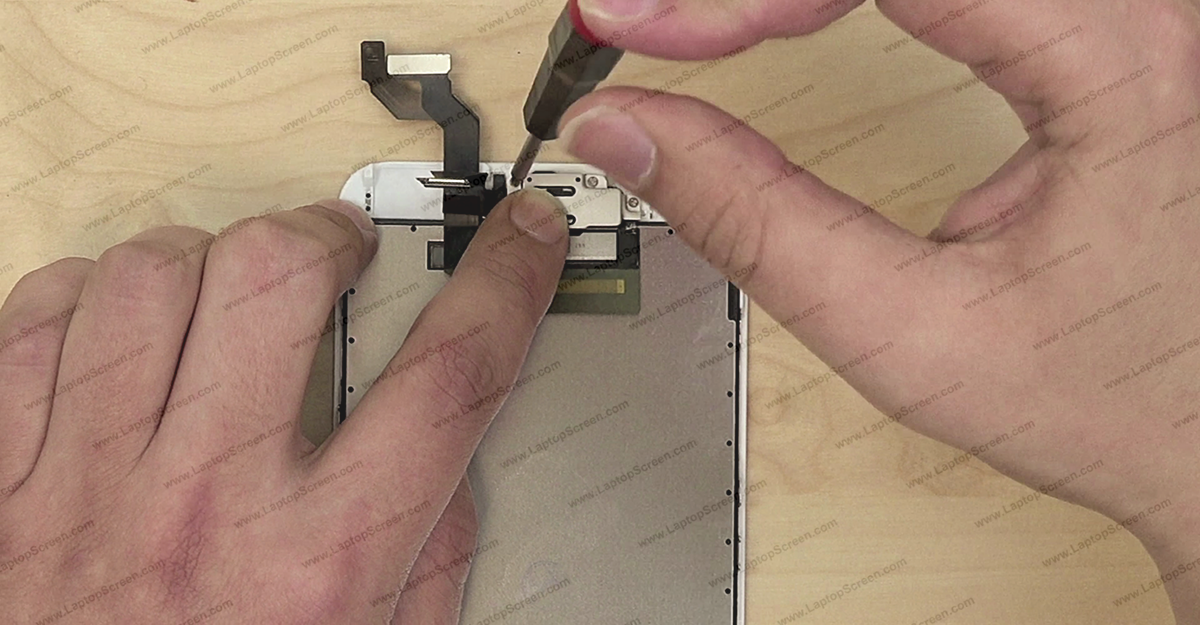
In order to separate the front assembly we need to gain access to its connectors under an EM shield. Remove five phillips screws holding the shield in place. Remove the EM shield.
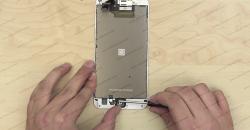
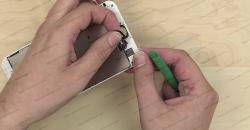
Use a plastic pick to open the three connectors. Be very careful since the connectors are very fragile.
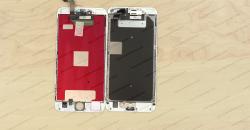
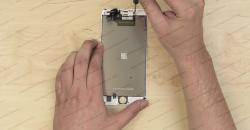
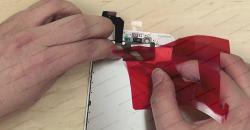
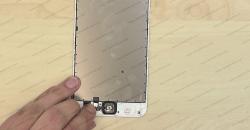
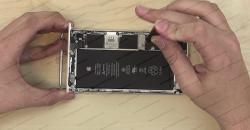
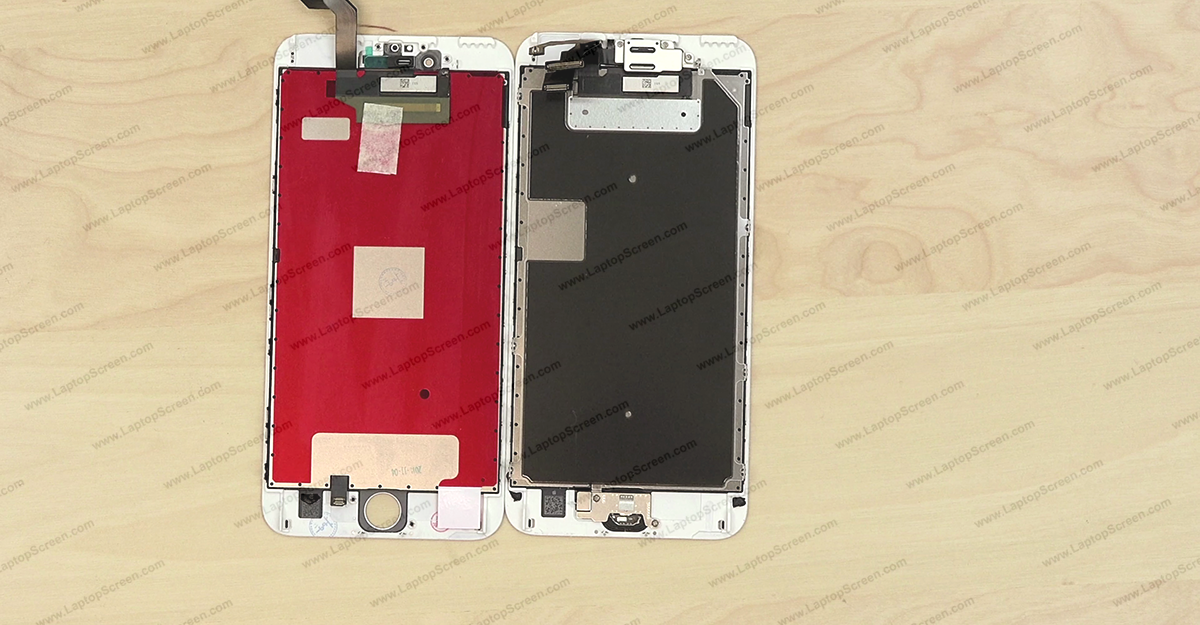
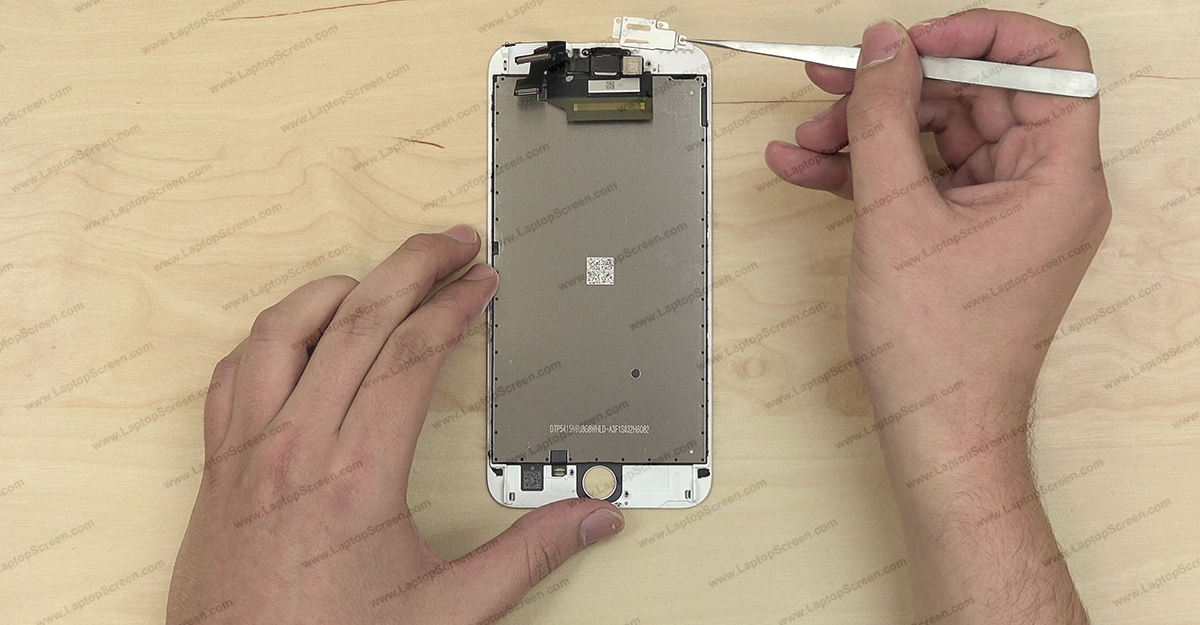
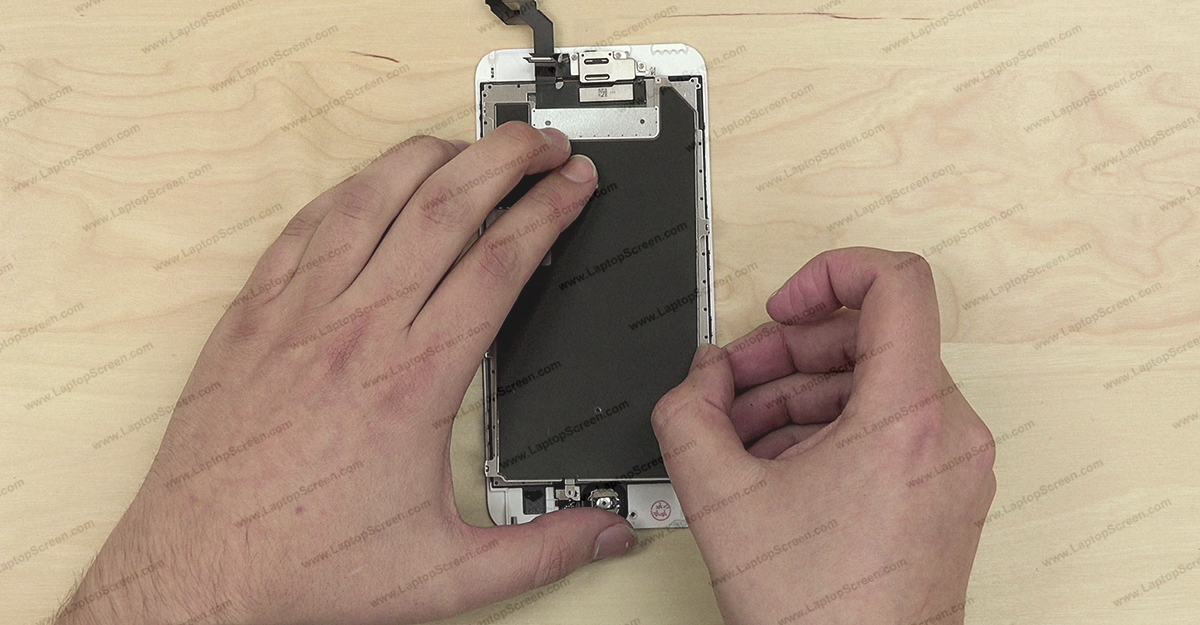
Separate the front assembly from the main body and place it on the desk. Take the replacement part and lay it down beside the old one. As you can see the new front assembly is missing some components: Home button, Big metal shield, front camera with sensors and the earpiece.
All of these working parts have to be transferred from the old front assembly onto the new one.
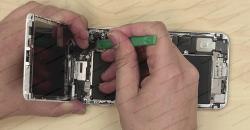
Start with the home button. Remove two phillips screws holding the metal bracket over the home button. Remove the bracket.
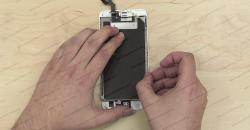
Next step is to remove the big metal shield. Remove three phillips screws on the right side of the assembly, one screw on top, and three more screws on the left side. Remove the shield.

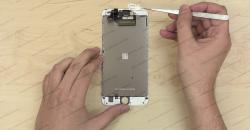
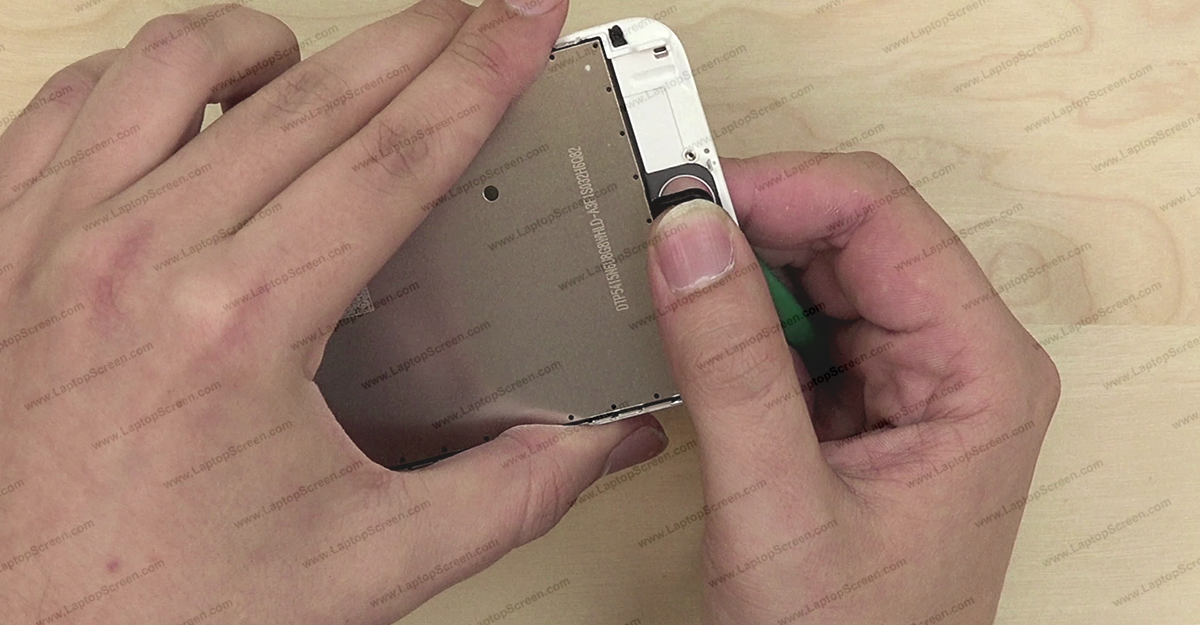
Using a plastic pick begin separating the home button from the frame. Push on it from the front of the assembly making sure that the rubber membrane stays with the button. Set it aside.
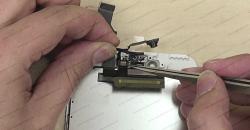
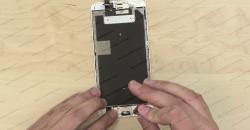
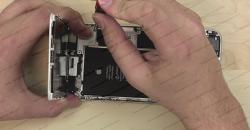
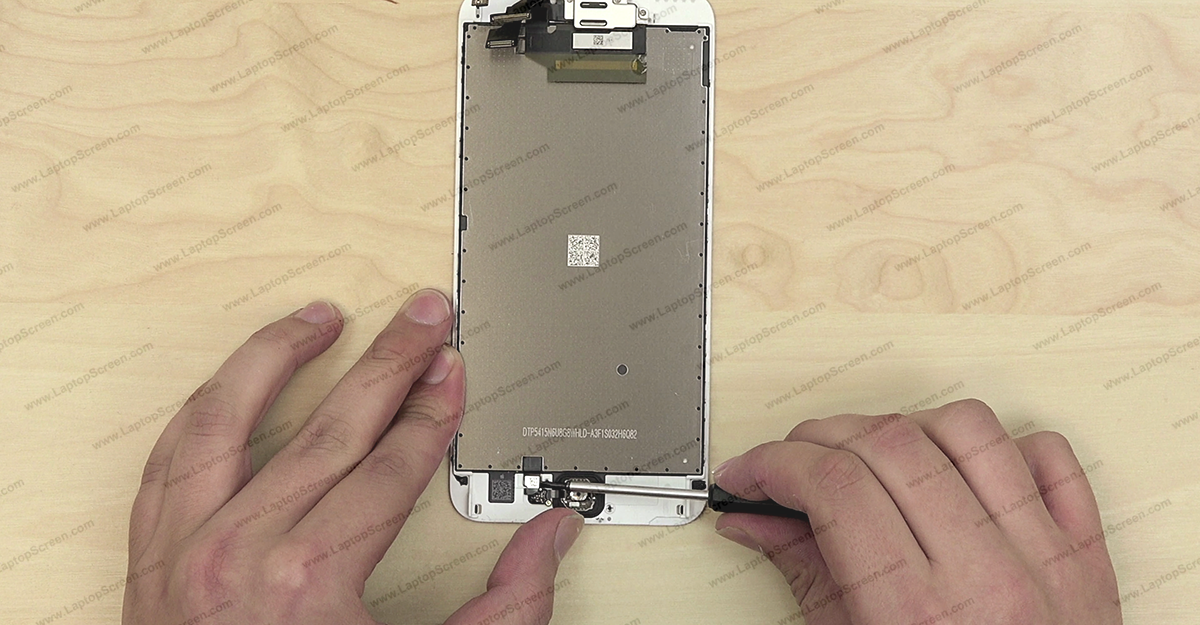
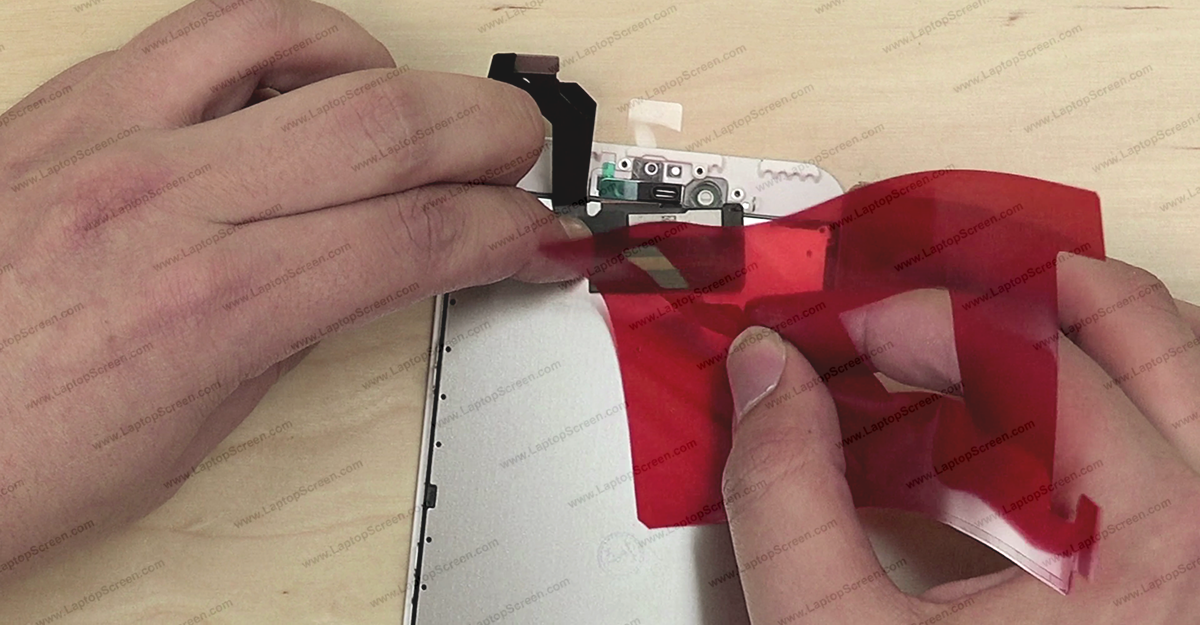
Proceed on removing the metal shield which holds the earpiece and the camera with sensors. Remove three phillips screws.
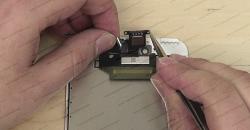
The front camera is on the same garland of cables as all the sensors. Gently pull the camera on its cable away from the frame and remove the earpiece.
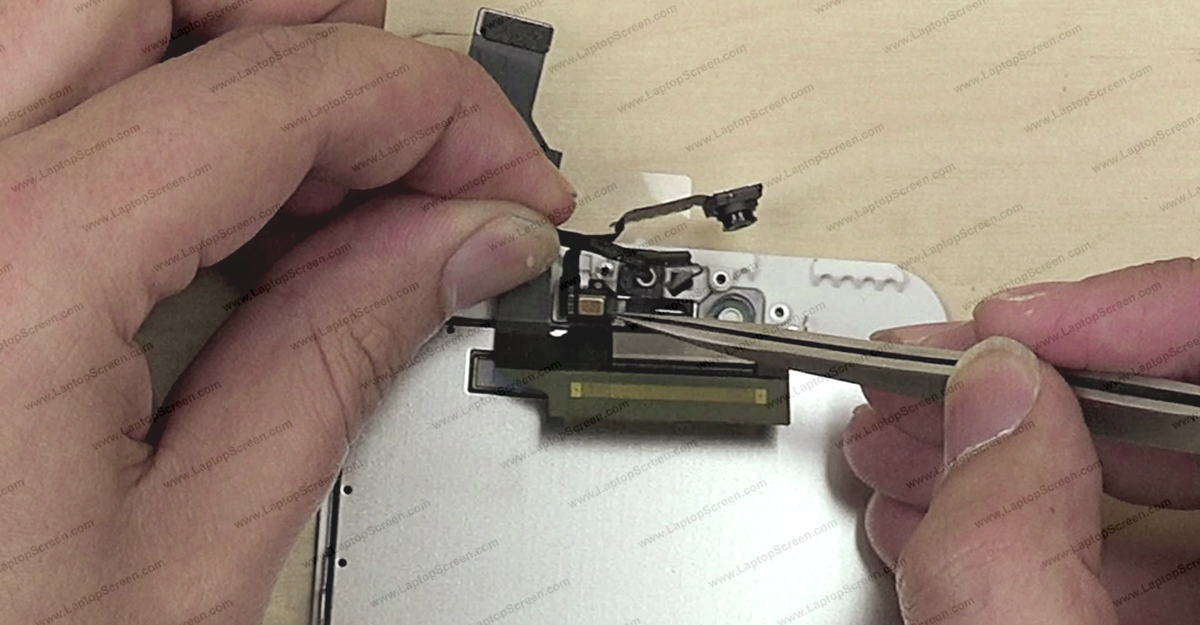
Using tweezers carefully separate the entire garland. It is glued on in several spots. Set it aside.
Begin attaching the front camera with all the cables and sensors. Guide each component into its place.
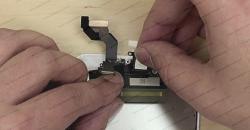

Next replace the home button. Make sure that its aligned properly and close the home button connector.
Position the big metal shield onto the new front assembly aligning it to the screw placements. Make sure that the digitizer flap goes under the shield. Replace one screw at the top, three screws on the right, and three more screws on the left.
At this point we can reconnect the new front assembly to the main body. Align it to the top edge at a right angle and begin reconnecting it. Snap in three connectors one by one. The connectors will make a distinct click when closed properly.
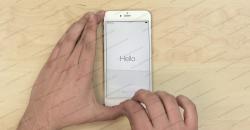
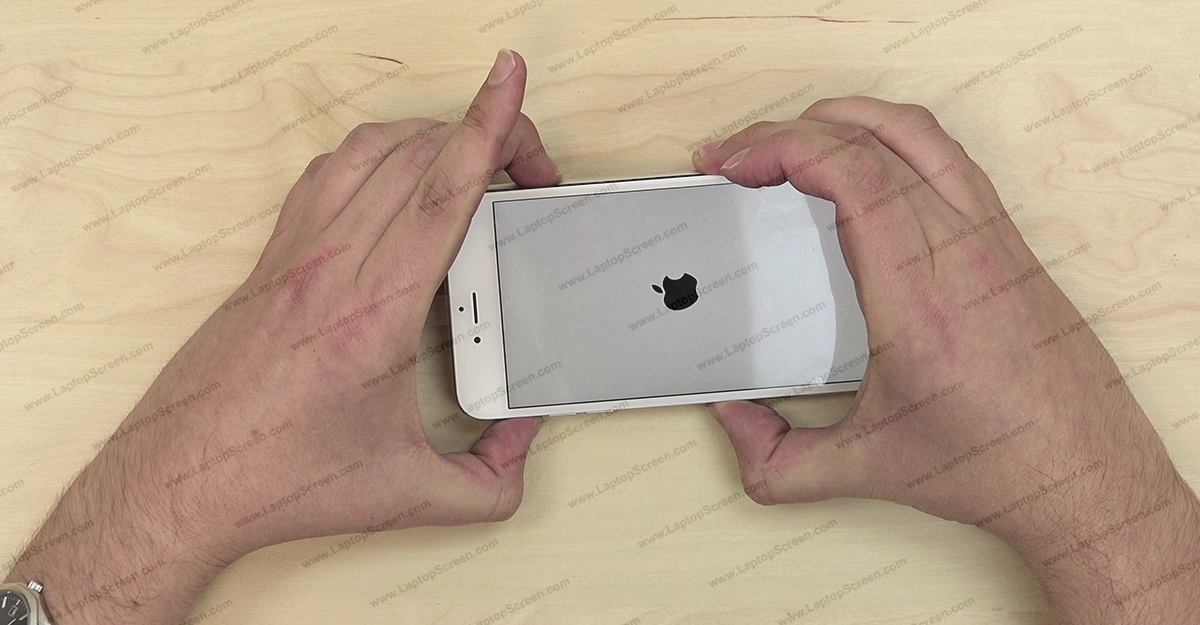
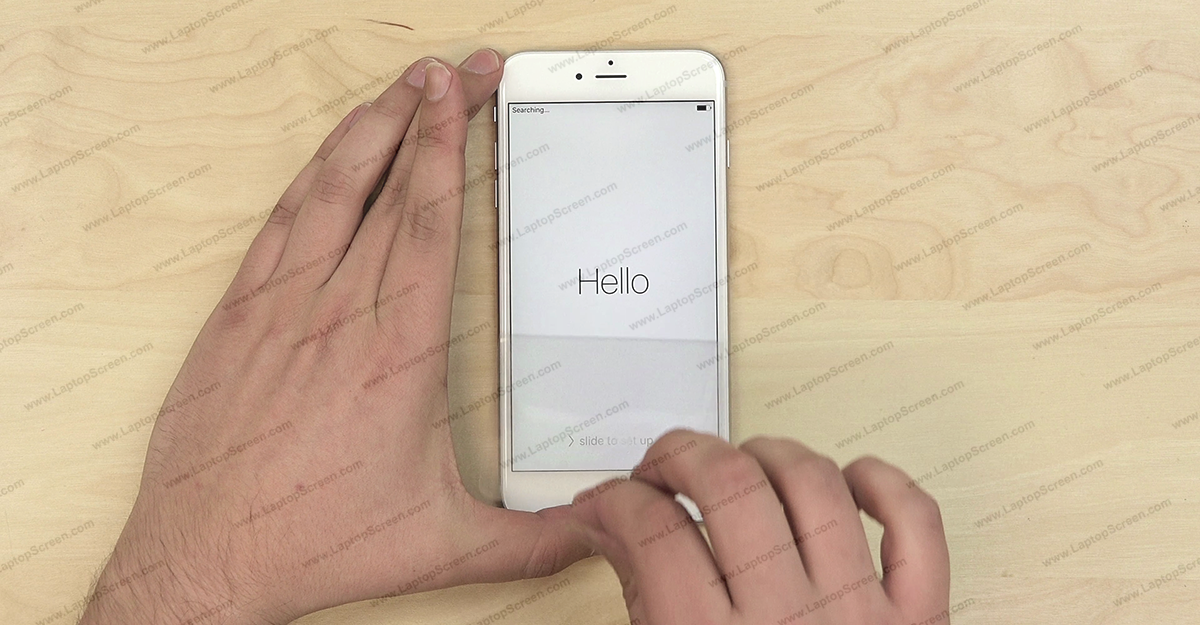
Now we can test the iPhone. Reconnect the battery and turn the phone on. If the start graphic appear the part is installed correctly. Turn the phone off
and finish the reinstallation process.