This is a general LCD replacement tutorial made by LaptopScreen.com. Not your specific model? Click here to search our video library for a model specific guide.
Below is a step-by-step guide on replacing an LCD screen on Dell Latitude D620.

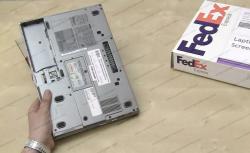
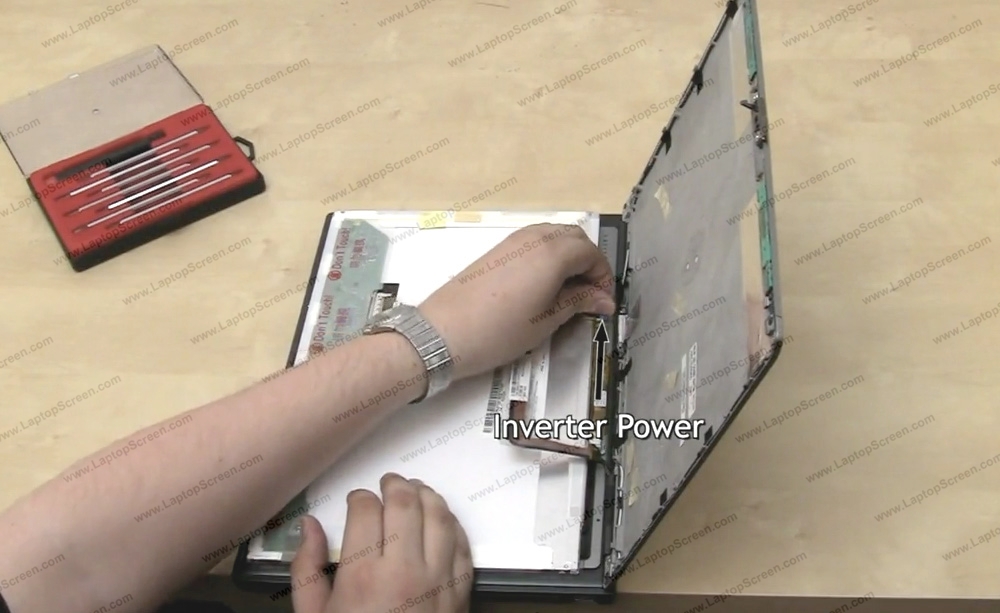
2 The battery is not easily removable on this model, so please be careful not to turn on the laptop during installation.


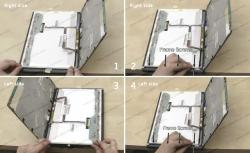
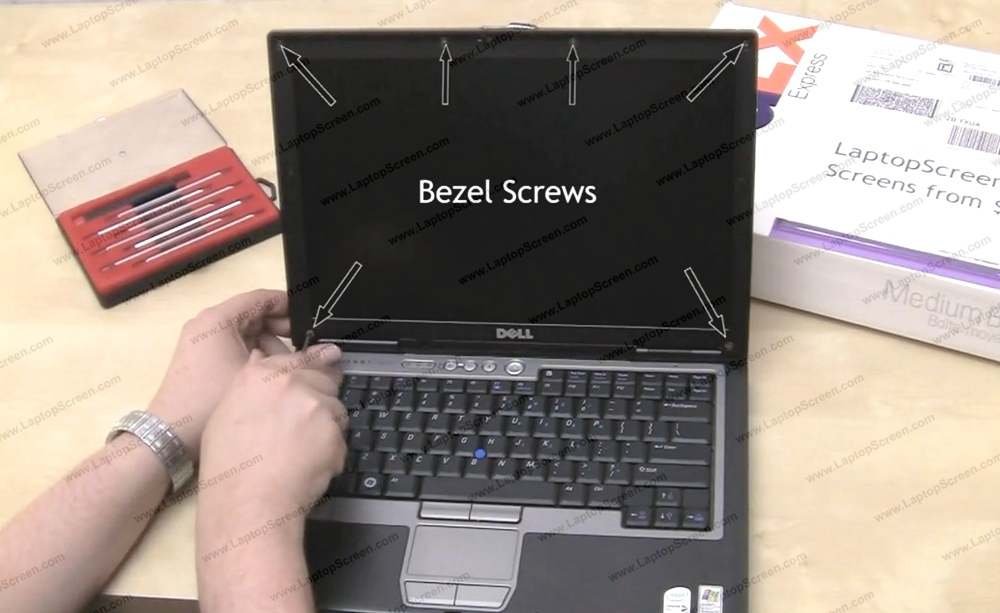
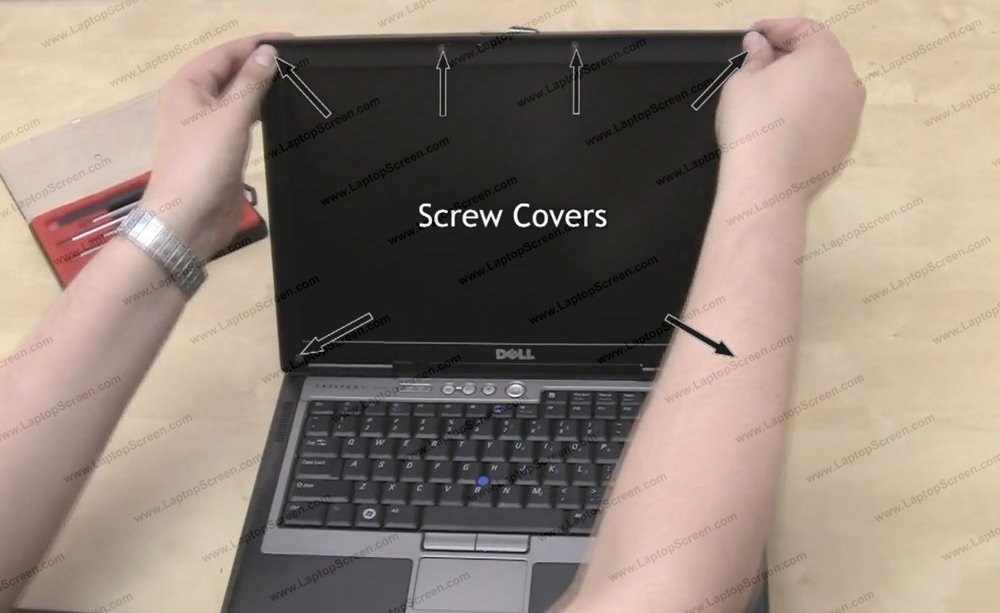
5 Now we can remove the bezel. Carefully pry the plastic away from the screen. Start at the top and move down to the bottom.

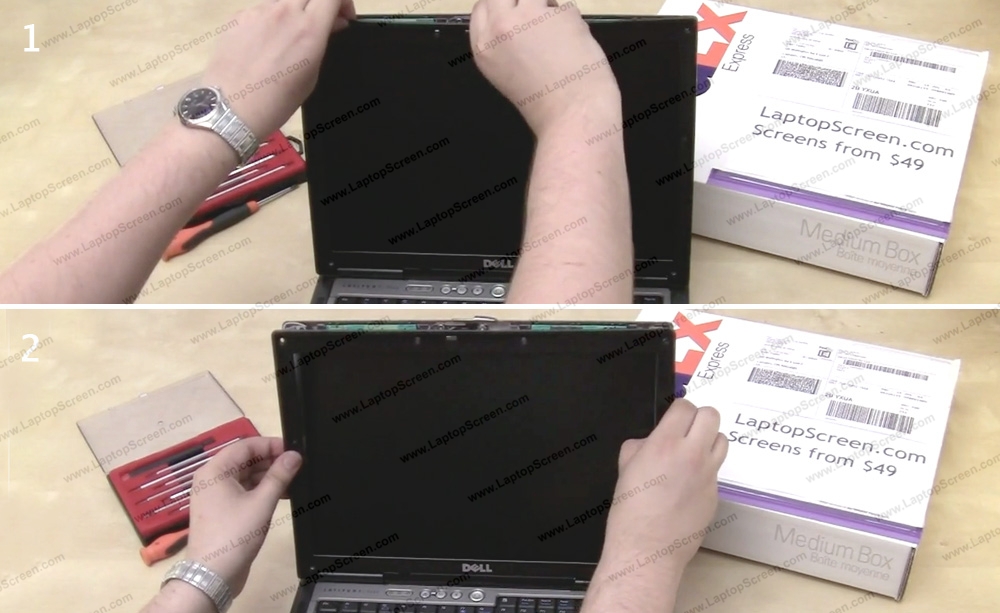
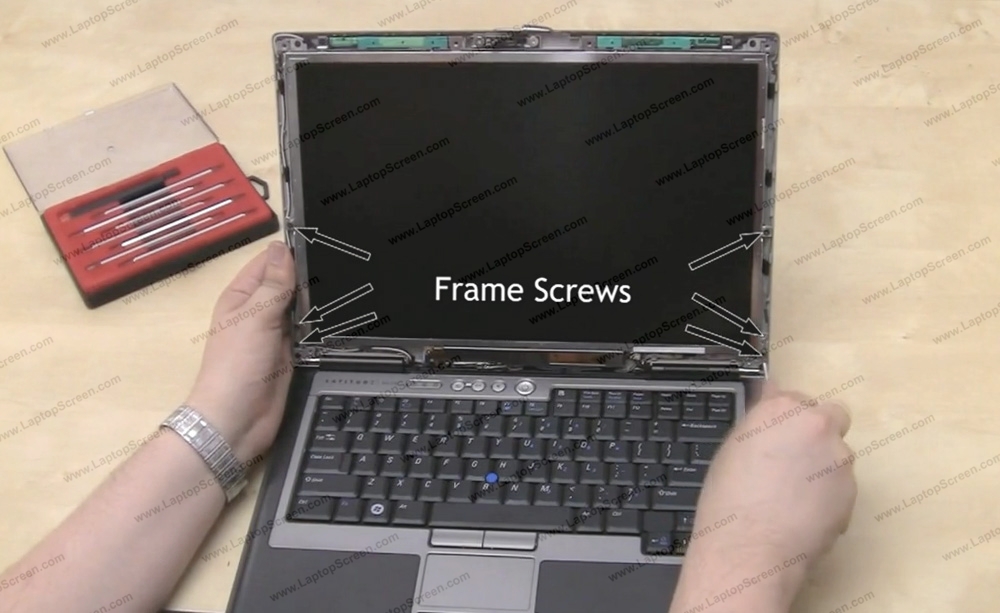
6 Once the bezel is gone, remove 6 frame screws - 3 on each side. Put the screen down on the keyboard.
Don't mix different sets of screws, keep them in separate piles.
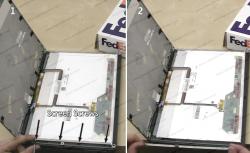
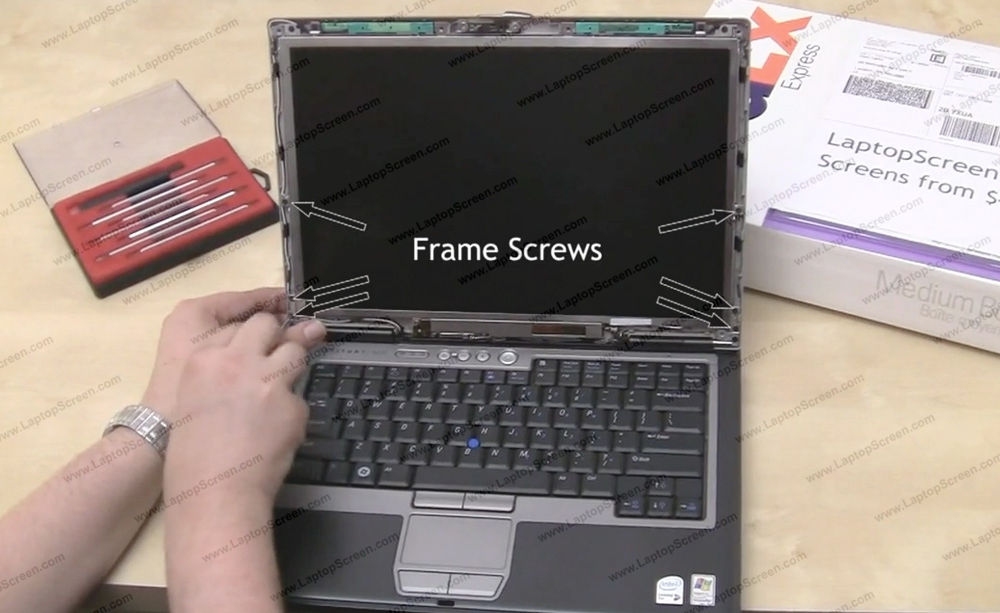
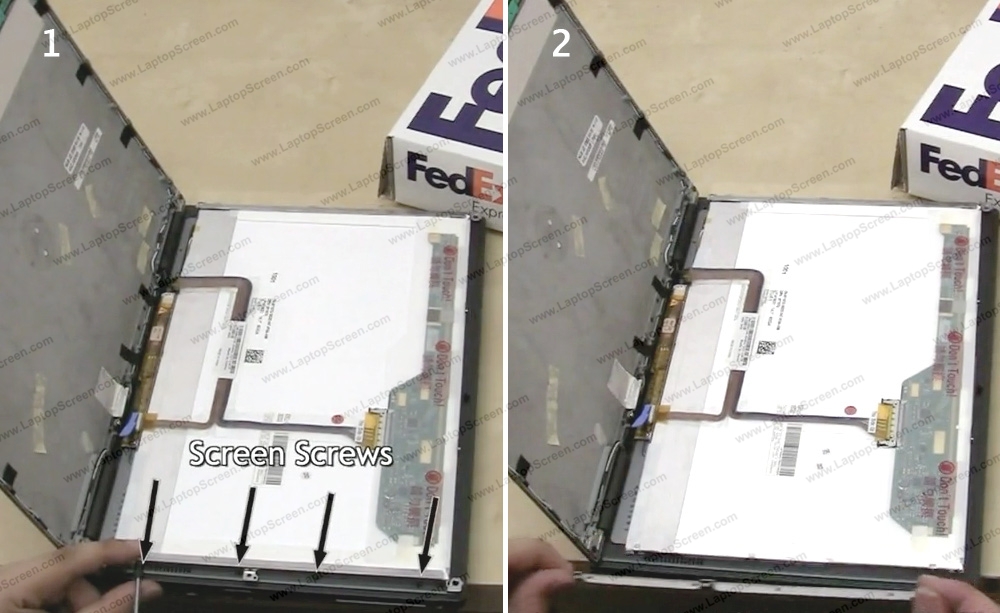
7 Remove 4 screws on one side of the LCD panel. Once the screws are gone remove part of the frame and set it aside. Repeat the same procedure with the other side. Please remember which frame part belongs to which side.


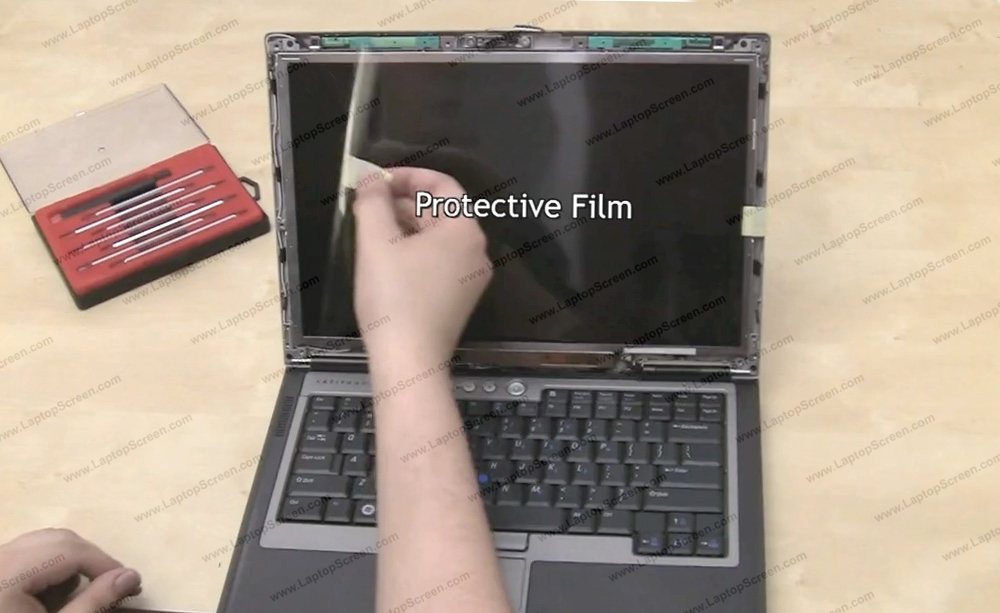
10 Place a cloth or paper tower to protect your new screen from any scratching. Take the new screen out and put in it on top of the cloth.
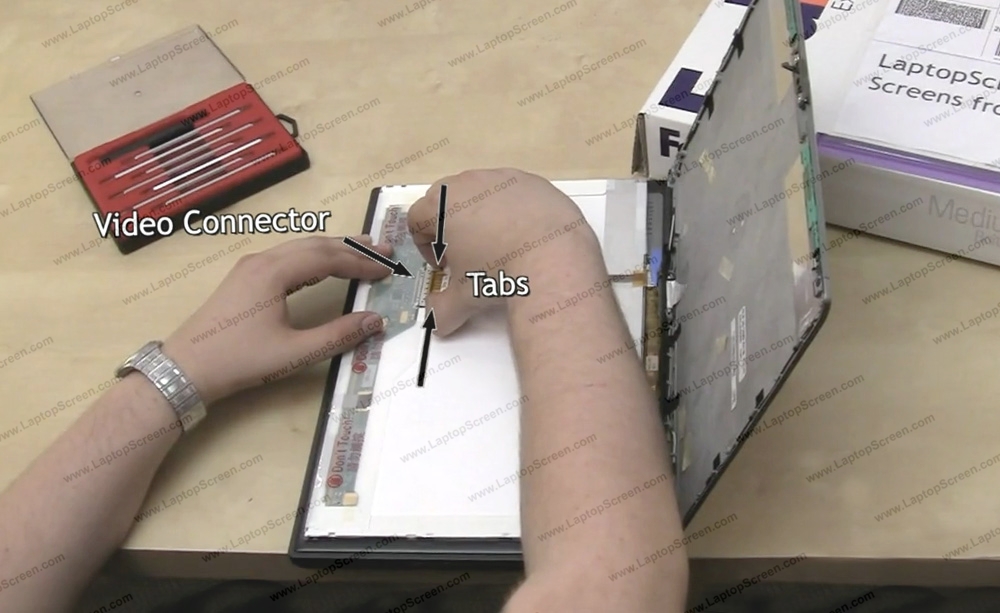
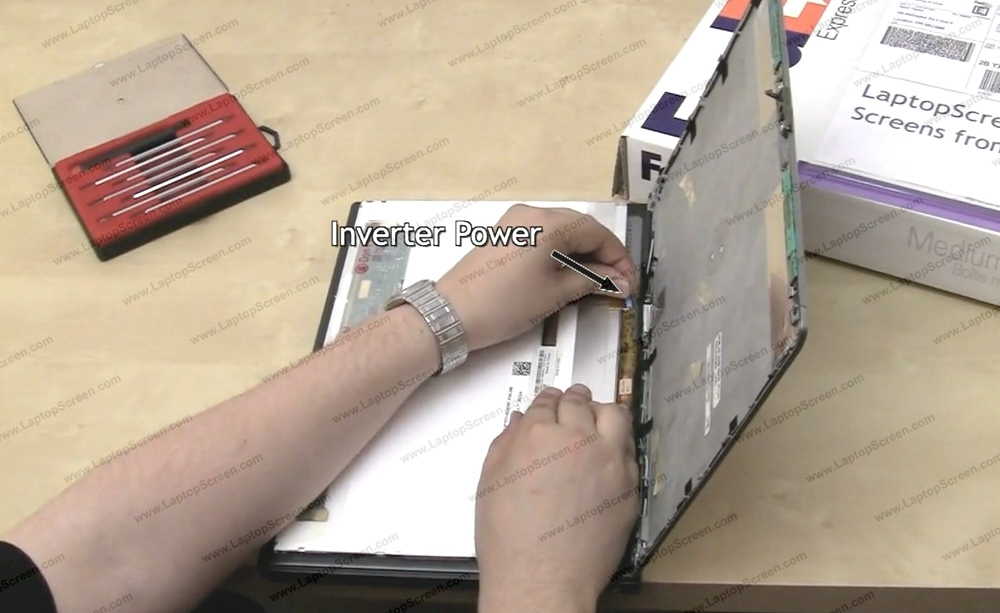
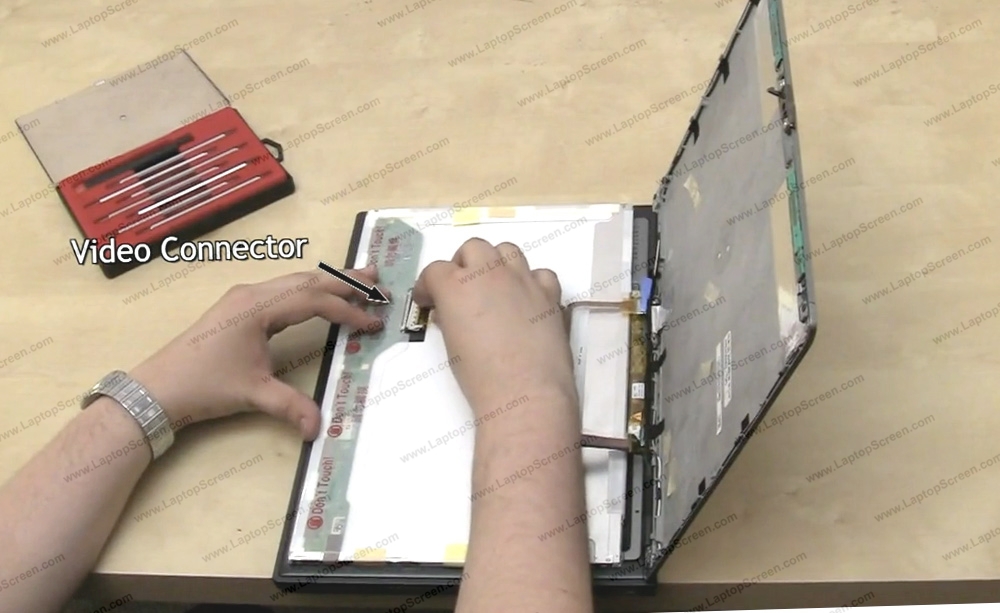
Before reconnecting the new screen please keep in mind that all the connectors are extremely fragile. Do not put a lot of force or pressure on them.


13 Next, line up the frame part to the correct side of the LCD panel and secure it with 4 screws. Repeat with the other side.


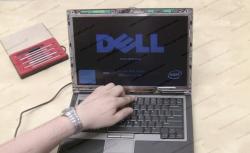
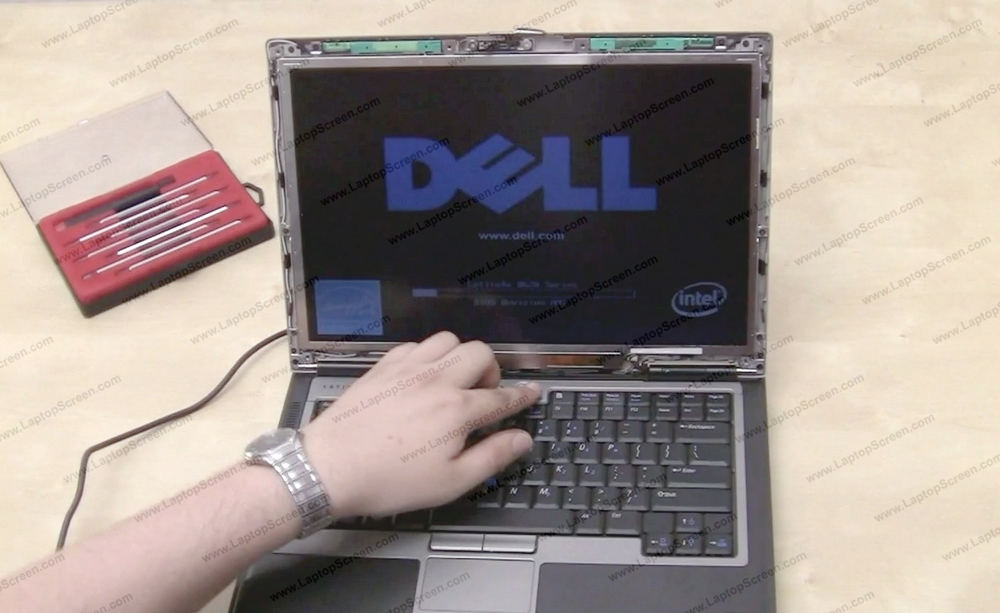
16 Now it's safe to test the new screen. Plug the power and turn on the laptop. If the start up image appears - the screen is installed correctly. Turn off the laptop and disconnect the power again to finish the installation.


