Please watch the following video (highly recommended), or follow the step by step instructions below:
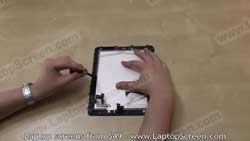
This is a guide to reinstalling an LCD screen and a digitizer on the Apple iPad.
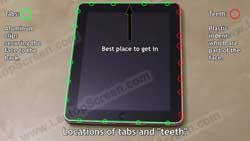
When opening an iPad, it is important to know the positions of the aluminum locking tabs and plastic teeth which are part of the front assembly.
The green line represents where it is safe to open the iPad and the red line represents where it is not.
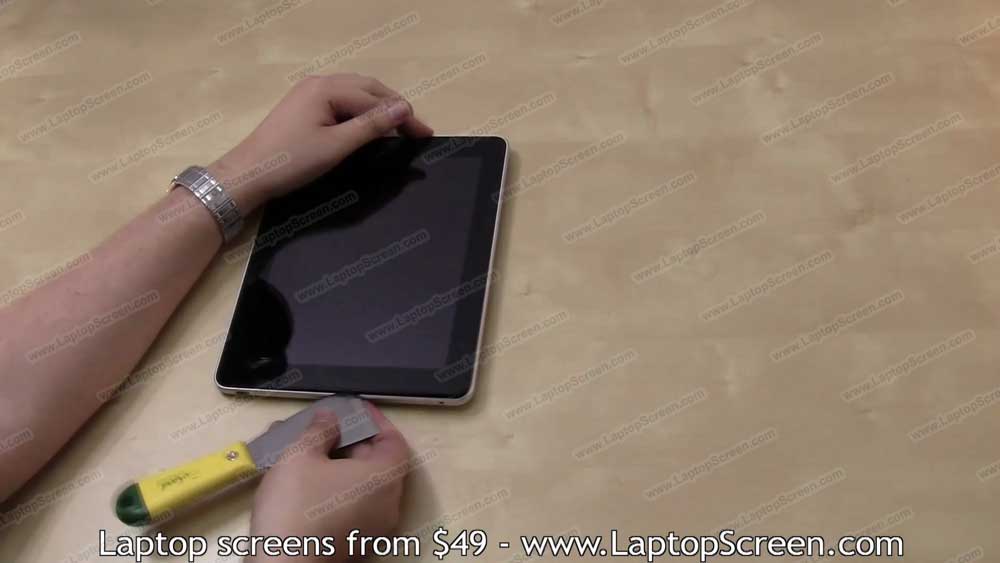
The best place to start opening the iPad is in the middle of the top edge.
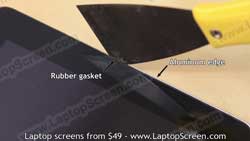
We recommend using a flat wide metal tool like a putty knife, which you can buy at any local hardware store.
Please do not use a screw driver, since it will leave visible damage on the aluminum edge.
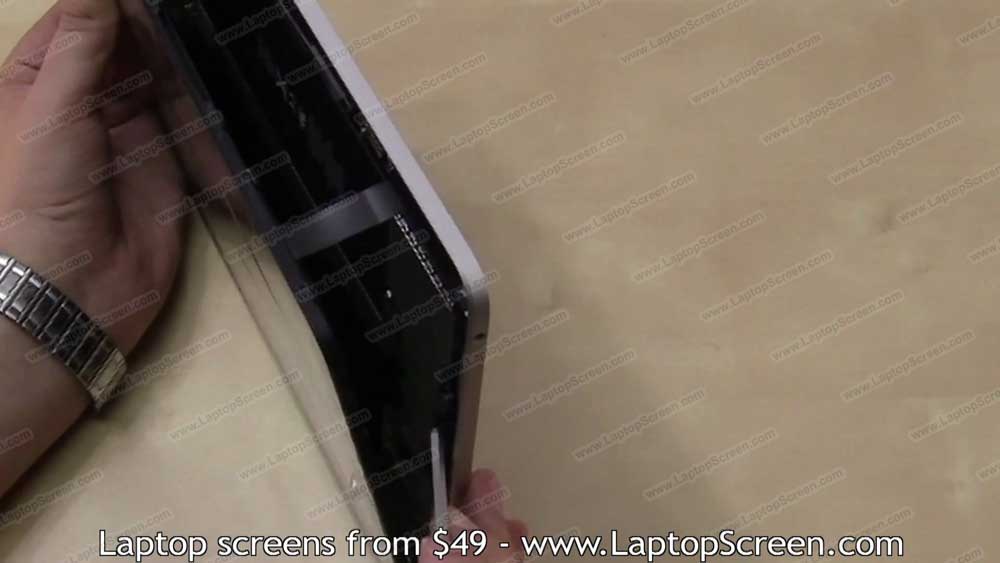
Insert a corner of the putty knife between the rubber gasket and the aluminum edge and use it as a lever to start lifting the front assembly.
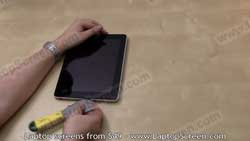
Then move along the edge by repeating the same motion. Make sure you are placing your tool between the aluminum tabs.
As well you should not insert the putty knife deeper than half an inch to avoid any internal damage.
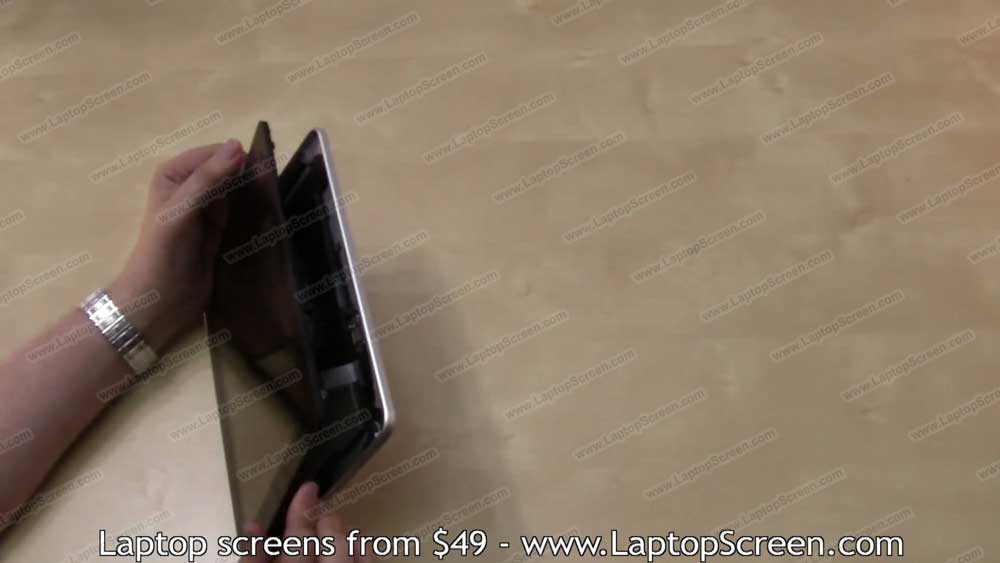
Please note, during this process you are very likely to break some of the aluminum tabs, which is ok,
since these are designed for single use, and our digitizer comes with a set of aluminum tabs pre-bolted on to it.
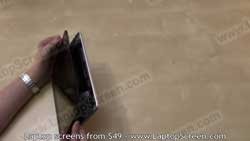
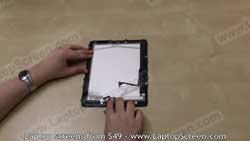
Once the front assembly is lifted along the three edges, do not separate it further than 3 inches away from the back cover.
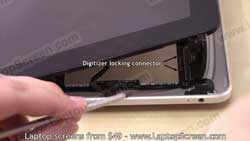
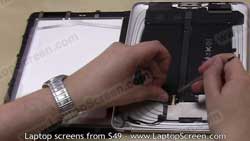
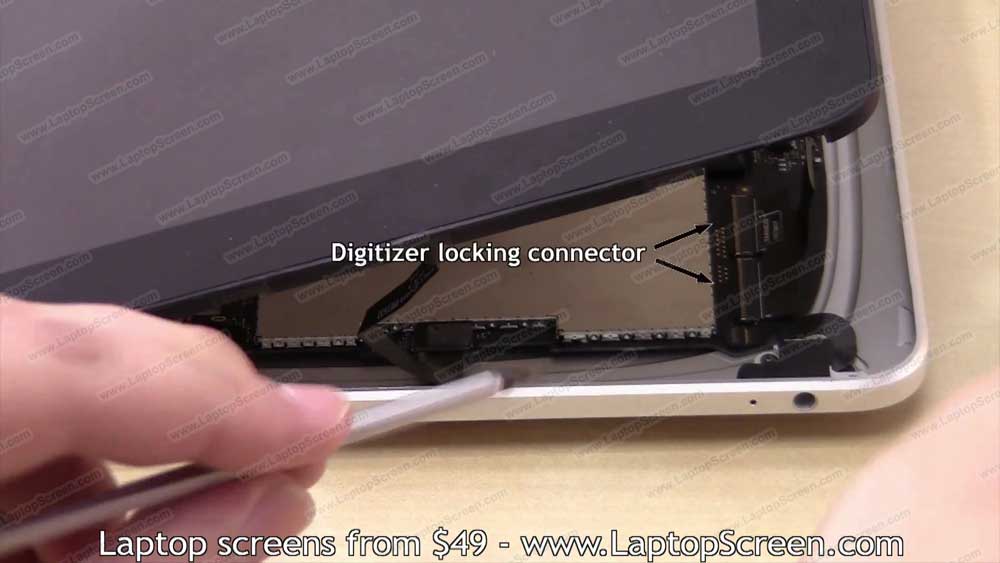
At this point you need to disconnect the digitizer's locking connector. Please be extra cautious on this step, failure to
unlock the connector will most definitely cause permanent damage.
Pop open two plastic lips with a screw driver,
on the opposite side of where the ribbon cable slides in, then gently pull out the digitizer's ribbon cable.
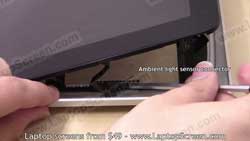
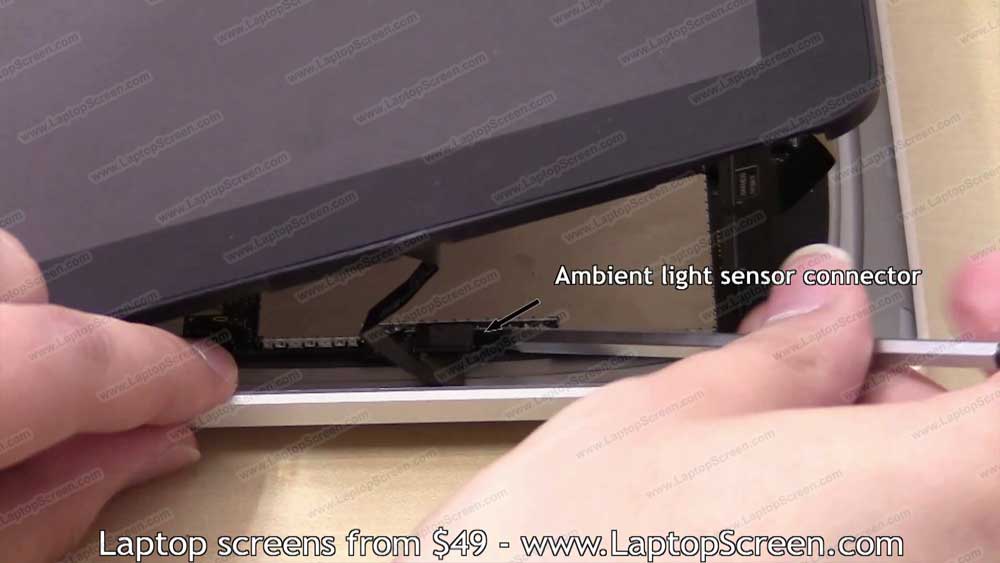
Once the ribbon cable is free, move to the ambient light sensor connector, pop it off with a screw driver. This connector is not as
sensitive, and is designed to disconnect fairly easy.
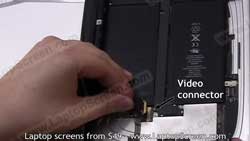
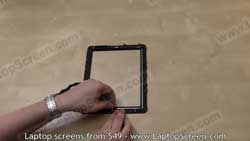
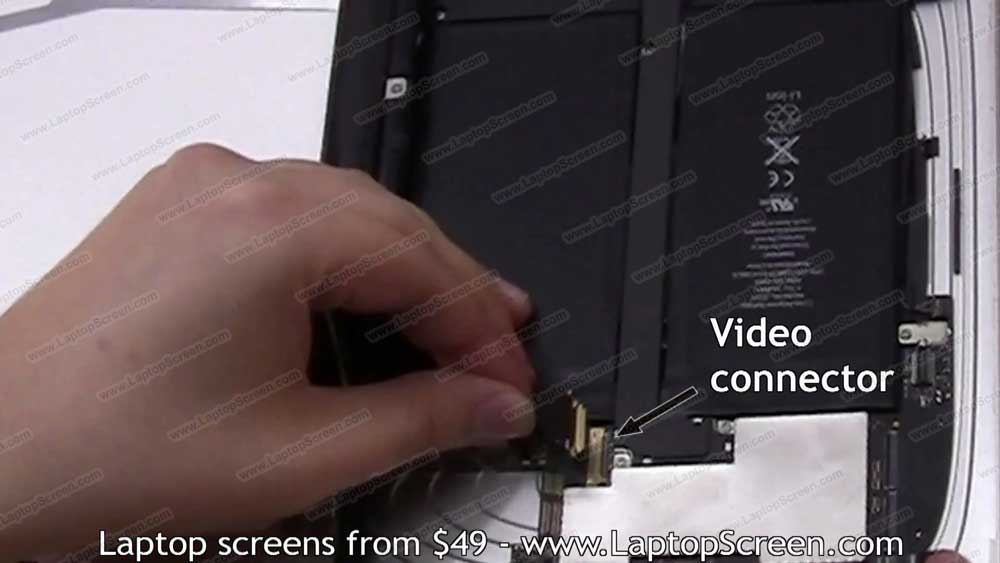
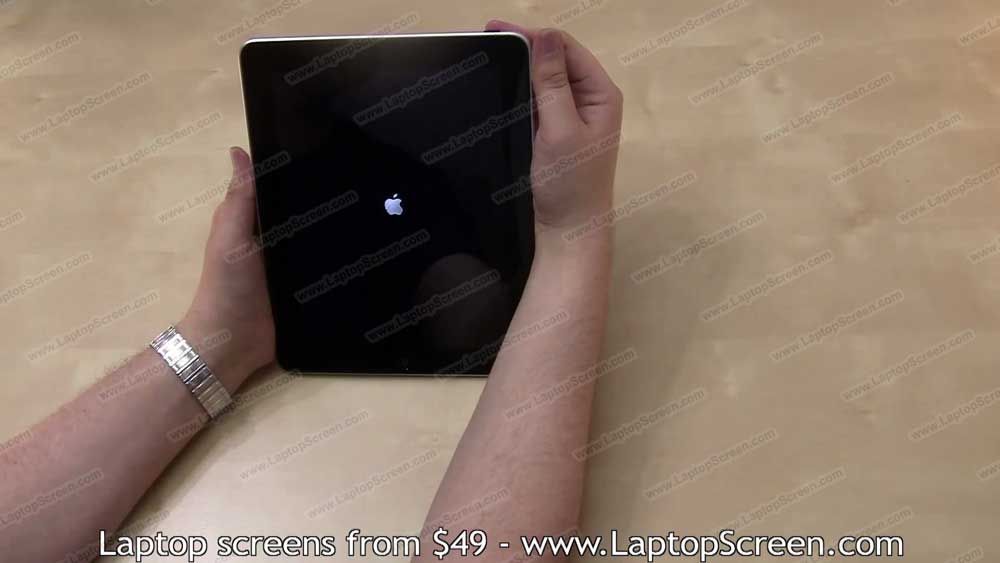
Then you can open the front assembly like a book, and move to the video connector. It's locked in place with a metal bracket which needs to be lifted away before pulling the video cable out. Once all the cables are disconnected, separate the back cover an put it aside.
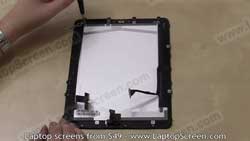
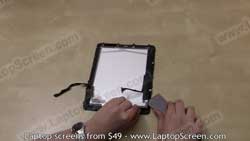
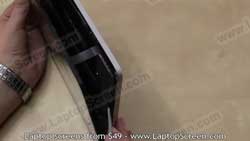
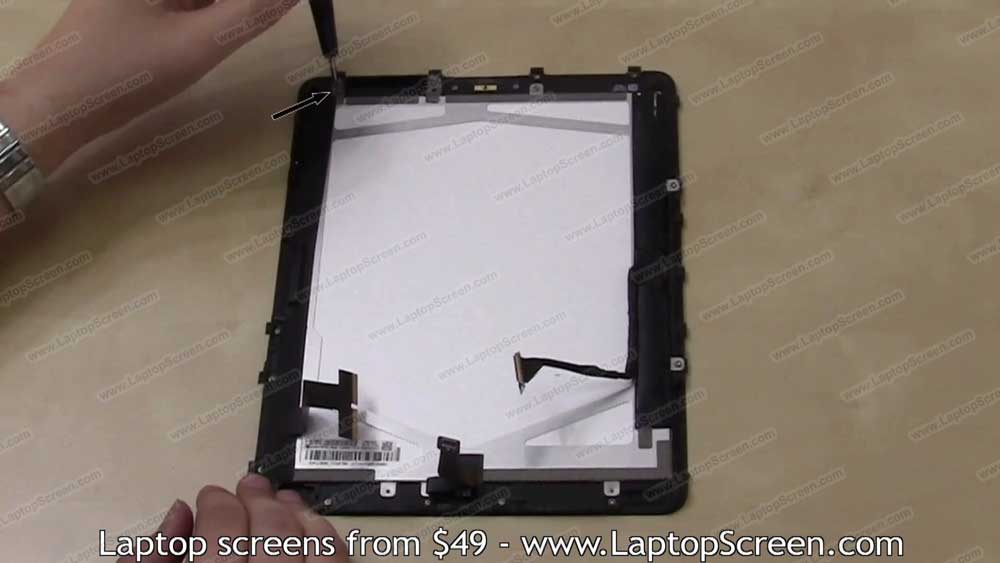
Then using the putty knife carefully lift the LCD panel away from the front assembly.
The screen is glued in, so go slow and do not bend the panel excessively.
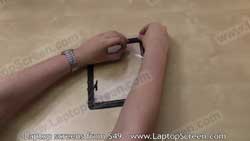
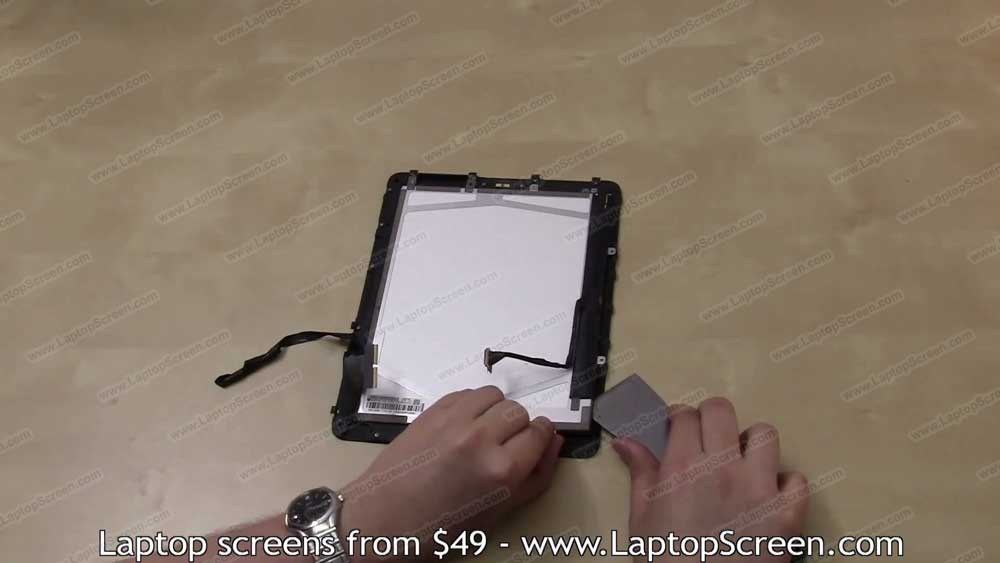
At this point you can prepare your replacement for installation. Remove any packaging tape, and protective film from the inner glass.
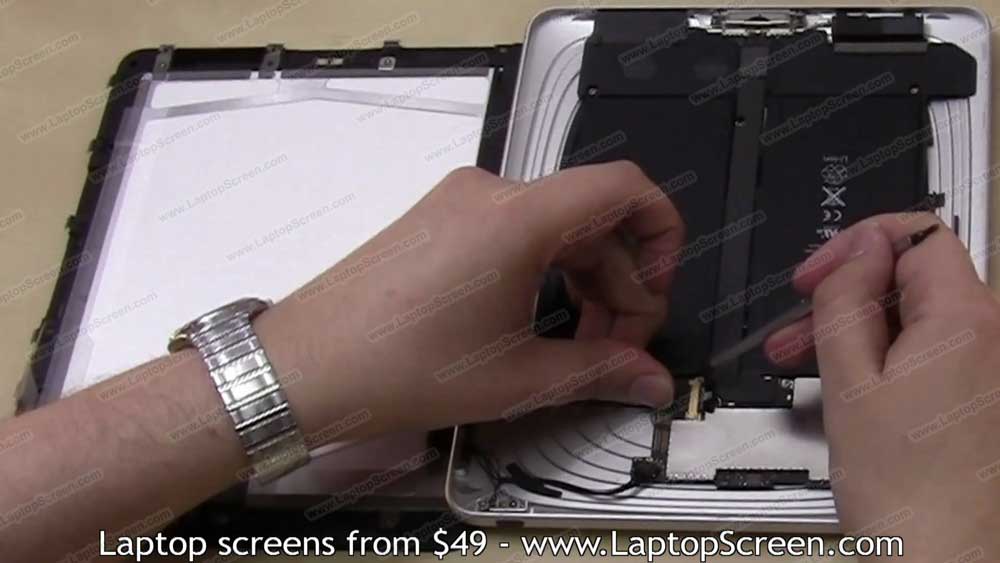
Gently place the screen into the front assembly, then reinstall the ambient light sensor. Secure the previously taped edge with new tape. Then replace tiny torx screws along the perimeter of the LCD screen.
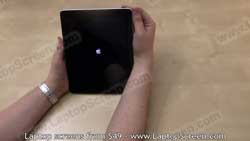
Now you can reconnect the front assembly to the back cover, starting with the video cable. Gently insert the connector in to the socket, and lock the metal bracket with a screw driver.