Please watch the following video (highly recommended), or follow the step by step instructions below:
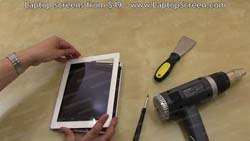
This is a guide on replacing an LCD screen and glass digitizer on an Apple iPad 3.

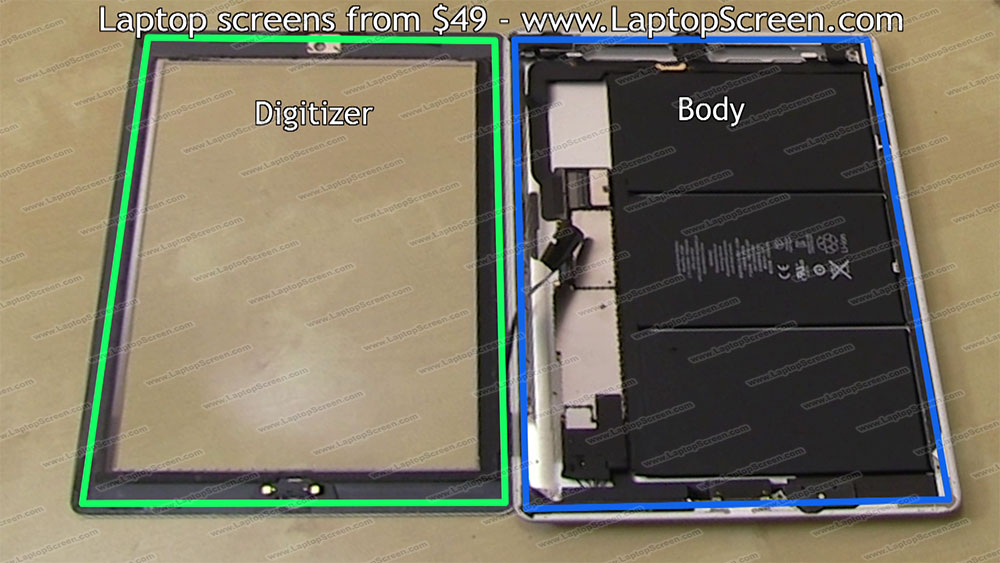
1. There are a few things to note prior to starting the replacement procedure. The digitizer is a solid pane of glass that has been glued on to the main body with adhesive around the perimeter.

2. Make note of the Wi-Fi antenna, which is glued on to the digitizer. It is important that the antenna stay with the main body during separation of the digitizer.

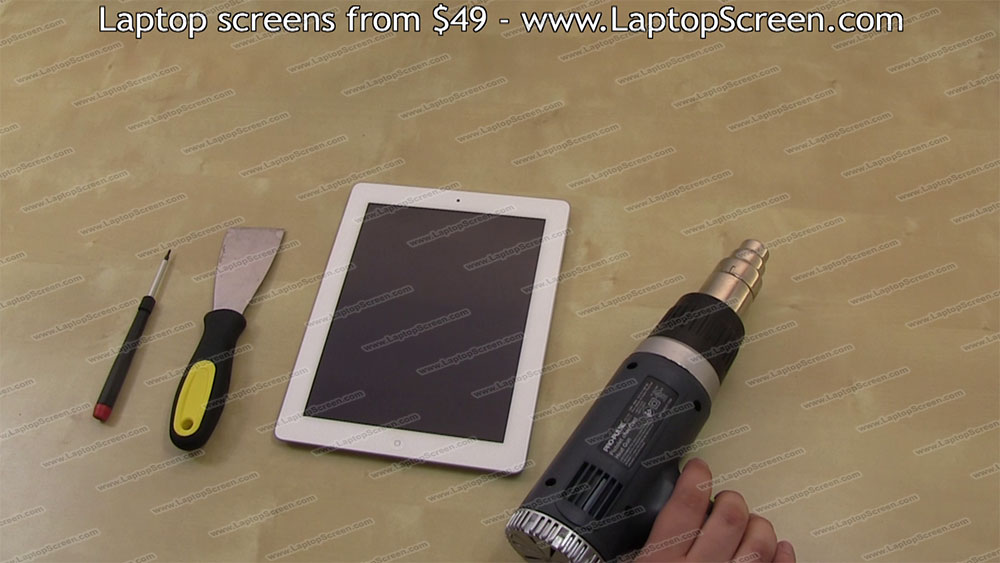
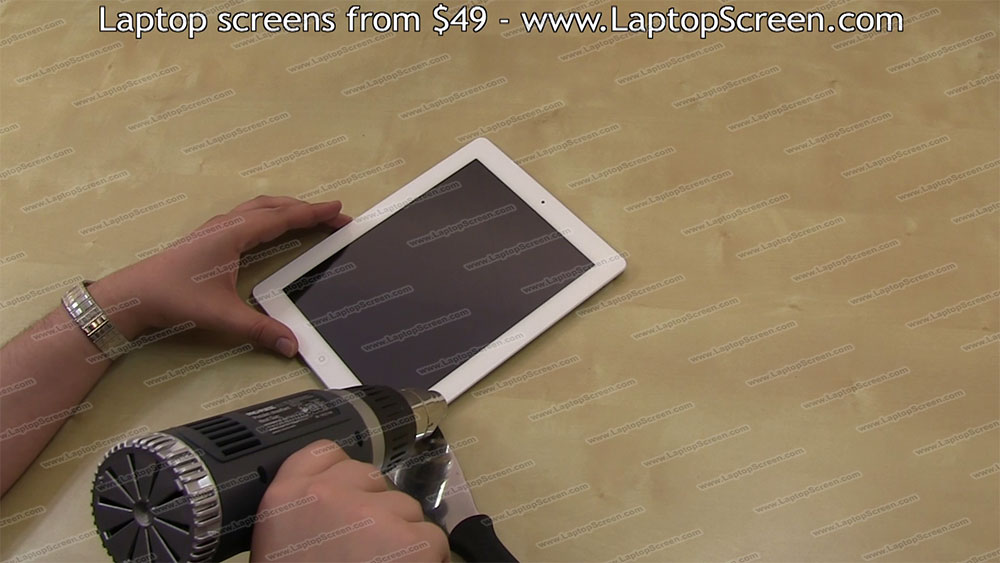
3. As you will need to separate the digitizer from the main body, we recommend using a heat gun or hair dryer. You will also need both a philips and a flat screwdriver, as well as a wide metal tool such as a putty knife.
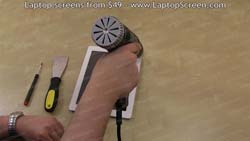
4. The first thing you'll need to do is to apply heat with the heat gun to the perimeter of the iPad 3. We are just warming up the working area with this process. Do not apply heat for longer than 1 minute, and be sure to keep the heat gun moving around the edge, so uneven heating does not occur.

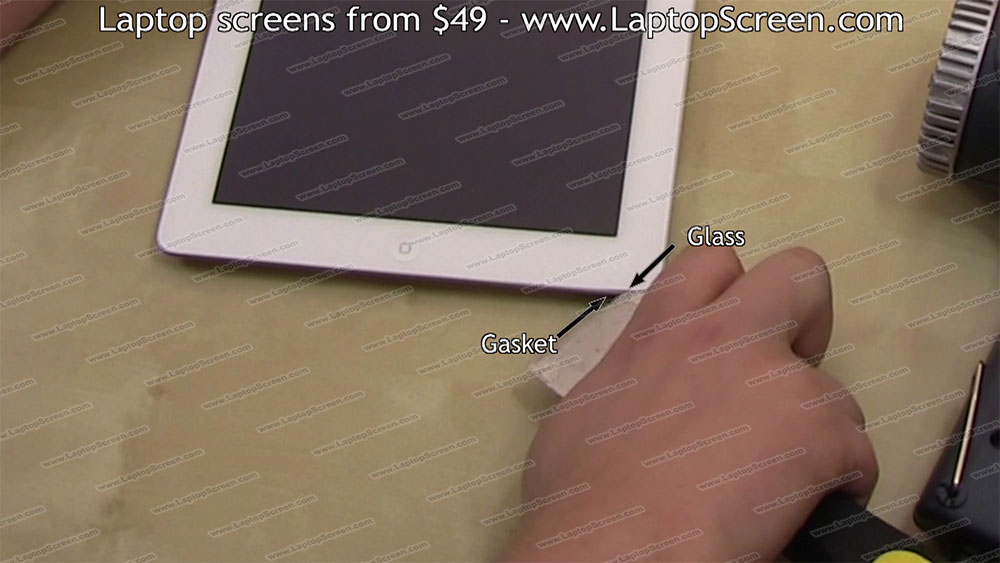
5. Using your putty knife, make an insertion in the bottom right corner, between the glass and the plastic gasket. The gasket is in place to ensure there is no damage to the aluminium body. Unless the gasket is damaged, there is no need to remove it. You can leave it in place, as it will prevent nicks or dents.

6. Continue to apply heat to the right and bottom edges, using the putty knife for separation. Be sure not to insert the putty knife more than 1/4 inch under the digitizer.

7. When you have worked the putty knife around the right edge, it is recommended that you place pieces of plastic under the edge in order to prevent the adhesive from re-sticking.

8. Move on to the bottom edge, next. Apply heat evenly to the bottom edge, inserting the putty knife under the digitizer to continue separation. Be aware of the Wi-Fi antenna, which should separate on its own, if the heat is applied evenly and thoroughly. Once the bottom edge has been separated, add a piece of plastic to the left of the home button.

9. Next, use the heat gun and putty knife to separate the top edge. Put a piece of plastic to the right of the power button.

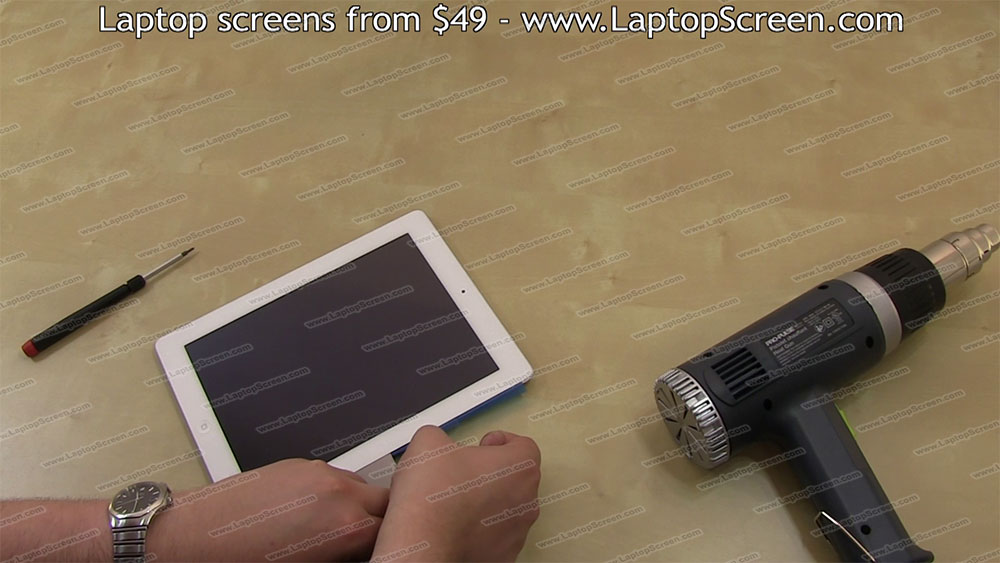
10. Using your fingers, gently apply upward pressure on the separated right edge. If there are any areas which are still glued, apply heat at this time. Now that the right, bottom and top edges are separated, lift the digitizer up at a right angle to the body. As we do not want to put too much strain on the connecting cable, it is not advised to lift the digitizer any more than needed.

11. Holding the digitizer at a 90 degree angle, remove the pieces of plastic from the outside edges.
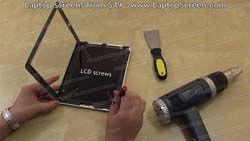
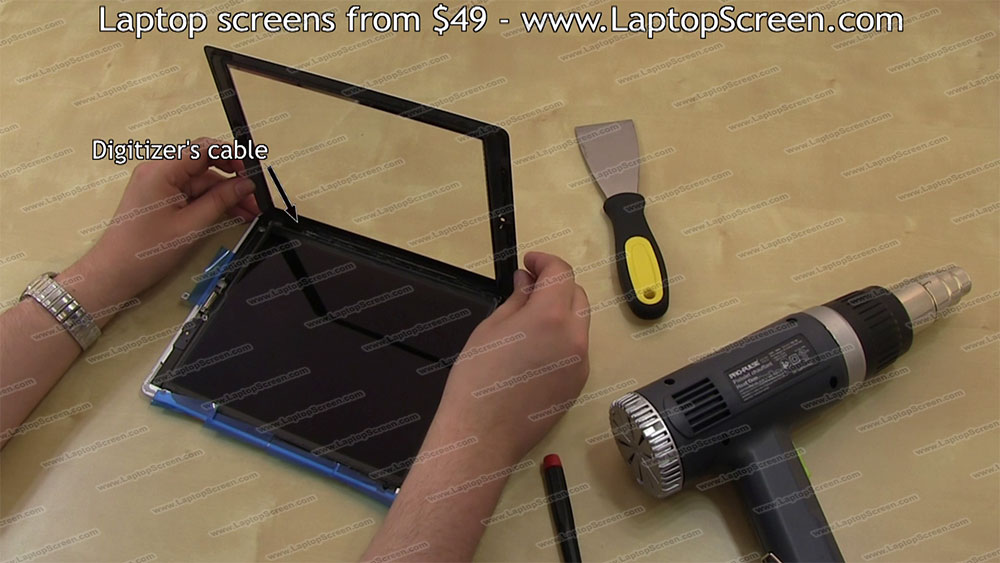
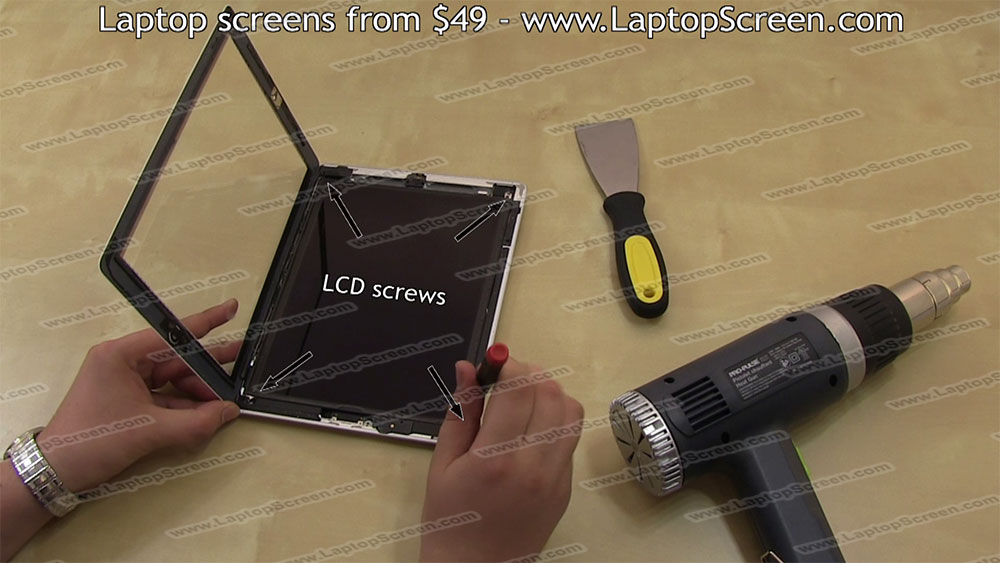
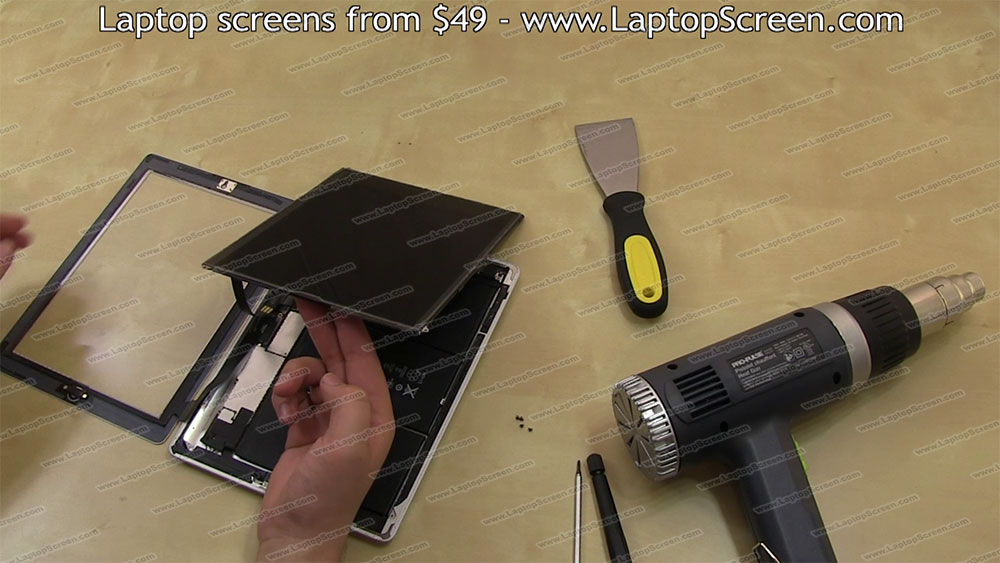
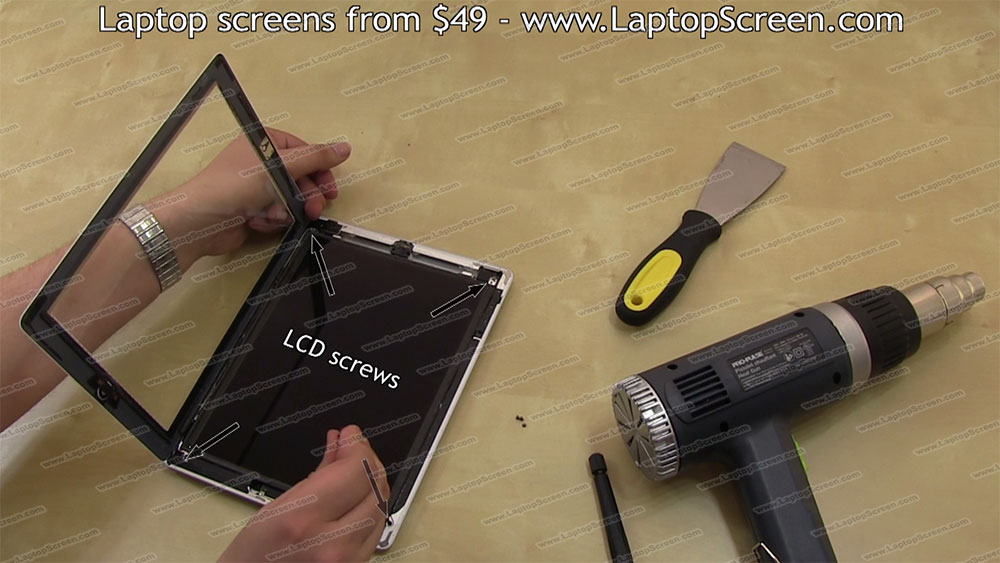
12. Using a philips screwdriver, remove the 4 screws in the corners of the main body, which are holding the LCD screen in place. Use one hand to keep hold of the digitizer at no more than a right angle at all times.

13. Once the 4 LCD screws have been removed, you can gently lift the LCD screen and push it forward. Doing so will expose the digitizer's connector latches underneath.
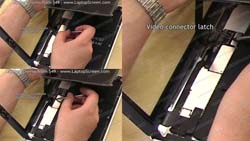
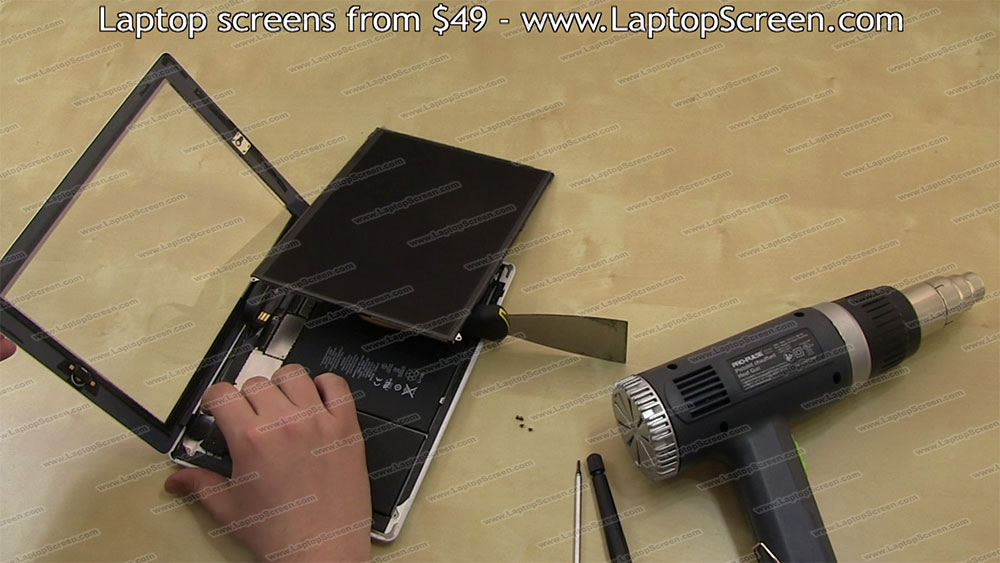
14. Hold the LCD screen in one hand, so that you can work on the connectors below—while still making sure that the digitizer is held at no more than a right angle. Using a flat screwdriver, open the 3 connector latches that secure the digitizer and the video connector— which is located on the opposite side of where the cables plug in.

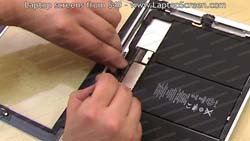
15. After that, disconnect the LCD screen and set it aside. There are two pieces of tape that need to be removed. The first is a small piece that is securing the cable to the connector. There is also a piece of tape securing the digitizer's cable, which will need to be removed. For this piece of tape, it may be helpful to use a flat screwdriver to slightly raise it, so it is easier to peel up.

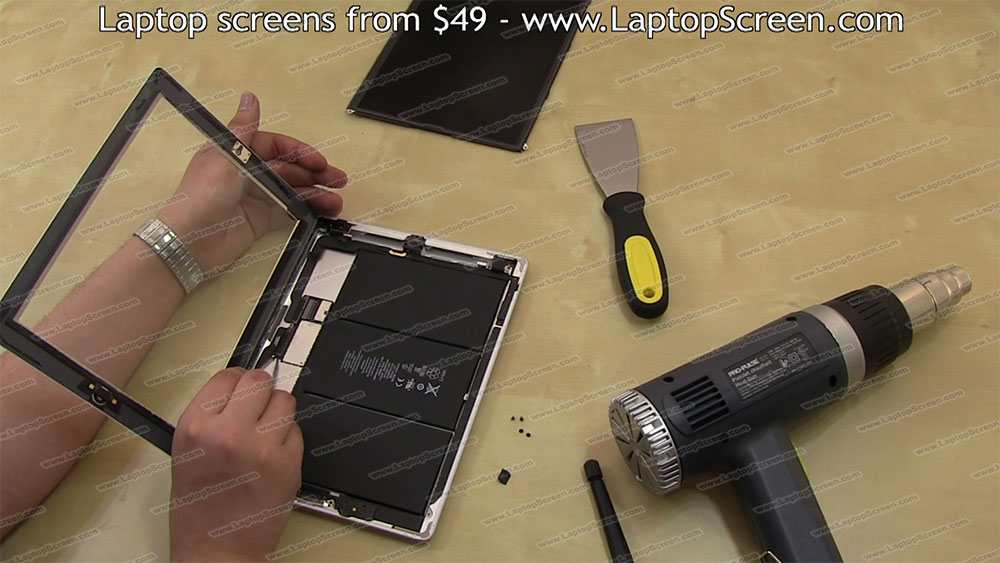
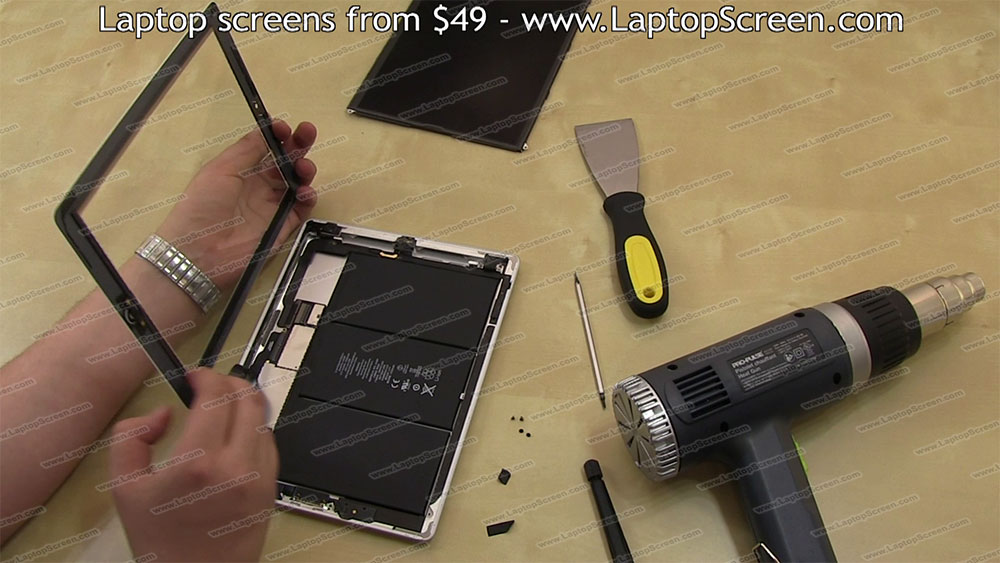
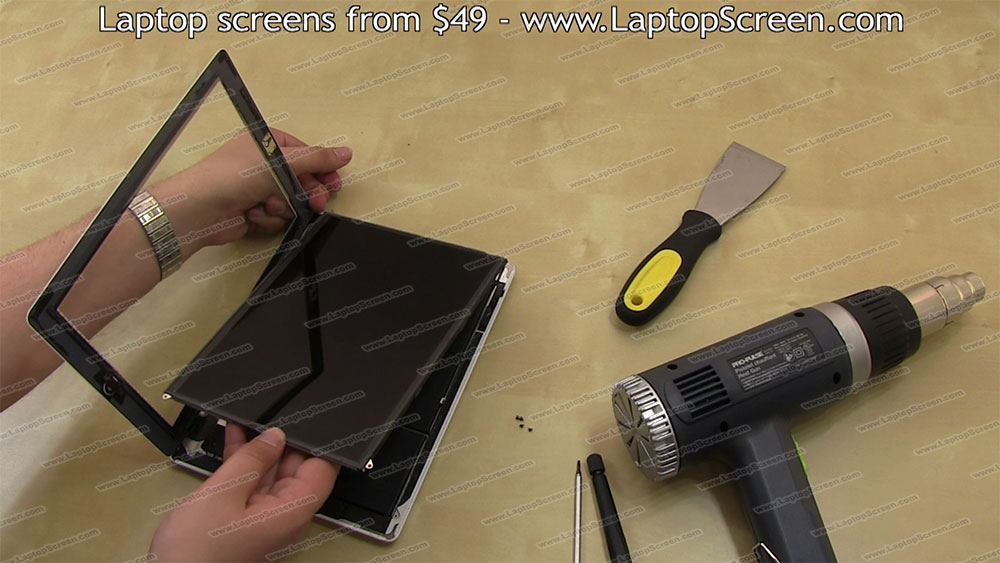
16. Carefully lift the iPad 3 digitizer from the frame. Make sure that the cable is properly removed from the frame, prior to disconnecting.

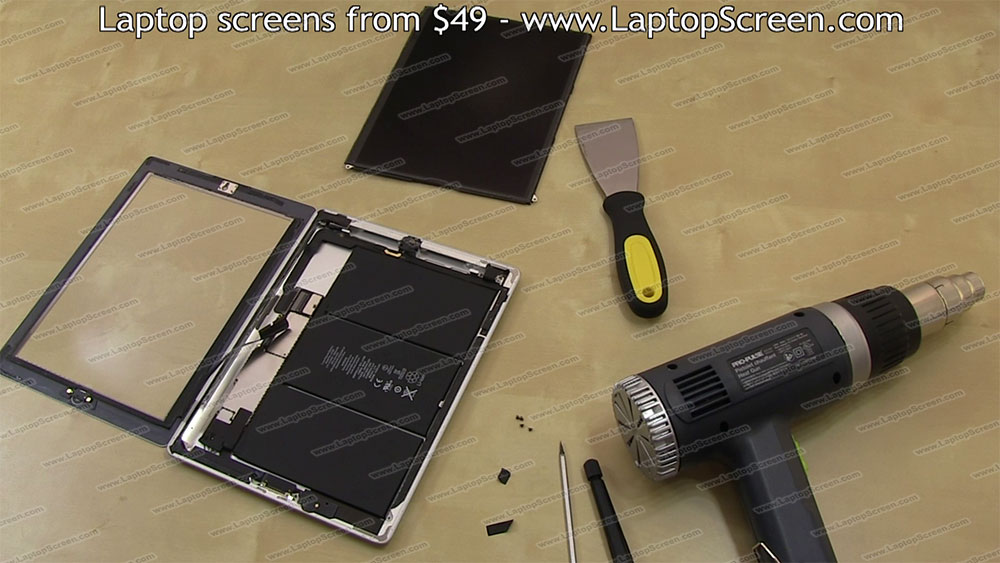
17. The iPad 3 LCD screen and digitizer have now successfully been removed. Depending on what you are replacing—the LCD screen or the touchscreen digitizer—you can either install a new or the original digitizer at this point. If there is any protective film on the inside of the digitizer, make sure it is removed before installing it on the frame.

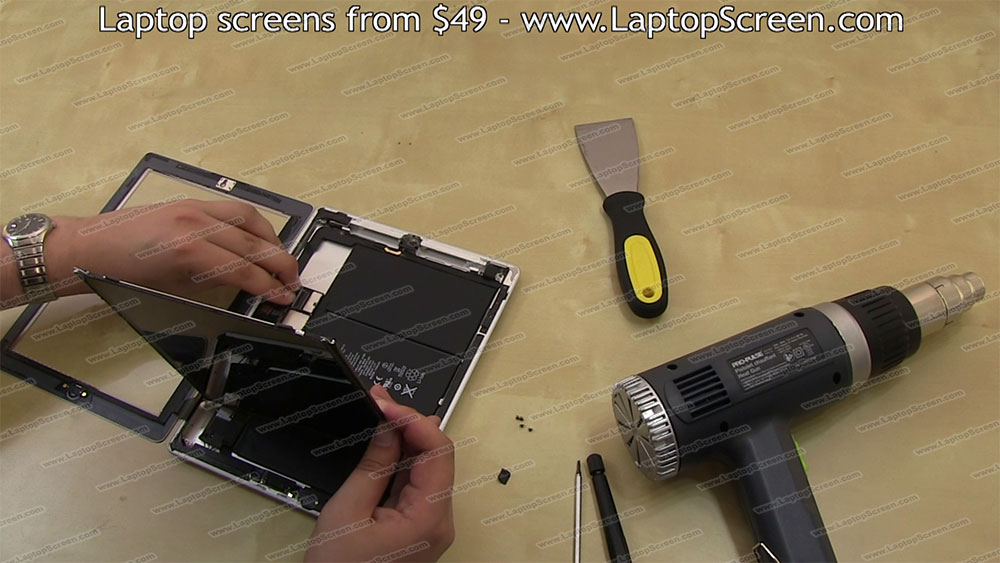
18. To install the digitizer, first slide the cable back in to the connector. It may be helpful to use a flat screwdriver to assist with sliding the cable back in place. To ensure proper positioning, check to see that both of the white lines on the cable are hidden by the connector.

20. Now that the digitizer is secured with the connecting cable, you can go ahead and install the LCD screen. Start by securing the connector latch, then replace the black tape.

21. The LCD screen will need to be propped up next, to make it easier to route the digitizer flex cable under the LCD cable.


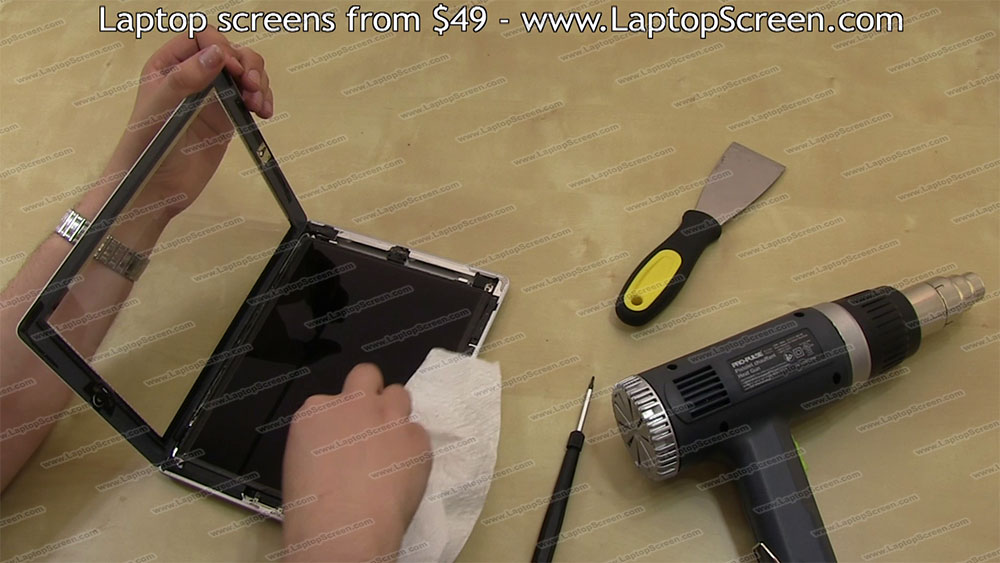
25. As both the digitizer and the LCD screen are now in place, and we are nearing the end of the installation process, it is imperative to remove any dust, dirt, smudges or fingerprints that are on the LCD screen and the inside of the digitizer. Use a dry lint-free cloth, or a good paper-towel if you don't have a cloth on hand. Properly inspect the digitizer and the LCD screen by looking at the LCD screen through the digitizer, while not dropping it all the way down on top of the screen. It should be easy to spot any remaining grime or residue, due to the black surface of the screen.
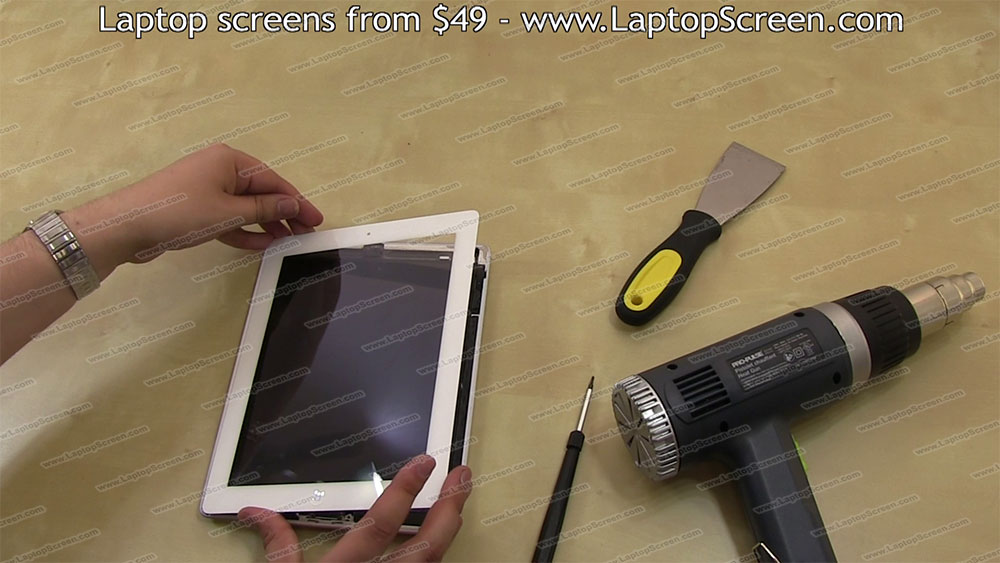
26. After you have established that both the LCD screen and the inside of the digitizer are completely clean, you can then close the digitizer. Take care to align the digitizer properly with the plastic gasket.

