HP Stream 11 LCD screen replacement
This is a guide on replacing the LCD on the HP Stream 11.

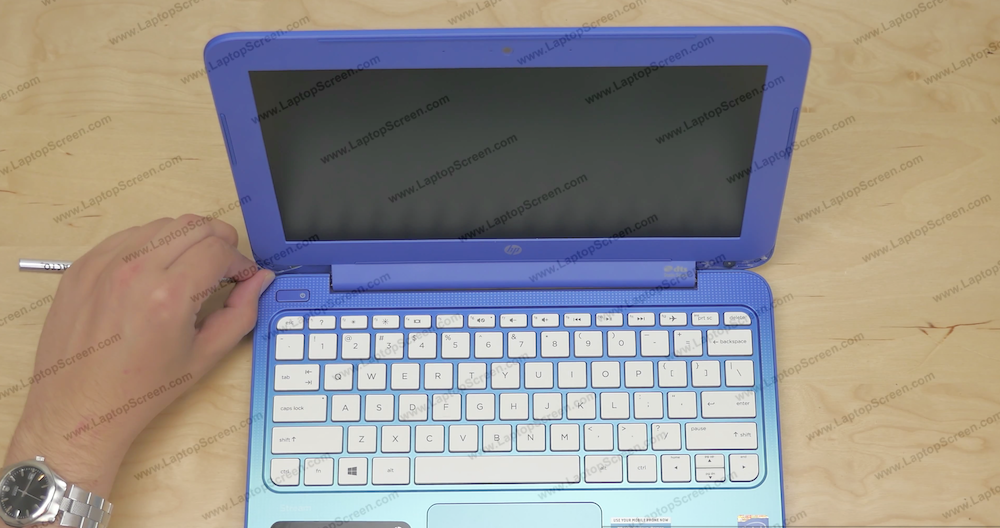
Before you begin, make sure the laptop is powered off, the battery is removed, and the power adapter is unplugged.
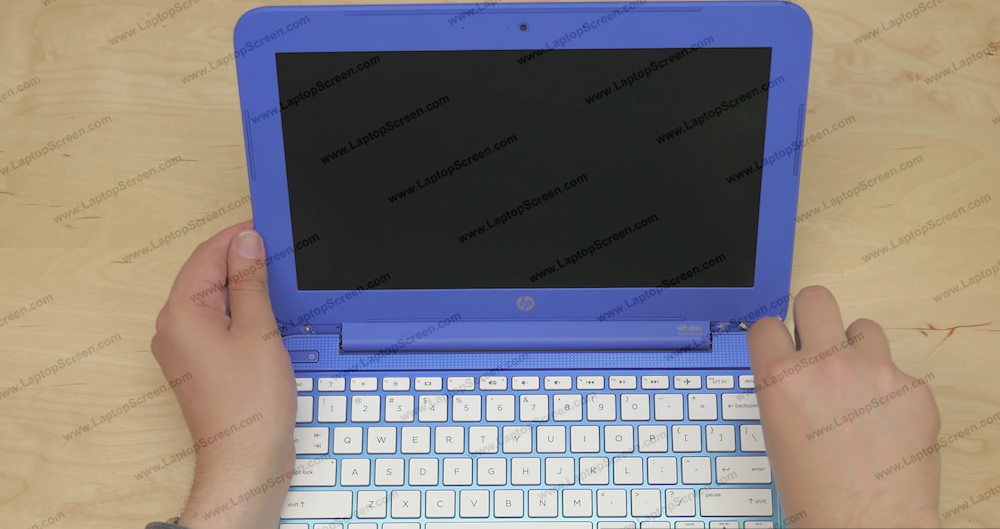
First, remove the two screw covers from the bottom corners using a sharp object, like an x-acto knife.
First, remove the two screw covers from the bottom corners using a sharp object, like an x-acto knife.
Then remove the two screws, one in each bottom corner.
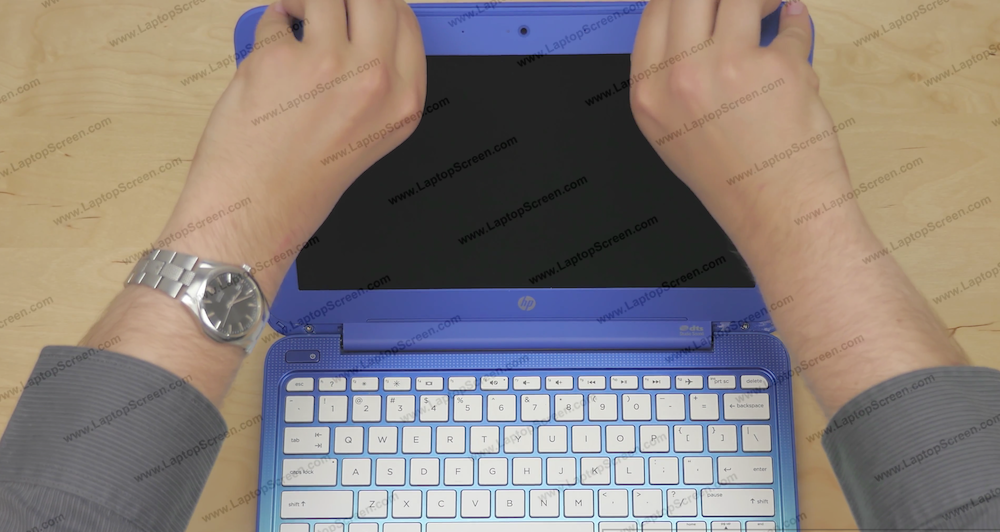
Proceed to removing the bezel. Starting from the inner top middle and work your way around the edges of the display, unsnapping the clips underneath - be careful to not damage them with excessive force.
Take extra care around the bottom edge.
Take extra care around the bottom edge.
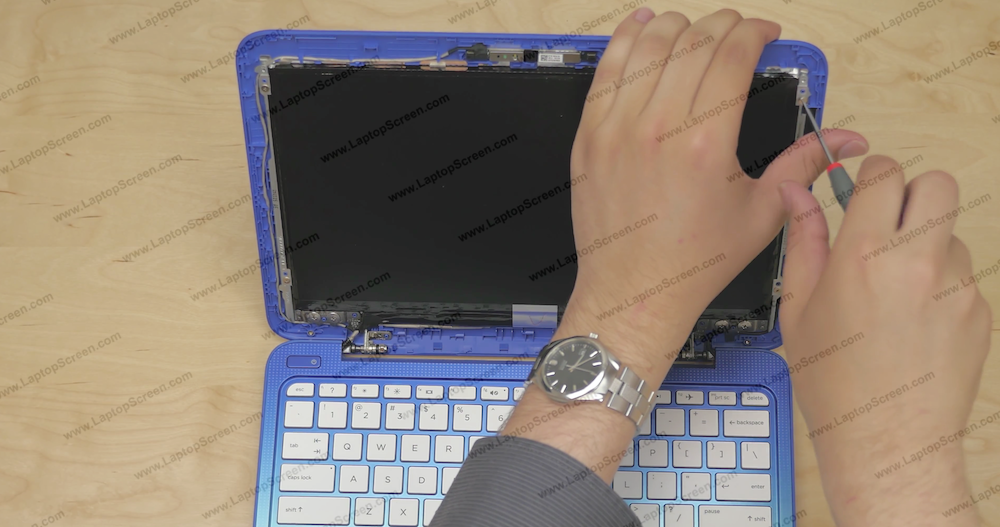
Remove all 4 Phillips screws that the LCD is mounted with.
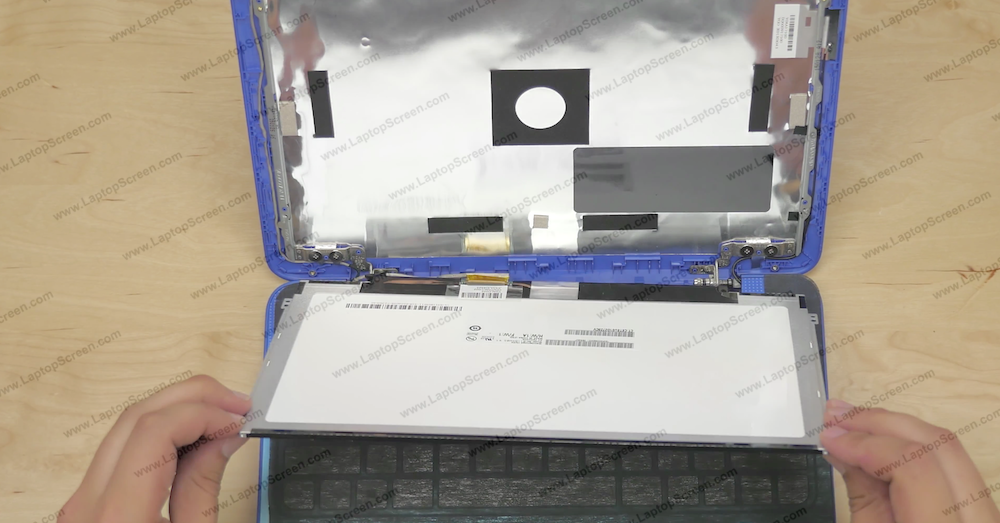
Once all the screws are removed, line the keyboard with a protective cloth to avoid scratching the LCD on the keyboard.
Gently lay the LCD down on the keyboard.
Gently lay the LCD down on the keyboard.
Peel the clear tape securing the video connector. Using both hands slide the video cable out.
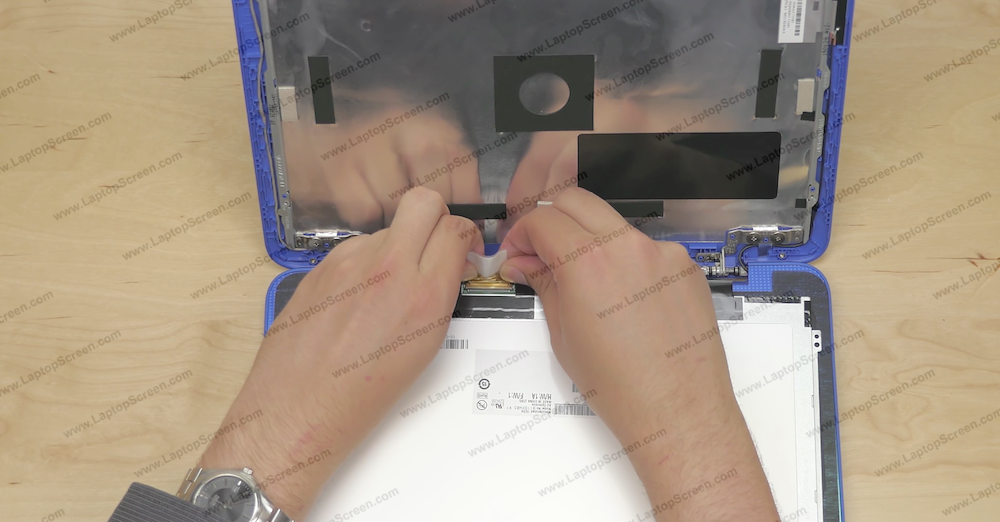
Gently peel the LCD securing tape away. Now that the LCD is fully unplugged, you can set it aside. At this point, the new screen can be installed.
Align the new screen on the keyboard, and gently reconnect the cable using both hands. Make sure the cable is not slanted or twisted, and is plugged in straight. Secure the LCD cable to the LCD using the sticky tape.
Align the new screen on the keyboard, and gently reconnect the cable using both hands. Make sure the cable is not slanted or twisted, and is plugged in straight. Secure the LCD cable to the LCD using the sticky tape.

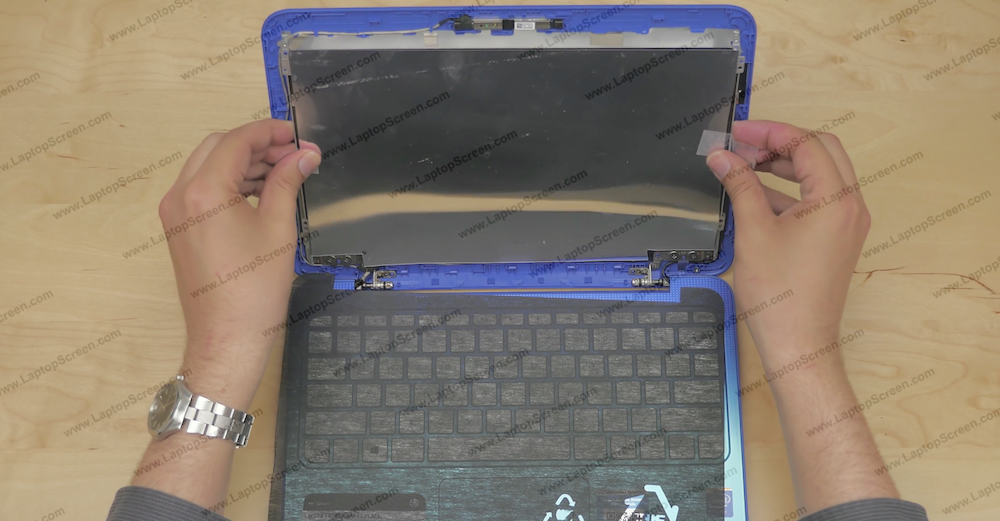
Lift the screen up, and remove the protective film.
Put in and secure all the fours screws back into the mounting tabs.

At this point the new screen can be tested.
Reattach the power adapter. Press the power button and wait for the laptop to boot. If the startup graphics appear, the LCD is installed correctly.
Power down the laptop again.
Reattach the power adapter. Press the power button and wait for the laptop to boot. If the startup graphics appear, the LCD is installed correctly.
Power down the laptop again.

Reattach the bezel. Start at the bottom by the hinge cover, and proceed around the perimeter of the bezel. Gently snap the clips back into place.

Reconnect the power adapter and the battery, turn the laptop on. Now you're done!

last updated June 14, 2018