IBM-Lenovo Ideapad B50-45 LCD screen replacement
This is a guide on replacing the LCD on an IBM-Lenovo Ideapad B50-45 laptop.
To perform this replacement, you will need a size 0 or 1 Phillips head screwdriver, and a new LCD screen.
To perform this replacement, you will need a size 0 or 1 Phillips head screwdriver, and a new LCD screen.
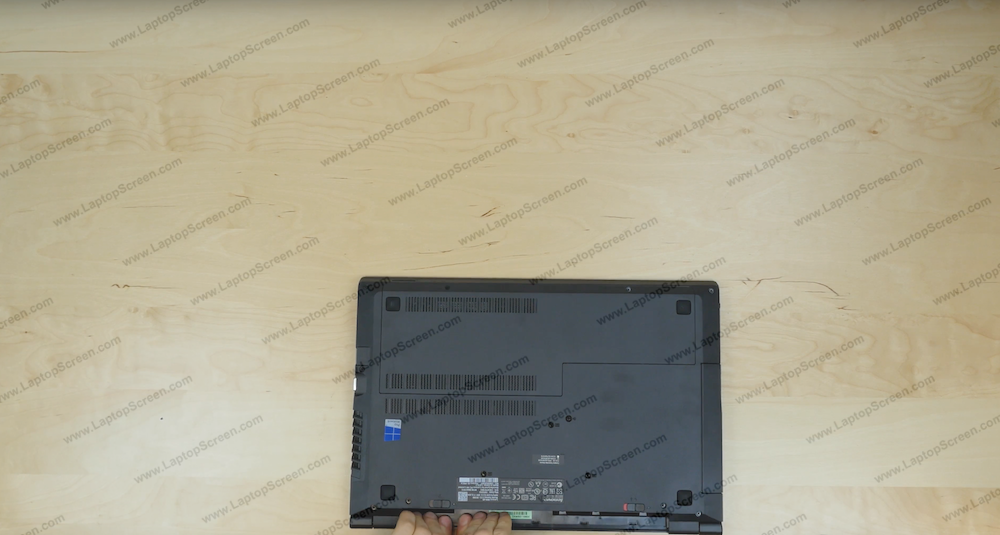
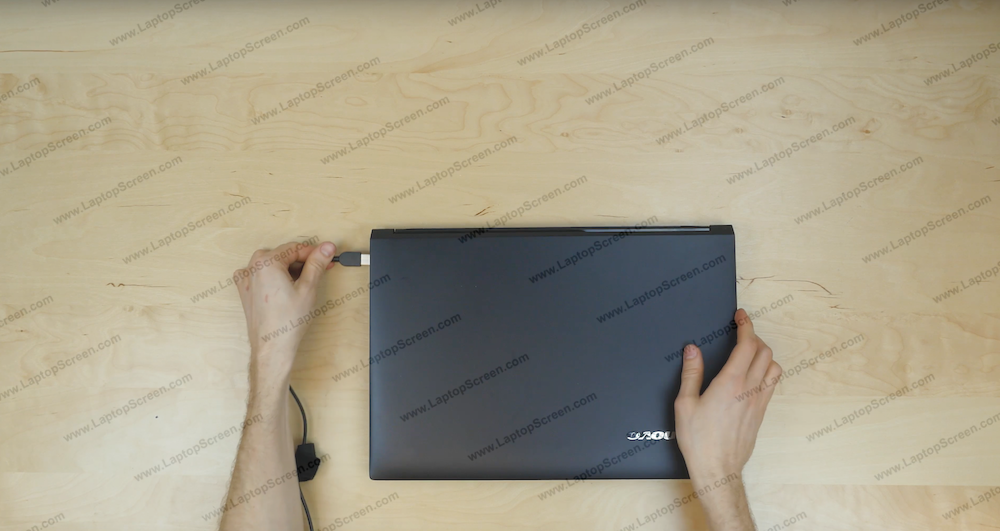
To begin, make sure the laptop is turned off: first, disconnect the power.
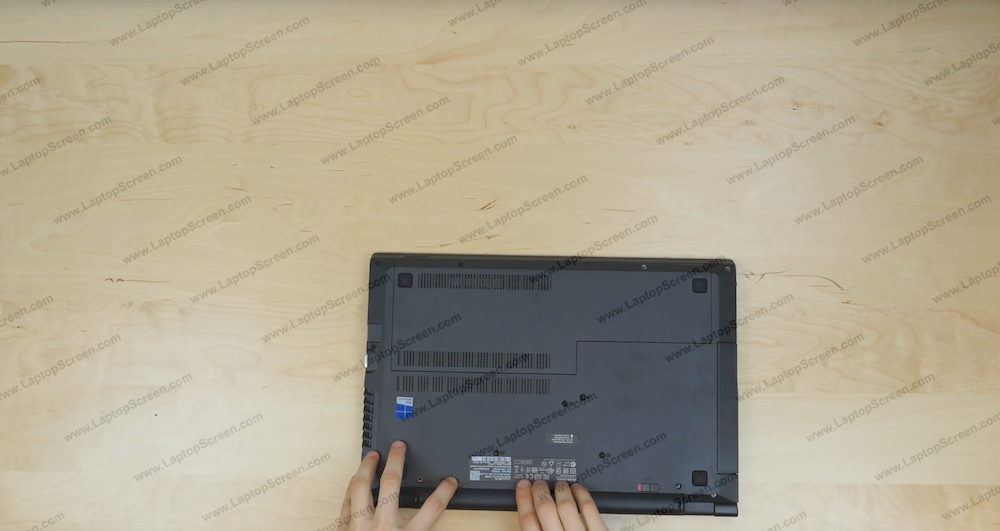
Then, remove the battery as shown on the case. Note, that there is a locking clip that you may need to slide to the side first.
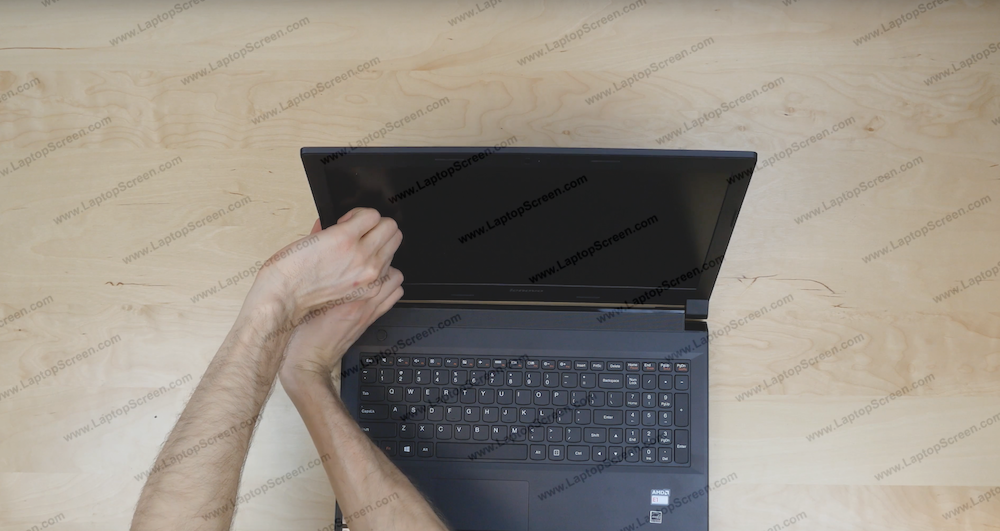
There are no screws that hold the bezel. Insert your fingers between the LCD and the bezel, and carefully start working your way around the assembly. Be sure to not apply to much force.
Once the bezel is separated, put it aside.
Once the bezel is separated, put it aside.
The screen is held by only four screws, one in each corner. You only need to remove the screws that are holding the screen clips.
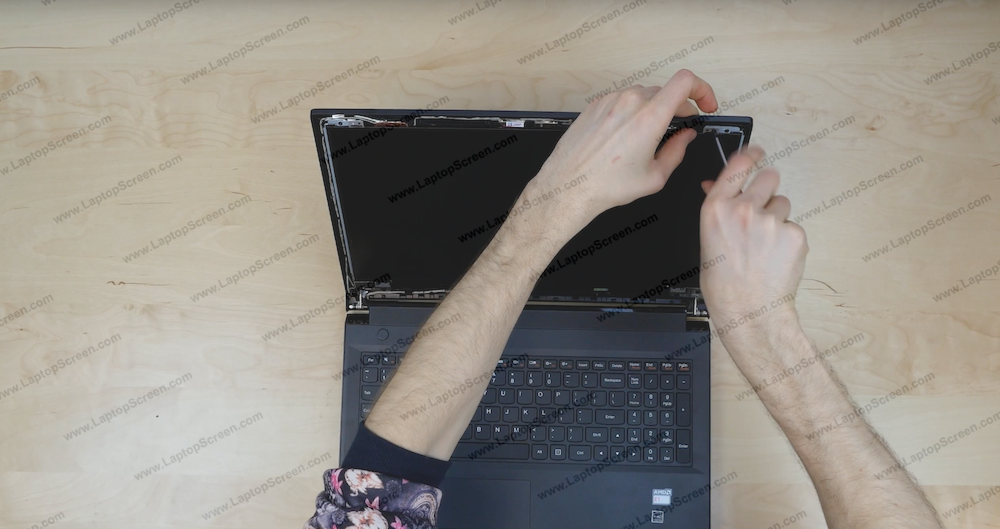
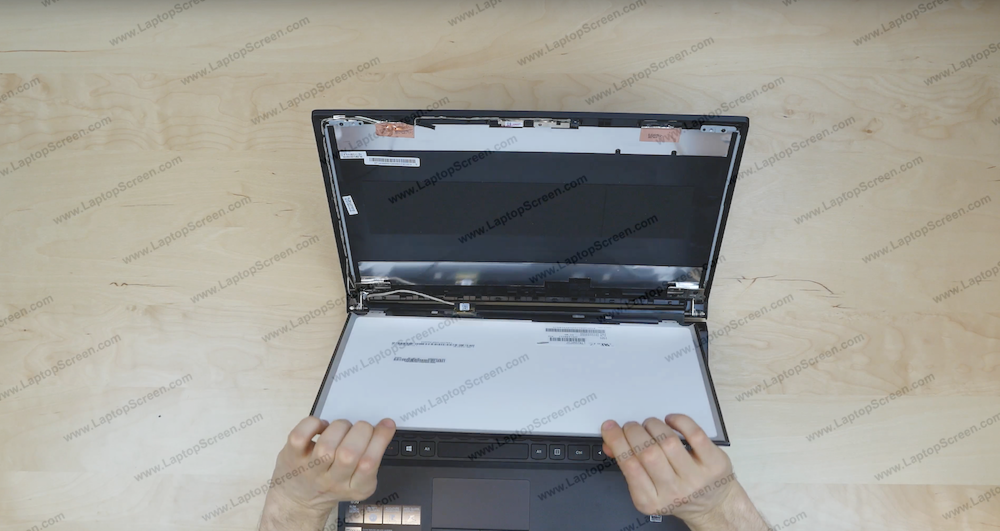
Once the screws are removed, pull the old screen down on the keyboard.
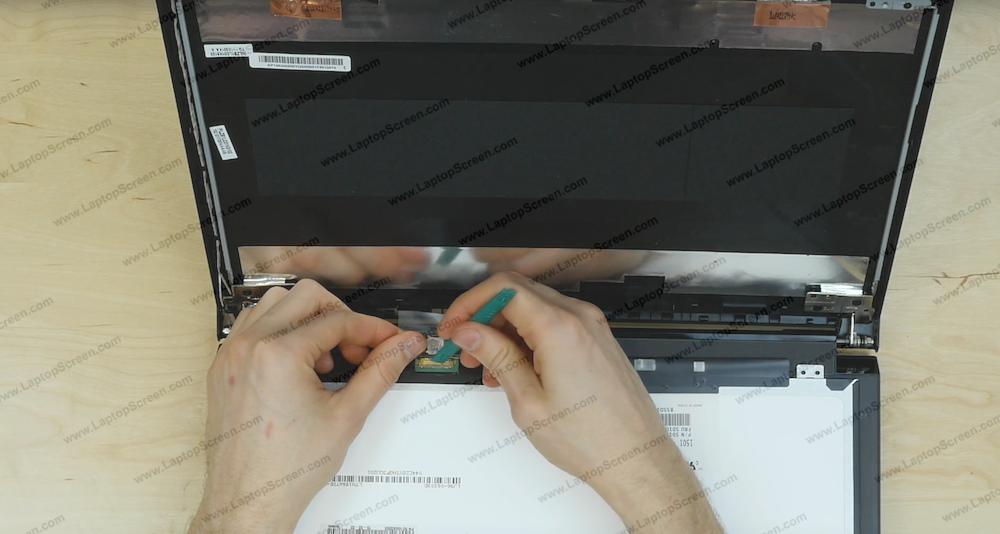
Peel off the tape securing the video connector. Carefully disconnect the cable.
Put the old screen aside. Cover the keyboard with a cloth or a plastic bag to prevent the new screen from being scratched or otherwise damaged.
At this point the new screen can be installed.
At this point the new screen can be installed.

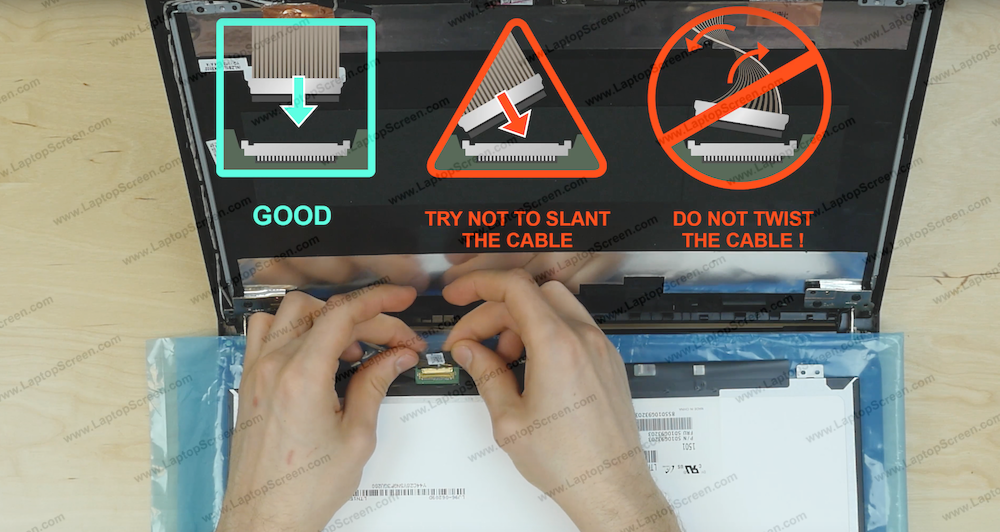
Place the new screen on the keyboard. Reattach the video cable using both hands. Make sure it is not twisted or slanted, it must be plugged in straight.
Secure the video connector with the tape. If the tape is worn, it may be a good idea to add some extra tape for safety.
Secure the video connector with the tape. If the tape is worn, it may be a good idea to add some extra tape for safety.
Left the new LCD, and align the clips with the screw holes. Put the screws back in.

Reattach the bezel by pushing the clips back in with your hands. Work your way around to make sure all clips are connected. Flip the laptop over and make sure that the bottom edge is also snapped in.
Reinstall the battery.

Reconnect the power cable.
Turn the laptop on, and we’re done!

last updated March 16, 2020