This is a guide on replacing a glass digitizer and an LCD screen on the Apple iPhone 6 Plus. For more details please watch the video below:

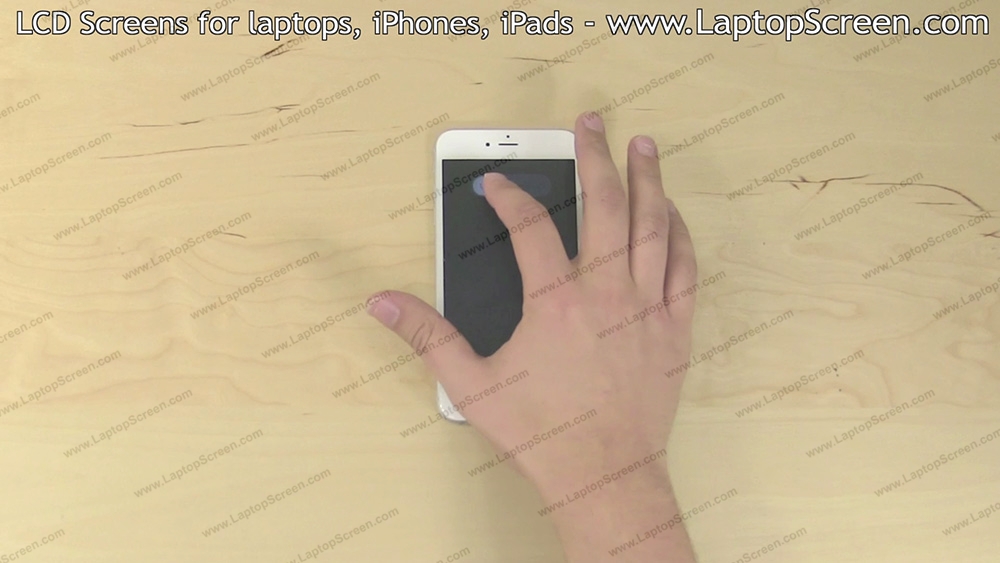
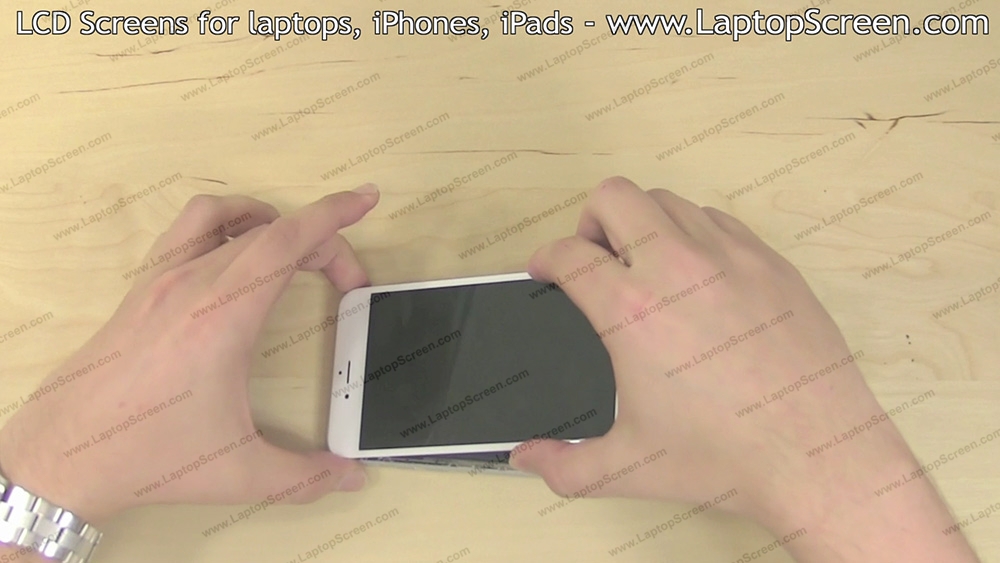
To begin, shut down the phone by holding the power button on the side and confirming the shut down on-screen.
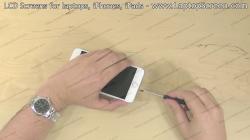
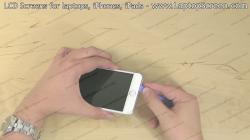

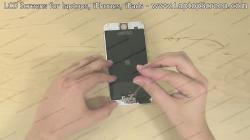
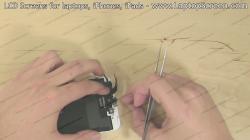
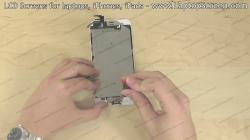
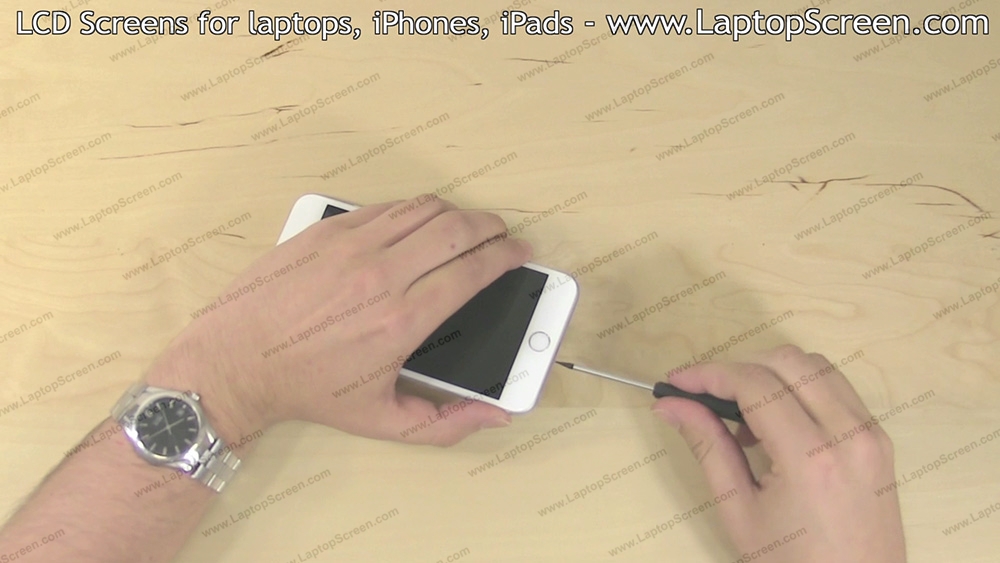
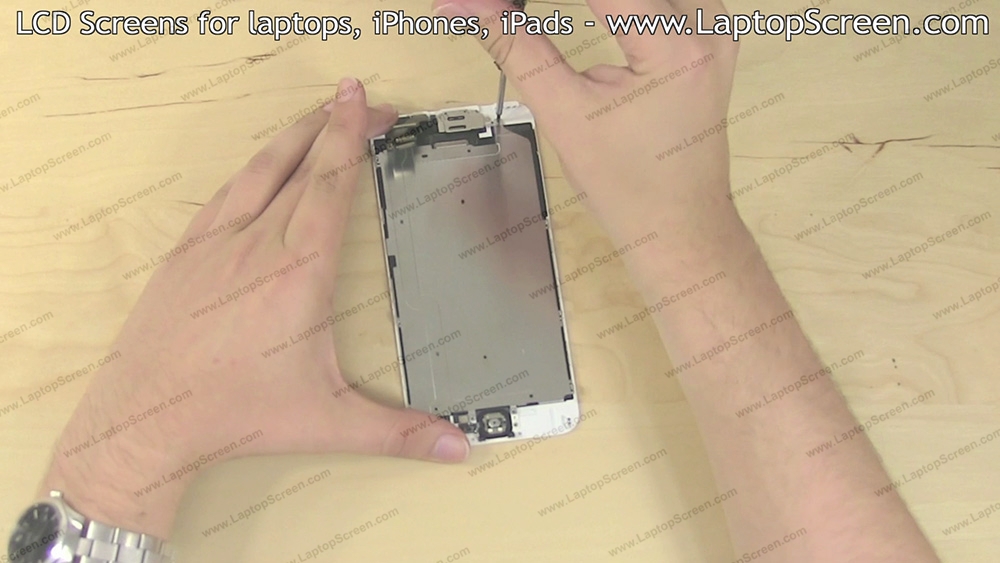
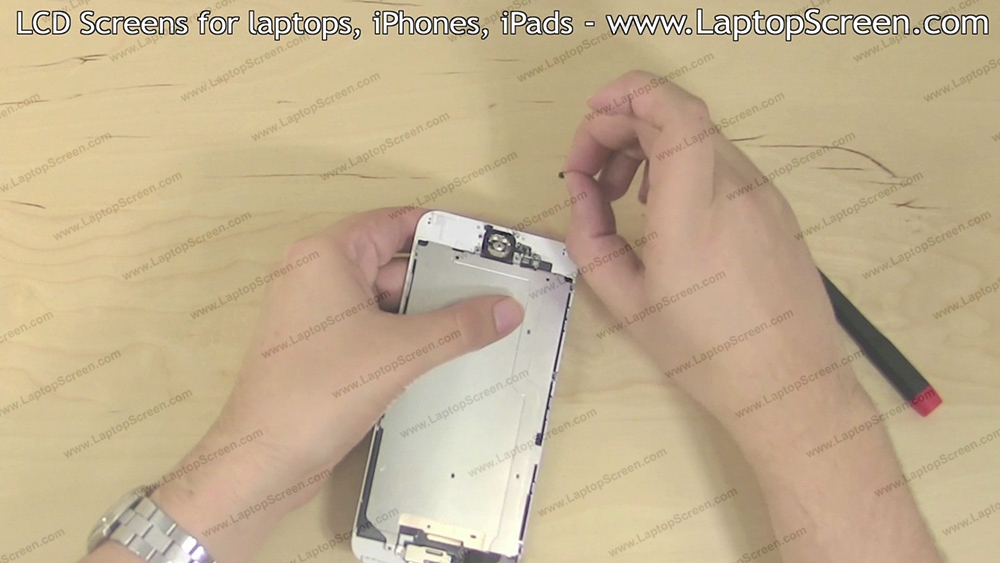
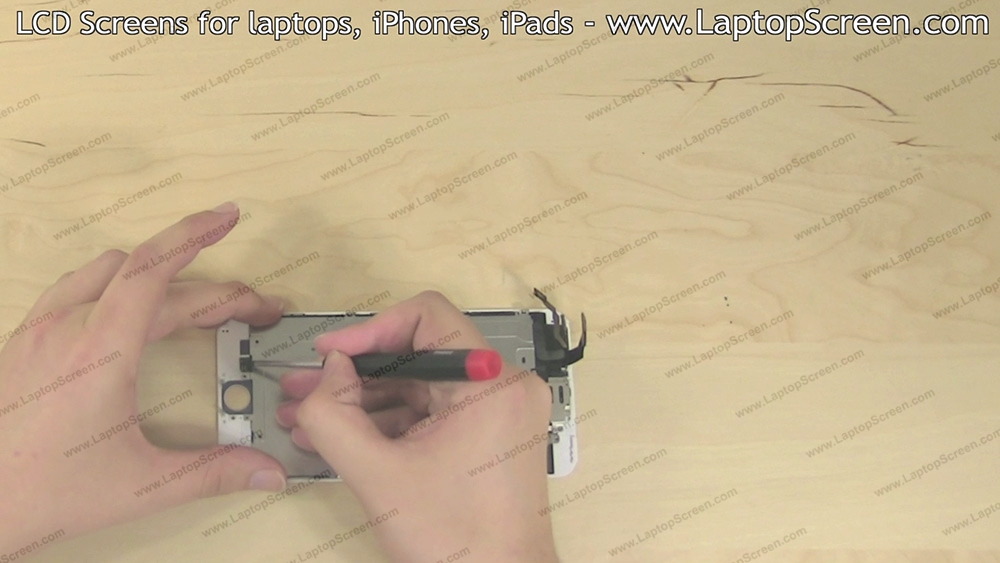
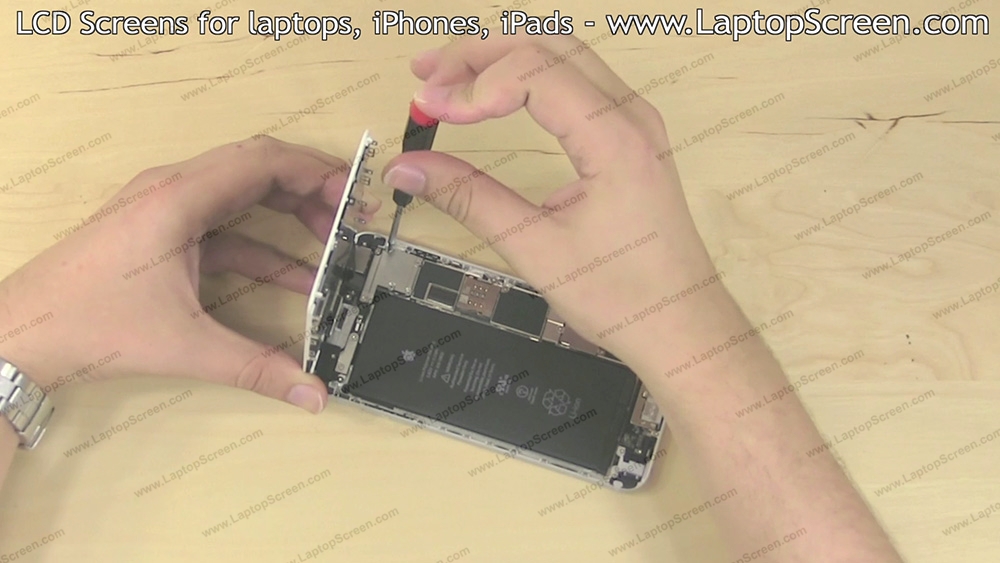
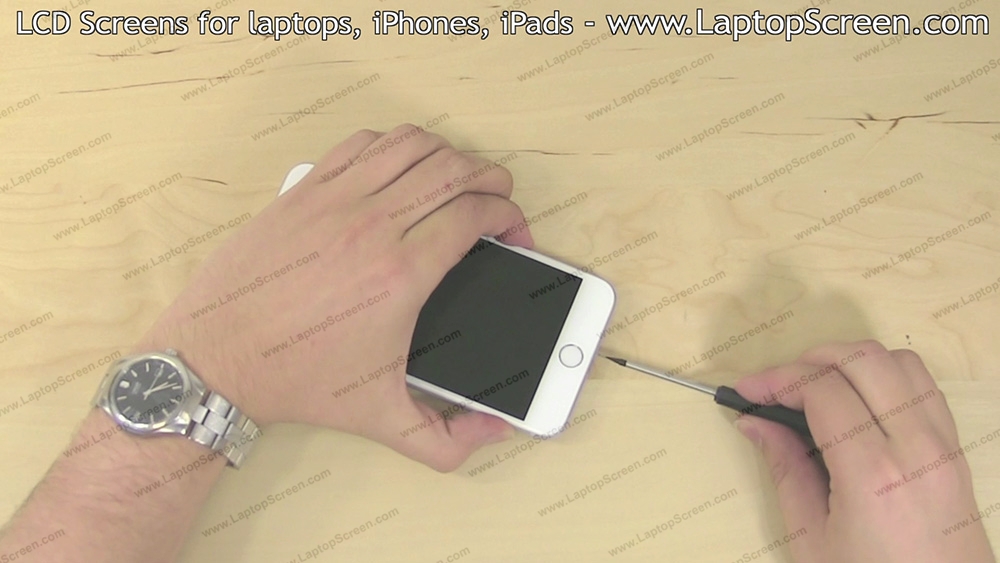
Open the front assembly from the bottom edge and begin removing 5 phillips screws securing the connector plate.

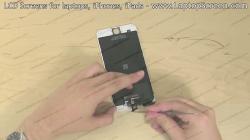
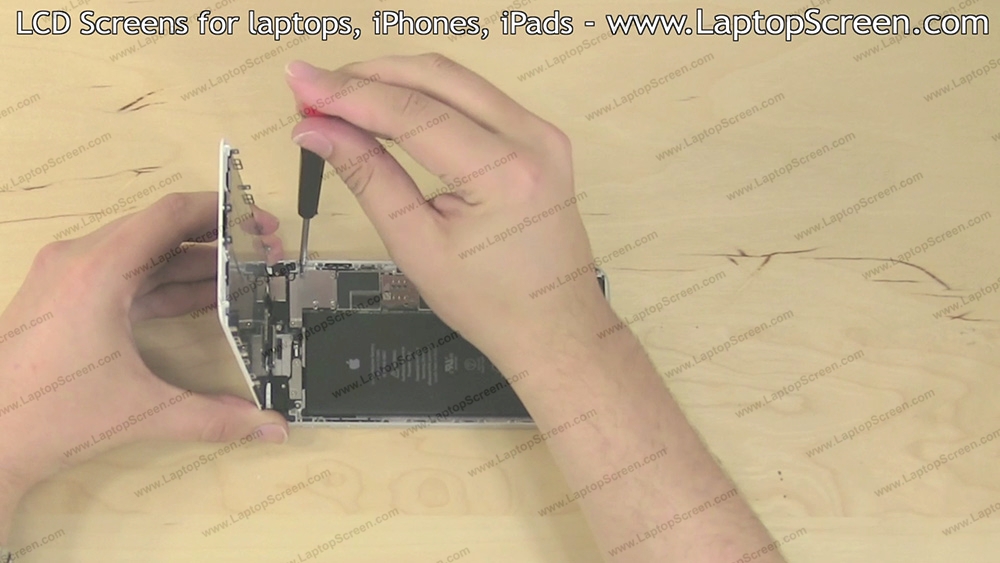
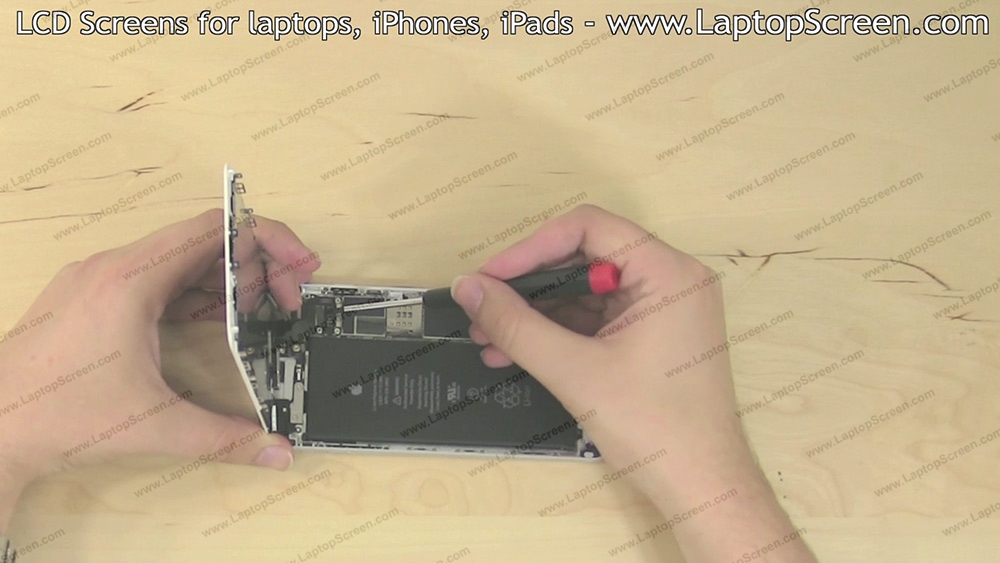
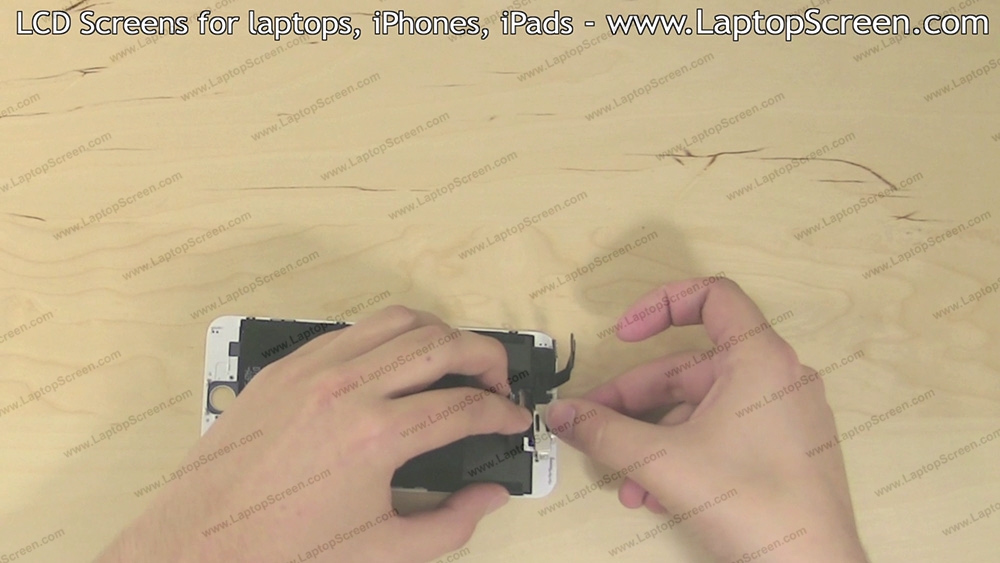
Remove the connector plate. Begin separating the 4 small connectors using a pick or a flat screwdriver.
If the replacement part does not have the home button or the camera on it - they will have to be transferred from the original.
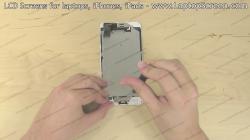
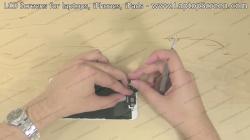
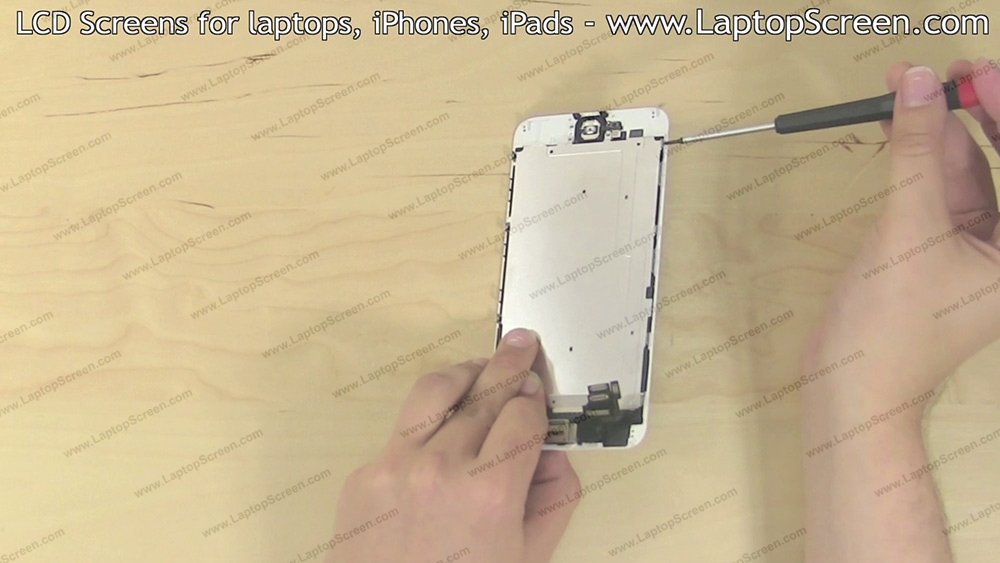
Remove two phillips screws holding the metal shield over the home button. Remove the shield.


Using tweezers gently pry off the glued base of the home button connector. Remove the large LCD shield.
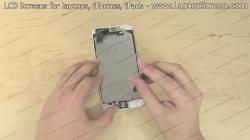
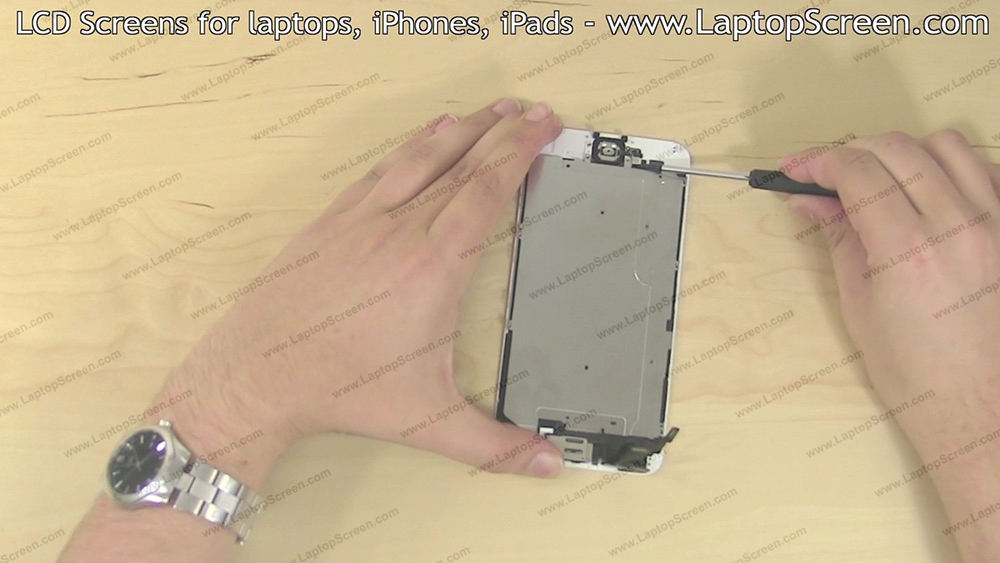
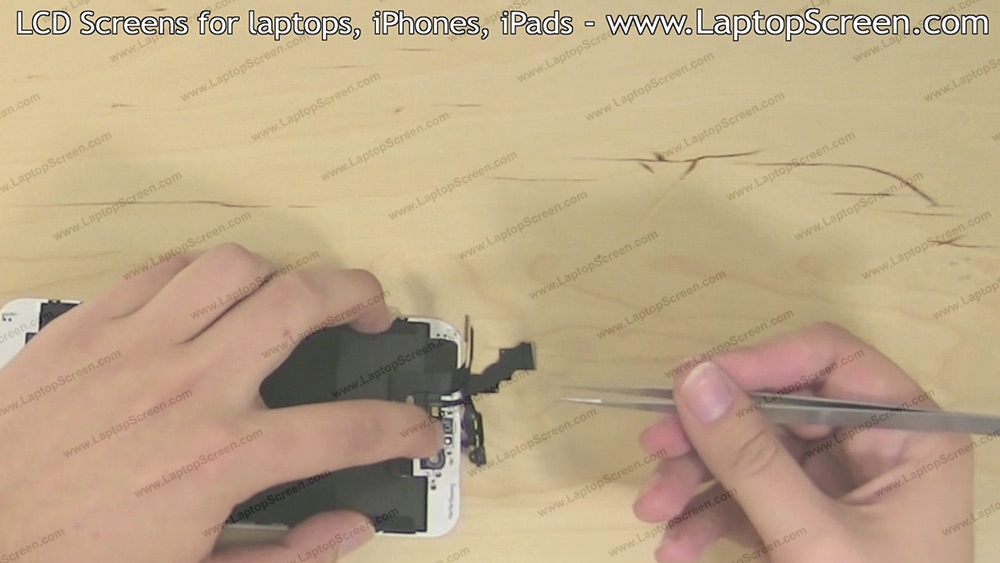
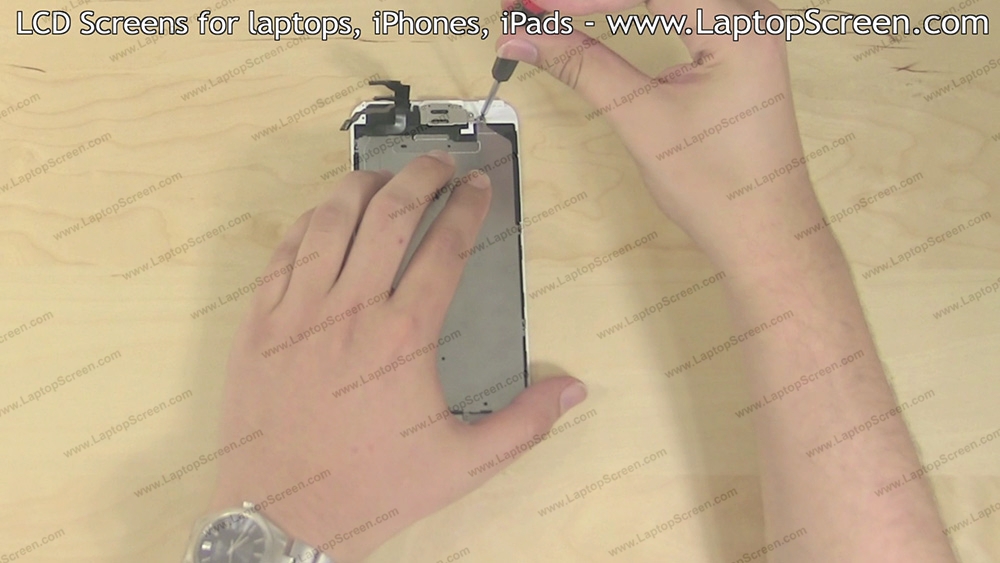
Remove three phillips screws from the front camera bracket at the top of the assembly. Remove the securing bracket.
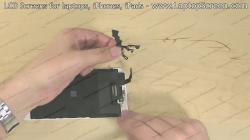
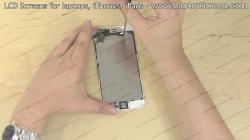
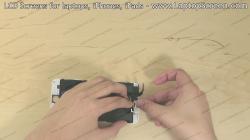
The front camera is on the same flex cable as all the ambient light sensors. It is glued on in several spots.
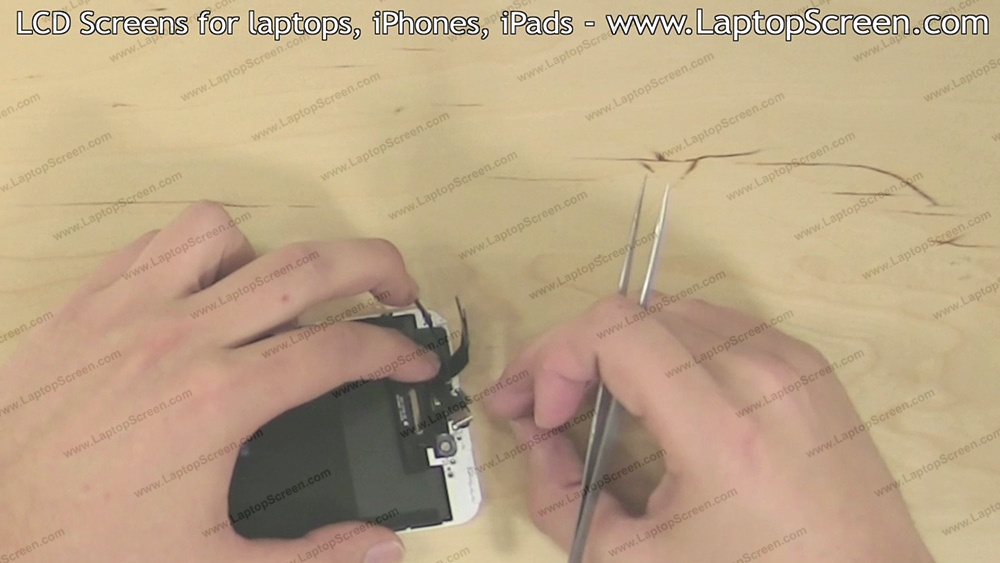
Using tweezers gently separate the sensors from the assembly while holding the flex cable.
Unglue the entire garland and set it aside.
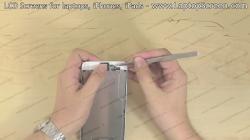
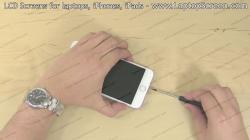
At this point the new display assembly can be installed.
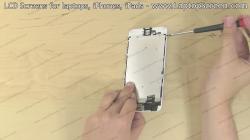
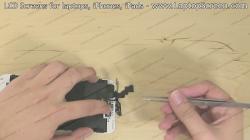
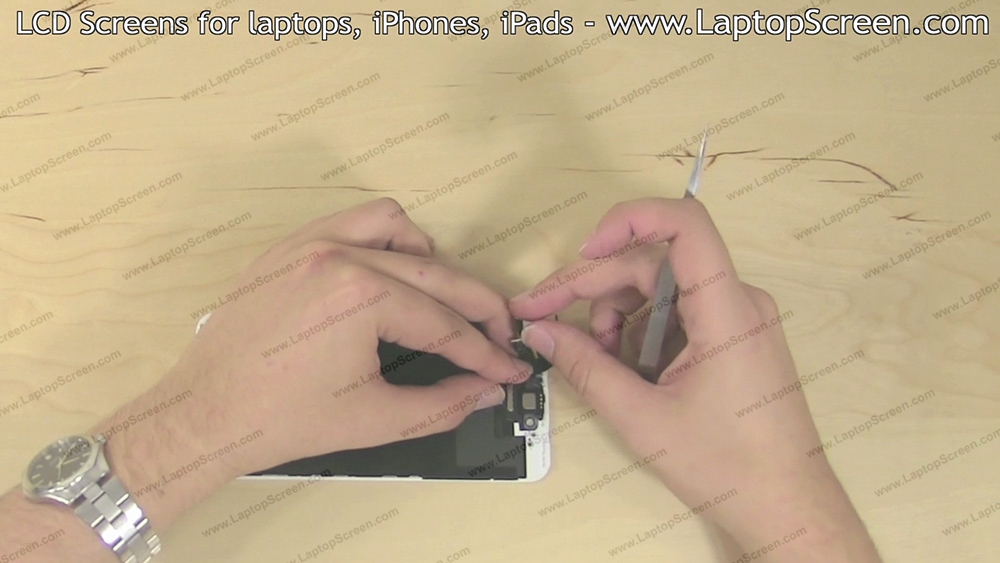
Begin by attaching the camera and sensor flex cable, starting with the sensor which is to the left of the camera.
The sensor fits inside a rubber placeholder. Once the sensor is fitted fold over the cable and refit the other two sensors above.
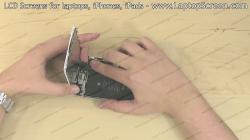
Replace the speaker box ensuring that it is aligned properly with the contact pads of the flex cable.
Insert the front camera into it’s placeholder. Fit the securing bracket over top and replace the three phillips screws.

Reinstall the LCD shield making sure that the home button connector is positioned properly over its pad.
Replace the home button making sure that the flex cable is properly aligned with the two fitting pins on the assembly.

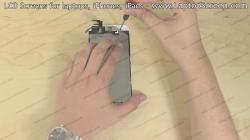

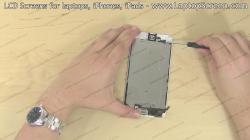
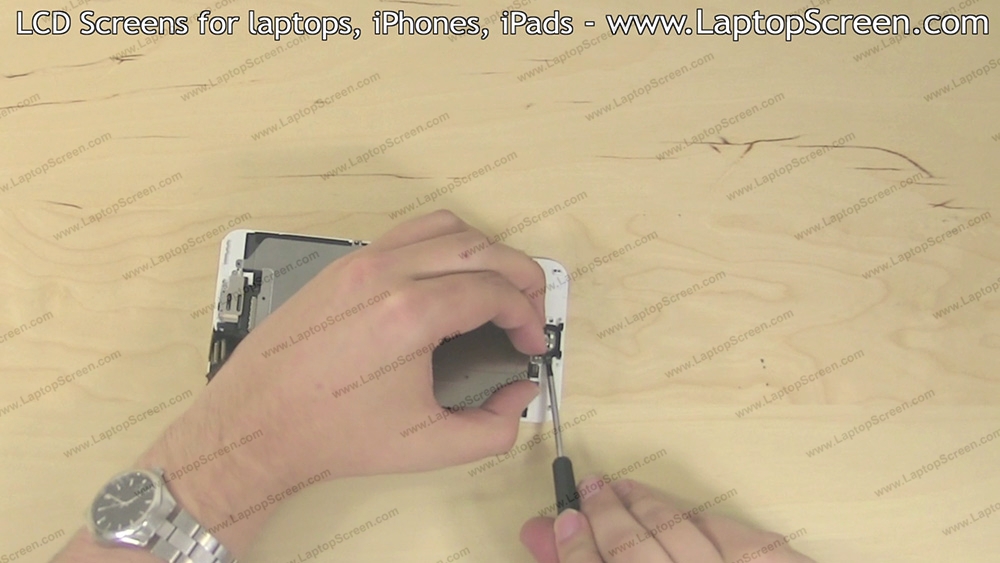
Align the display assembly with the main body of the phone and begin reconnecting it.
There are four connectors in total, start from the top. Each connector will make a distinct click when connected properly.
Connectors are extremely fragile, make sure to align them properly and do not use excessive force.

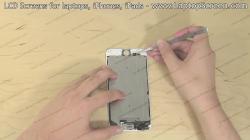
Replace the connector shield and secure it with 5 phillips screws, the medium size screw fits in the left top corner,
the longest screw goes in the right top corner, and the three tiny phillips screws go in the remaining spots.
