LCD de pantalla de instalación
Generalmente, la mayoría de las laptops proporcionan acceso facil al LCD. Aqui estan los pasos mas basicos para la mayoria de laptops:
Desconecta el poder and remueve la bateria cuando posible!
1. La mayoria de laptops vienen con un bisel que está asegurado con tornillos y broches de plástico, o simplemente está encajado.
2. Después de remover el bisel los tornillos de montaje del LCD serán expuestos.
3. Una vez que la pantalla es destornillada puede ser bajado al teclado
4. El conector de video debe desconectarse con mucho cuidado con ambas manos, sin inclinar.
5. Nueva pantalla es reconectado usando el mismo cable de video, usando ambas manos sin inclinar.
6. La pantalla se vuelve a montar y el bisel se vuelve a unir.
Que tal el poder de las laptops con baterías removibles? Hablando técnicamente, el LCD puede ser "intercambiado caliente" - reemplazado mientras el sistema esta en poder completo, corriendo normalmente. No lo recomendamos, pero es posible, como conectando una tele a un reproductor DVD se pueder hacer on la "Tele Prendida". Pero con laptops es mejor tenerlos APAGADOS cuando reemplazando el LCD, porque el conector de video de laptop tambien es el conduito para el poder para la retroiluminacion del LCD, que puede correr tan alto como 32 Voltios a 2 Amperos = 64 Vatios!!!
Que puede ir mal? Al menos que todo el poder es removido del laptop, hasta si el laptop es "APAGADO", va haber una señal continua para "habilitar" voltaje mandado al LCD cuando ahi poder en la bateria. Por eso es muy importante enchufar el conector de video con mucho cuidado y precisión. Si los pines incorrectos hacen contacto, o si los multiples pines del conector de video tocan el revestimiento de tierra de metal alrededor del conector en el LCD al mismo tiempo va haber un evento corto circuito que probabelmente disparsara su fusible del retroiluminacion y puede causar mas daño a a placa base.
Tenemos miles de vídeos tutoriales de instalación de pantalla creados por nosotros y nuestros clientes, por favor navega al seccion de videos tutoriales o mas.
How to replace LCD on a laptop (Inspiron 15 5000)
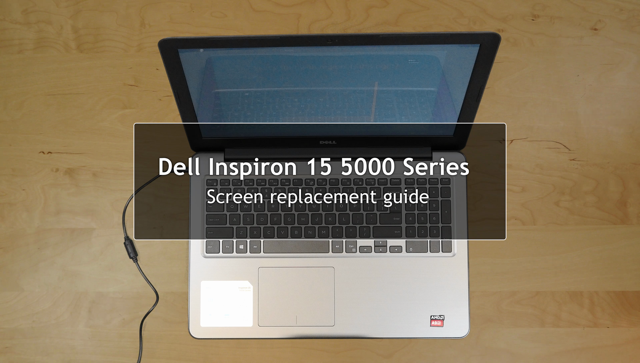
This is a guide on replacing an LCD on a Dell Inspiron 15 5000 Series.
Picture guide below:
Picture guide below:

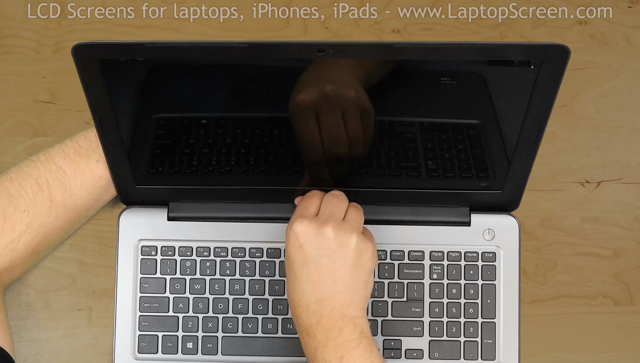
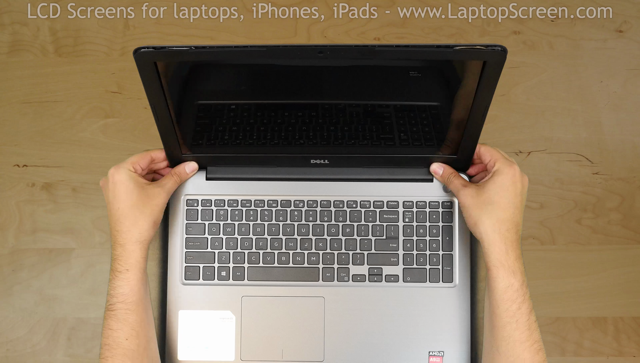
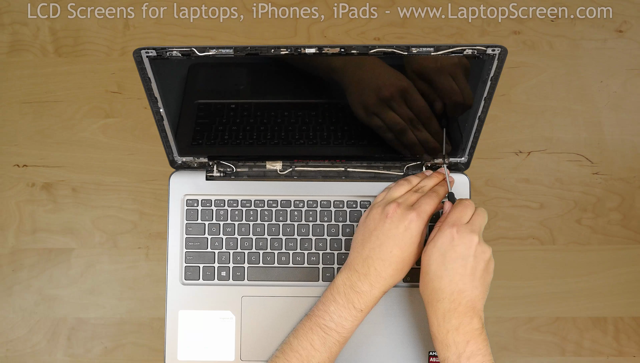
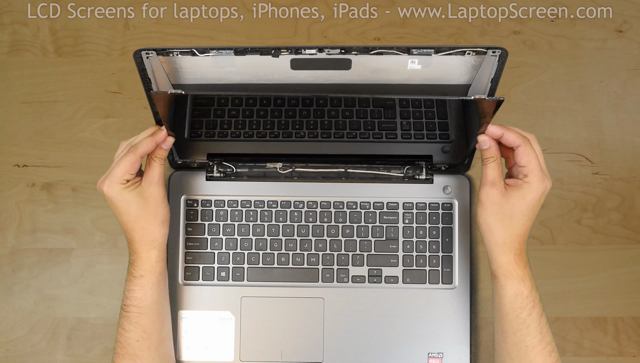
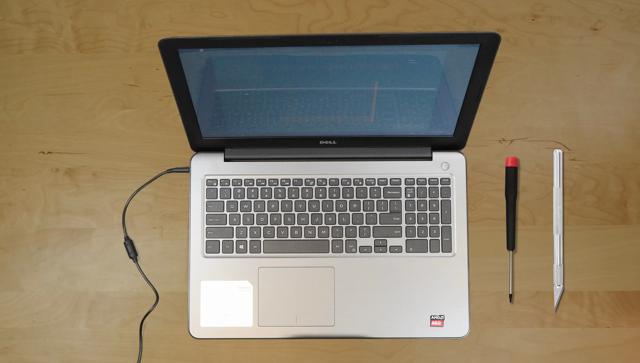
For the replacement process we’ll need the following tools:
- a Phillips screwdriver
- and an X-Acto knife
- a Phillips screwdriver
- and an X-Acto knife
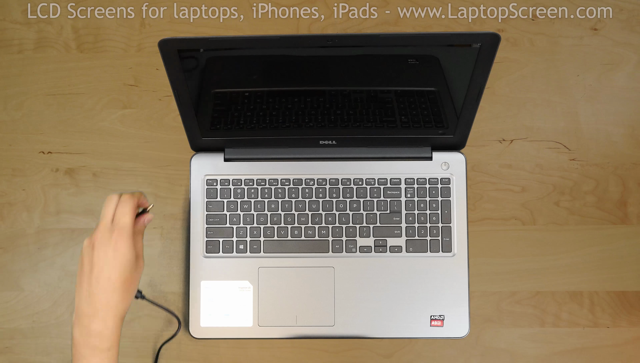
To begin, shut down the laptop and disconnect the power cord.
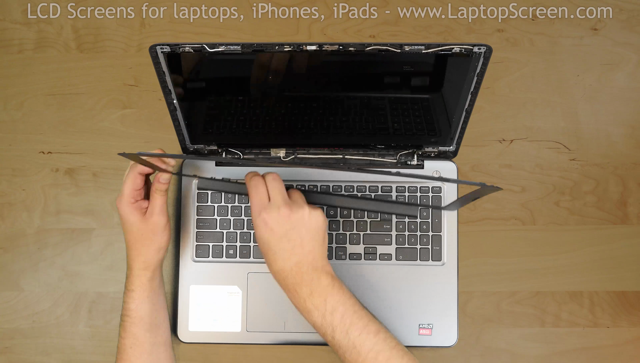
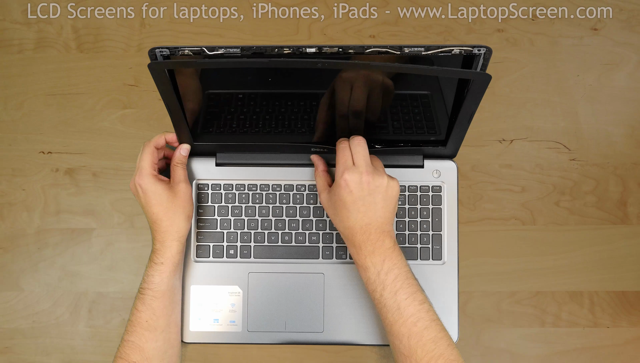
Next step is to remove the bezel. Start from the left side. Pull the inner edge away from the glass. Once the edge is unsnapped proceed to the left top corner.
Move along the perimeter to the right side. And to the bottom. Set the bezel aside.
Now we have access to the LCD panel. Remove four phillips screws holding the screen in place. One screw in each corner.
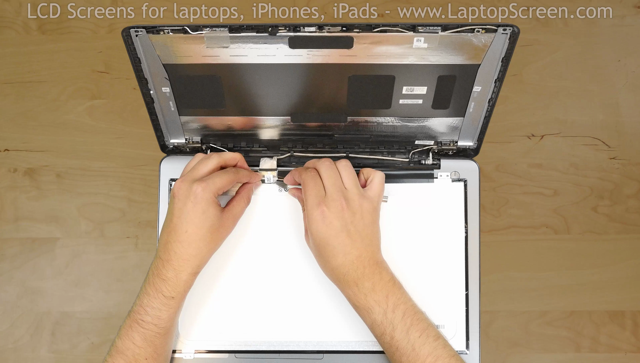
Place the LCD panel on the keyboard. Using an X-Acto knife peel off the tape securing the video connector.
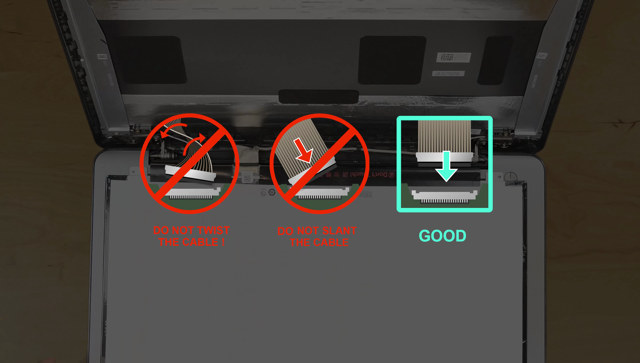
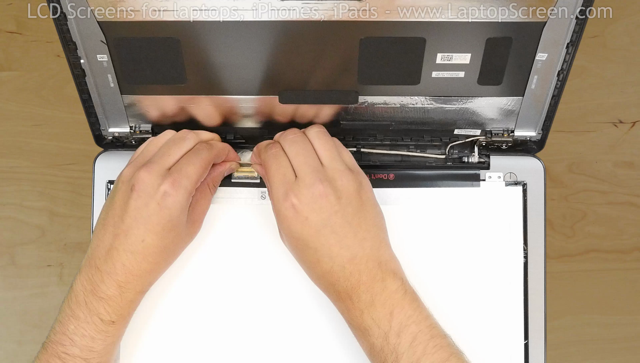
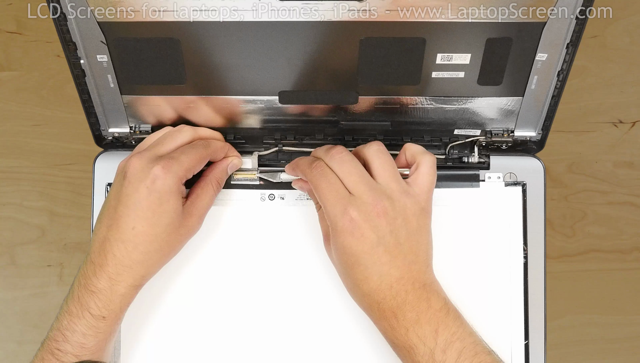
Open the connector’s bracket. Using both hands gently disconnect the video connector. Discard the old panel.
Take the new LCD screen and place it on the keyboard. Using both hands reconnect the video cable. And close the bracket.
Secure it with the protective tape.
Secure it with the protective tape.
CAUTION! It is very important not to force any of the connectors. As well you must not twist or slant the connector when plugging it in.
Lift the screen up aligning it with the screw holes.
Replace the four phillips screws.
Replace the bezel. Start at the bottom
corners, then go around the perimeter snapping the tabs in place.
corners, then go around the perimeter snapping the tabs in place.
Snap the tabs near the hinge cover by supporting the back cover with one hand and firmly pressing on the front with the other.
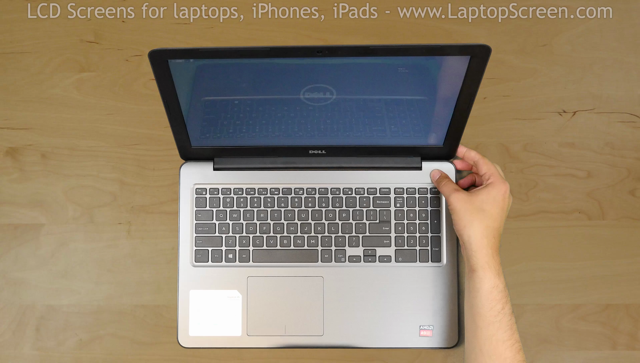
Turn the laptop on. If the start up graphics appear the replacement screen is installed correctly and we are done!
last updated July 26, 2018