Installazione dello schermo LCD
Generally most laptops provide very easy access to the LCD. Here are the most basic steps that relate to the majority of laptops:
Disconnect the power and remove the battery whenever possible!
1. Most laptops come with a bezel that is either secured with screws and plastic snaps, or is just snapped in.
2. After removing the bezel the mounting screws of the LCD will be exposed.
3. Once the screen is unscrewed it can be lowered onto the keyboard.
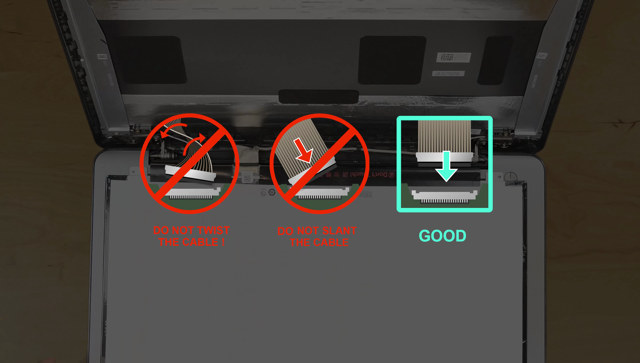
4. The video connector must be disconnected very carefully using both hands, without a slant.
5. New screen is reconnected using the same video cable, using both hands without a slant.
6. Screen is then remounted and the bezel is reattached.
What about power on laptops with non removable batteries? Technically speaking, the LCD can be "hot-swapped" - replaced while the system is at full power, running normally. We don't recommend this, but it is possible, just like connecting a TV to the DVD player can be done with the TV "ON". But for laptops it is best to have them OFF when replacing the LCD, because the laptop video connector is also the conduit for LCD back-light power, which can run as high as 32 Volts at 2 Amps = 64 Watts!!!
What can go wrong? Unless all the power is removed from the laptop, even if the laptop is turned "OFF", there will be a continuous "enable" voltage signal being sent to the LCD for as long as there is power in the battery. That is why it is very important to plug-in the video connector very carefully and very precisely. If the wrong pins touch, or if the multiple pins of the video connector touch the metal grounding sheathing around the jack on the LCD at the same time there will be a short circuit event that will likely trip your back-light fuse and may cause further damage to the motherboard.
We have thousand of screen installation video tutorial created by us and our customers, please navigate to video tutorials section for more.
Disconnect the power and remove the battery whenever possible!
1. Most laptops come with a bezel that is either secured with screws and plastic snaps, or is just snapped in.
2. After removing the bezel the mounting screws of the LCD will be exposed.
3. Once the screen is unscrewed it can be lowered onto the keyboard.
4. The video connector must be disconnected very carefully using both hands, without a slant.
5. New screen is reconnected using the same video cable, using both hands without a slant.
6. Screen is then remounted and the bezel is reattached.
What about power on laptops with non removable batteries? Technically speaking, the LCD can be "hot-swapped" - replaced while the system is at full power, running normally. We don't recommend this, but it is possible, just like connecting a TV to the DVD player can be done with the TV "ON". But for laptops it is best to have them OFF when replacing the LCD, because the laptop video connector is also the conduit for LCD back-light power, which can run as high as 32 Volts at 2 Amps = 64 Watts!!!
What can go wrong? Unless all the power is removed from the laptop, even if the laptop is turned "OFF", there will be a continuous "enable" voltage signal being sent to the LCD for as long as there is power in the battery. That is why it is very important to plug-in the video connector very carefully and very precisely. If the wrong pins touch, or if the multiple pins of the video connector touch the metal grounding sheathing around the jack on the LCD at the same time there will be a short circuit event that will likely trip your back-light fuse and may cause further damage to the motherboard.
We have thousand of screen installation video tutorial created by us and our customers, please navigate to video tutorials section for more.
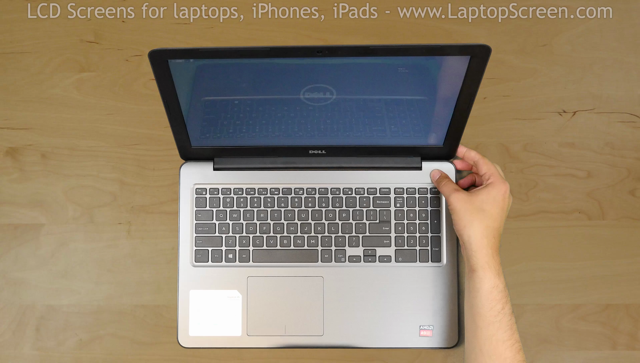
How to replace LCD on a laptop (Inspiron 15 5000)
This is a guide on replacing an LCD on a Dell Inspiron 15 5000 Series.
Picture guide below:
Picture guide below:


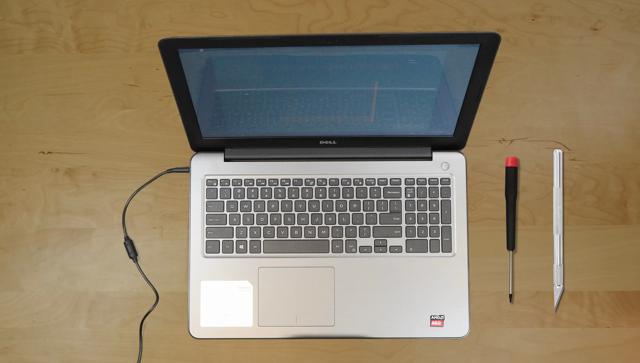
For the replacement process we’ll need the following tools:
- a Phillips screwdriver
- and an X-Acto knife
- a Phillips screwdriver
- and an X-Acto knife
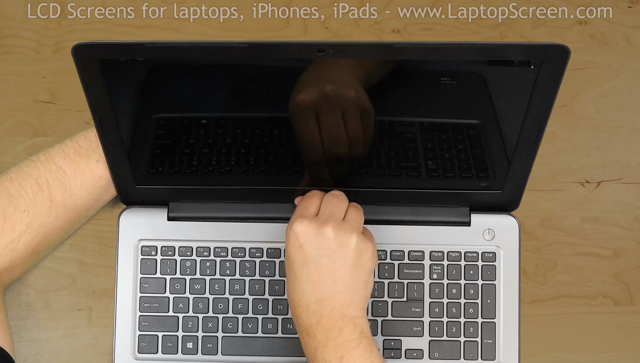
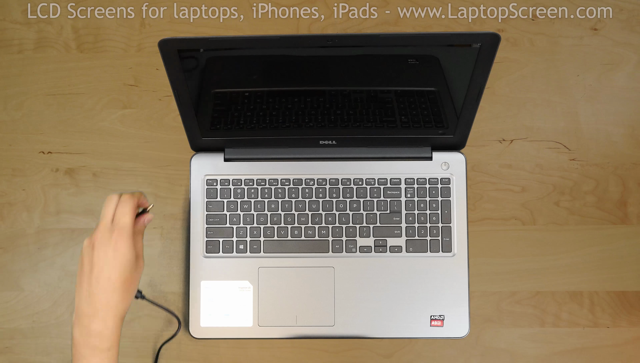
To begin, shut down the laptop and disconnect the power cord.
Next step is to remove the bezel. Start from the left side. Pull the inner edge away from the glass. Once the edge is unsnapped proceed to the left top corner.
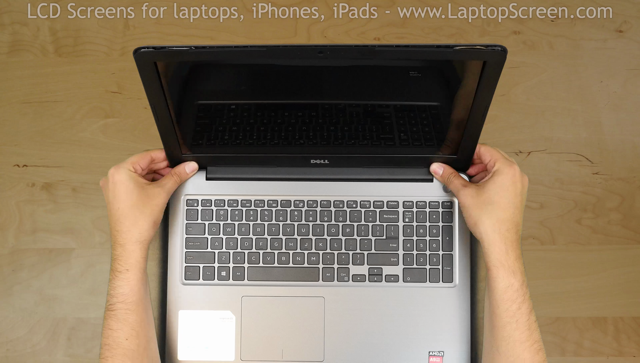
Move along the perimeter to the right side. And to the bottom. Set the bezel aside.
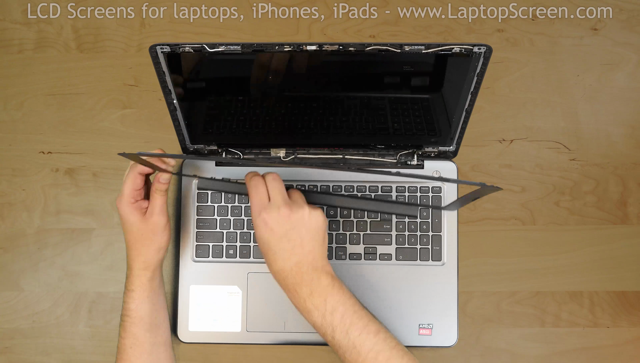
Now we have access to the LCD panel. Remove four phillips screws holding the screen in place. One screw in each corner.
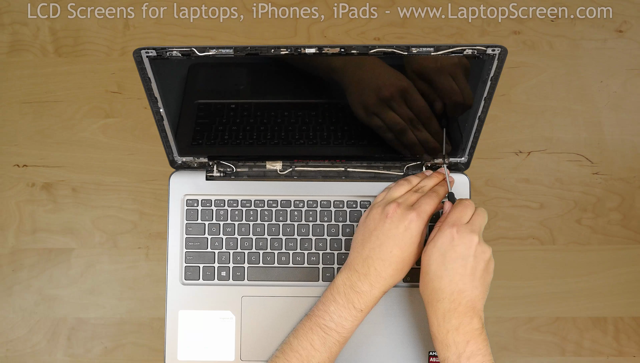
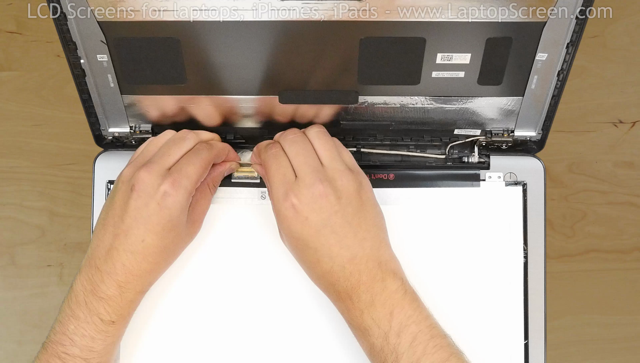
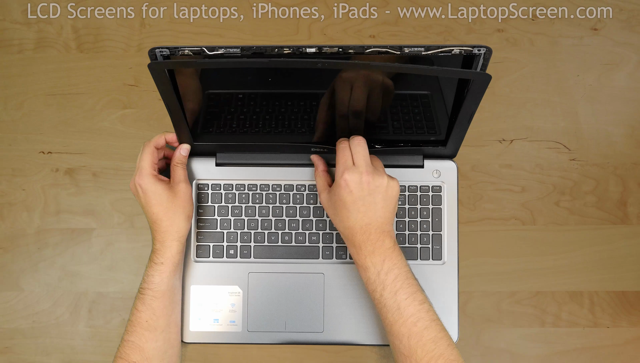
Place the LCD panel on the keyboard. Using an X-Acto knife peel off the tape securing the video connector.
Open the connector’s bracket. Using both hands gently disconnect the video connector. Discard the old panel.
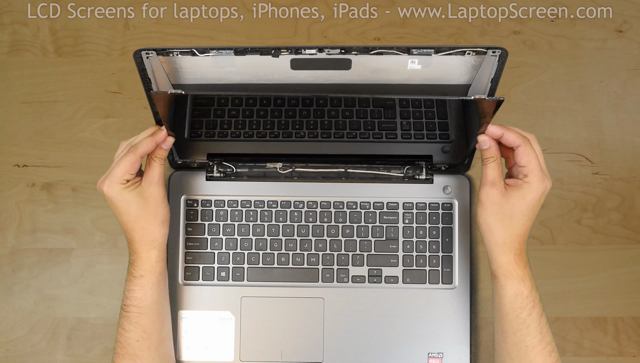
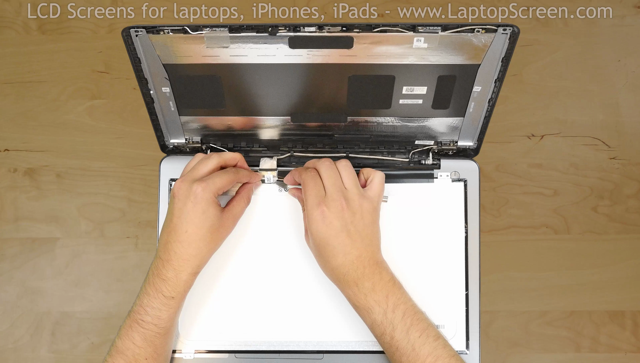
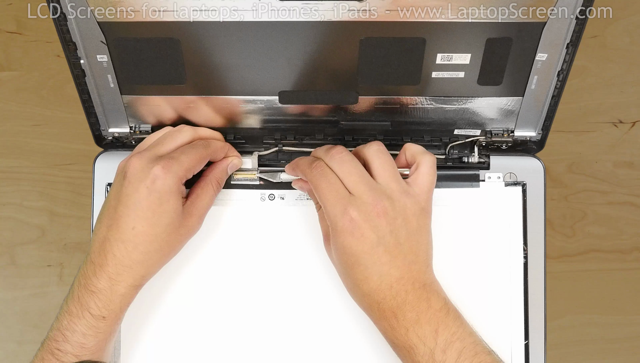
Take the new LCD screen and place it on the keyboard. Using both hands reconnect the video cable. And close the bracket.
Secure it with the protective tape.
Secure it with the protective tape.
CAUTION! It is very important not to force any of the connectors. As well you must not twist or slant the connector when plugging it in.
Lift the screen up aligning it with the screw holes.
Replace the four phillips screws.
Replace the bezel. Start at the bottom
corners, then go around the perimeter snapping the tabs in place.
corners, then go around the perimeter snapping the tabs in place.
Snap the tabs near the hinge cover by supporting the back cover with one hand and firmly pressing on the front with the other.
Turn the laptop on. If the start up graphics appear the replacement screen is installed correctly and we are done!
last updated August 30, 2018